Thursday, February 20, 2020

FMP: Week 7 Thursday

On Thursday, I moved onto the items and did the same as I did with the character, adding smart materials as a base and tweaking them slightly so that I could then develop them further later.

I also imported two textures that I had made previously in substance designer, the bark tileable texture for the tree and the woven texture for the basket. My issue with the bark tileable texture was the on a tri-planar projection, the texture would rotate in places and look weird when compared with the overall grain of the tree, while the UV projection would show seams. To solve this, I used several layers of both and painted them in on a replace layer with masking, to ensure that seams were not visible and the texture followed the grain properly throughout the tree. By doing this, the normal maps and textures would blend into eachother without overlapping and creating weird details.


For the tree, I later decided to erase a majority of the tiled normal map to reduce the intensity and fit more with the more smooth, stylised artstyle.

Wednesday, February 19, 2020

FMP: Week 7 Wednesday

On Wednesday I moved into 3ds max, and started applying the trim sheet to the treehouse. I tried to make each plank look fairly unique while keeping the majority of the edgewear on the ends of the planks as opposed to the center for more believability. I also cycled through each of the wood plank ends to avoid having the same end repeated too often.


Tuesday, February 18, 2020

FMP: Week 7 Tuesday

On Tuesday, I moved onto creating the trim sheet. I added a base wood layer using a smart material, then tweaked the colours to be more vibrant. I then edited the material to appear less noisy by increasing the scale of textures and deleting some grunge dirt layers that added too much detail for stylised textures. After this, I added another fill colour on a higher height setting to simulate paint, with a glossier finish than the rough wood. I then created a mask with a cloud texture and used a blur filter, then a histogram filter to remove noise. This left me with bold looking, simple splash marks that I then inverted to create the peeling of the paint. After this, I tweaked the scale of the clouds to avoid too many repeating marks that wouldn’t look good when tiling. I wanted to have areas that would have edge damage on my roof planks and areas that didn’t, to suggest that the ends were damaged more than the center from edgewear. I did this for each of the plank colours with variations in paint wear. Finally, I moved onto the rope texture and added a simple burlap texture to create a rough bumpy texture, removing anything that added too much noise.

After this, I added a curvature generator layer to enhance the edges, brightening and darkening them for more visual impact, and an AO generator layer to add additional colour depth.

I later realised that the normals were inverted on the wood plank ends, so I flipped the channel in photoshop and reimported the texture.

Monday, February 17, 2020

FMP: Week 7 Monday

On the 7th week I started texturing. I placed my lowpoly mesh into substance painter and set it to the unreal engine 4 preset and the normal map settings to OpenGL. I then imported resources into my project as textures and placed the world space normals, curvature and AO maps in the texture set settings. The normal map itself was placed directly in the textures so that I could make another normal layer and paint over the errors. I placed the normal map on a fill layer, changed the setting from auto to OpenGL, then added a paint layer to make edits, colour picking from the normal map view on the model and painting directly onto the mesh. I decided to do this instead of using photoshop because I wanted to be able to see directly where I was painting onto the mesh instead of having difficulties locating each of the relevant UV islands on the texture map itself.

After this, I made a folder for each separate material and either dropped in a relevant smart material or made a fill layer with some basic PBR settings just to do the base colours. This was done with the intention of tweaking, adding and deleting parts of each smart material to make my own unique materials using grayscale fill layers on black masks (such as using the cloud, white noise and fractal sum textures on darken and lighten modes to add detail to generators).


Friday, February 14, 2020

FMP: Week 6 Friday

On Friday, I baked my items in marmoset. I separated several subtools into different bake groups to try and avoid them baking onto eachother, and separated the body and clothes into two bakers so that they would create two map outputs that match up with the unwraps that I did the day before. For some assets, despite painting the cage closer, I couldn’t avoid some details being printed in unwanted areas, so I saved out the maps with the intention of fixing them in substance painter.


Thursday, February 13, 2020

FMP: Week 6 Thursday

On Thursday, I went through all of my retopped assets and lowpoly assets to unwrap them. I used quick peel with seams for the majority of the unwrapping, using pelt unwrap for things that didn’t quite work. Then, any assets that were vaguely rectangular were straightened by selecting the edges and group straightening them so that they would fit more efficiently in the UVs. I placed the tree branches diagonally to maximise texture space useage, however would avoid doing this again in the future to avoid diagonal stepping in the pixels With any extra space on the map I hope to add additional items to optimise the space.


Wednesday, February 12, 2020

FMP: Week 6 Wednesday

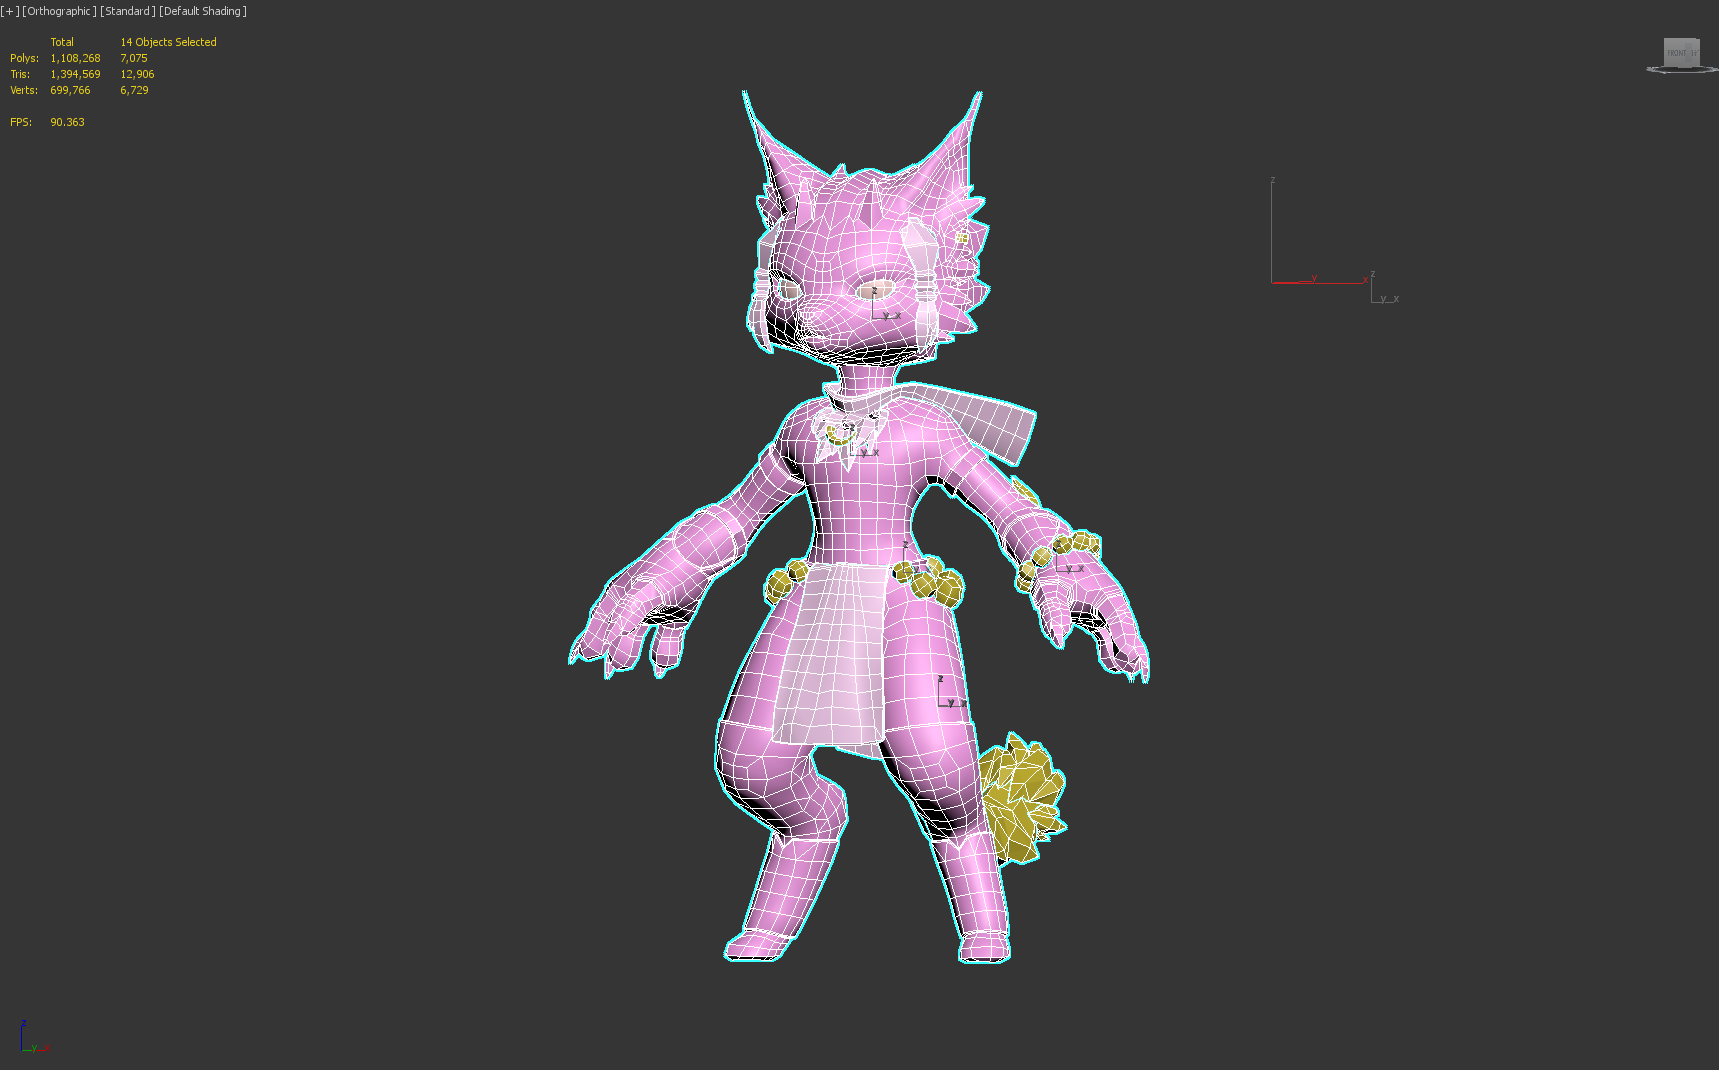
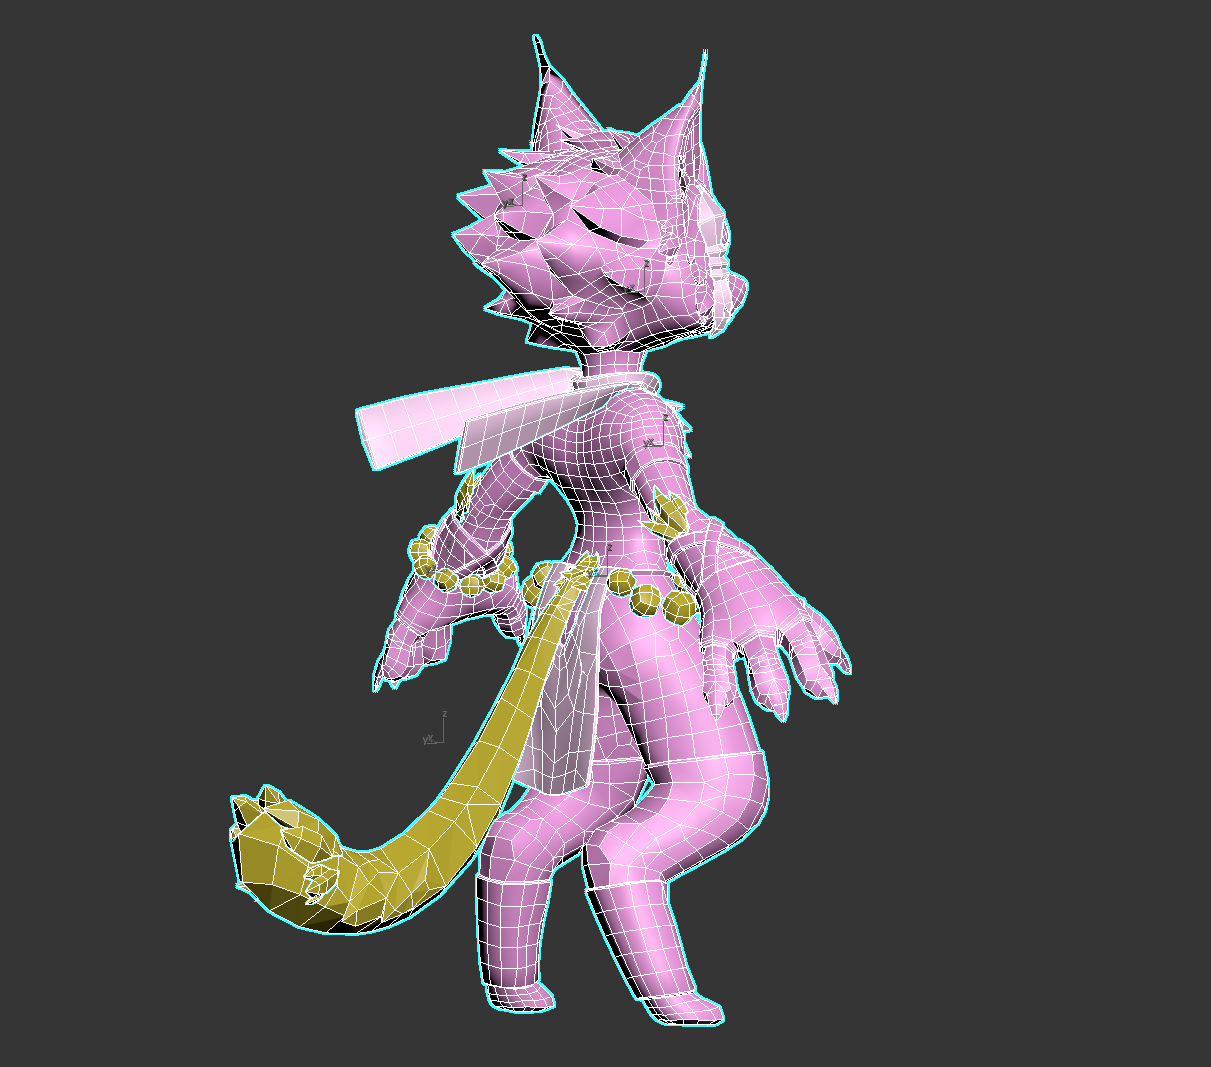
On Wednesday I finished retopping. I worked on the leftover fur tufts, making them as low poly as possible without losing too much form. I also spherified a cube, then duplicated it for the crystals on the wrist and hips, and retopped the tail with the intention of either rigging it to move later or to add physics to it (avoiding triangles in deformation areas). For the eyes I used a spherified cube and mirrored it to ensure that they weren’t wonky and could rotate properly for later.

Finally, I went over everything again and chamfered edges that seemed too sharp on the clothes, using the move conform tool to line edges up with the highpoly version.