On Monday I had another presentation updating the lecturers on my work. I received feedback that I should further optimise my topology by deleting loops in areas that don’t need them, even if it results in having rectangles (as those areas wont be deforming).
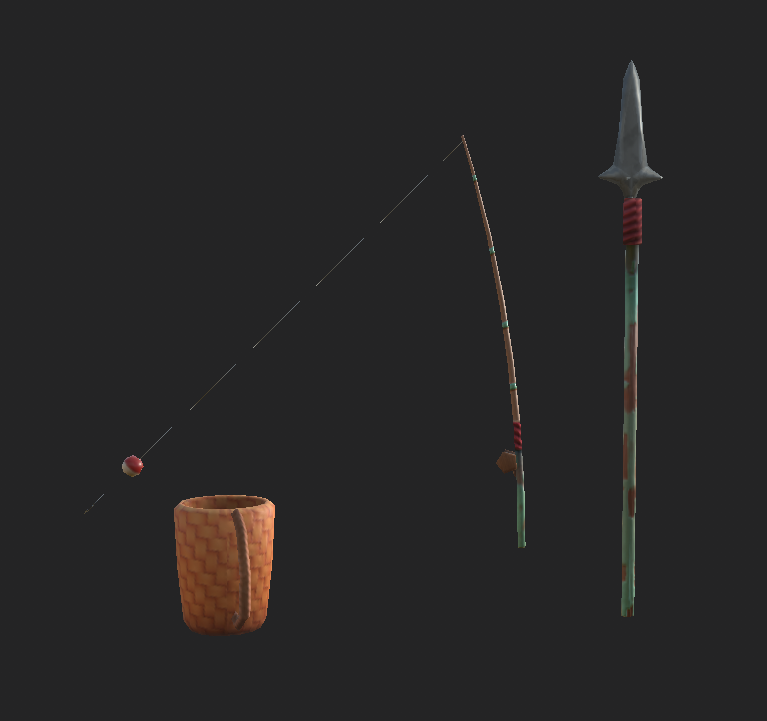
When I got back, I started working further on my item textures. On the spear I added paint wear in areas where the character would be holding it, using the same cloud, blur and histogram method mentioned previously, with the addition of a gradient to add interest. I used this same method on the fishing rod to add a pop of colour to the base, and used a fiber mask on the both of them to create the height for a rope wrapped around both assets. I then painted in marks going up the fishing rod to suggest the location of where the fishing line would be threaded through, leading back to the bobbin, without actually painting the hooks or fishing line in, as there was no reasonable place to paint those details on the mesh.
I made some tweaks to the tree texture by scaling the textures in places and repositioning some of the grain, then added curvature, ground up gradients and ao generators to add additional colour variation. I also used the gradient and a histogram filter to create the effect of moss and greenery around the base of the trunk.
For the starfish, I didn’t want to spend too much effort on such a tiny asset in terms of height or normal maps, so I avoided sculpting it. Instead, I painted a few small bumps in height, then added a salmony pink fill layer with roughness. After this, I added curvature and ao gradients to increase the visual impact a little further.
The shell was textured using height and colour on strips laid diagonally across the shell, using the same curvature and ao techniques mentioned previously.
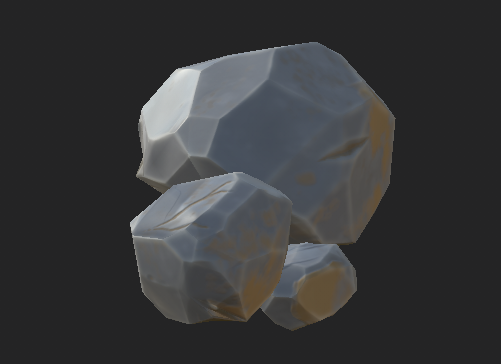
For the rocks, I added a simple fill layer, curvature and AO for detail, and then the cloud, blur and histogram technique to create sand stains with slightly increased height and roughness on max.