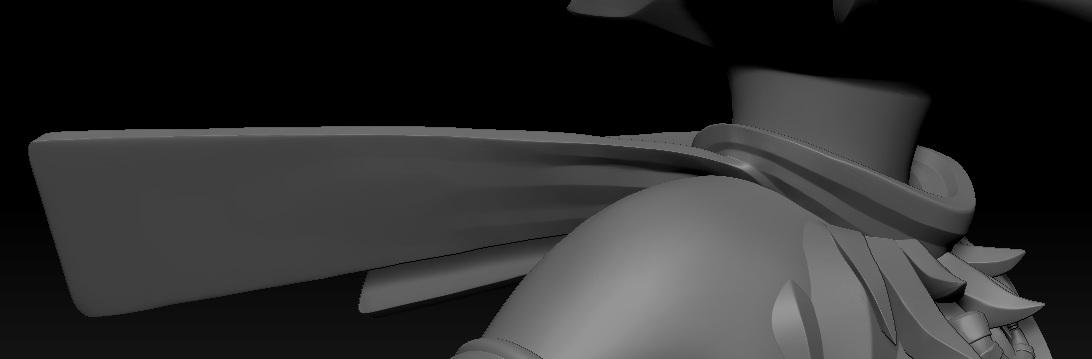
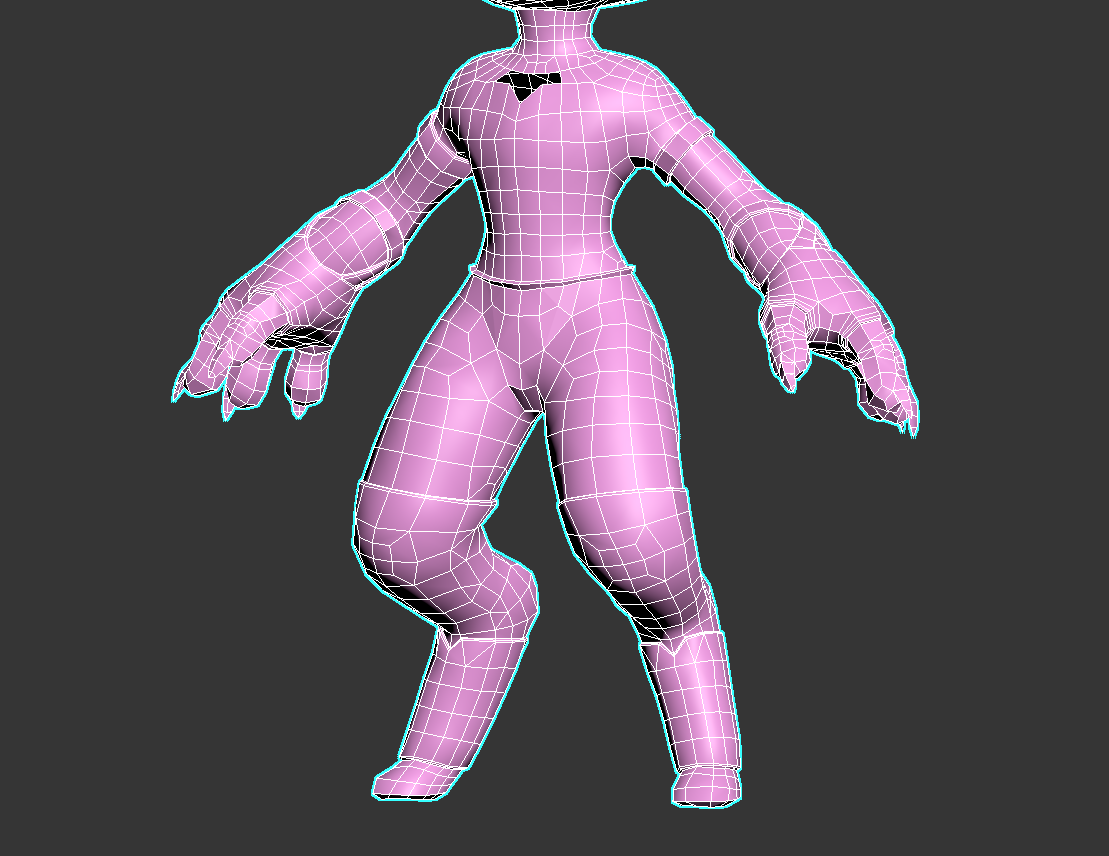
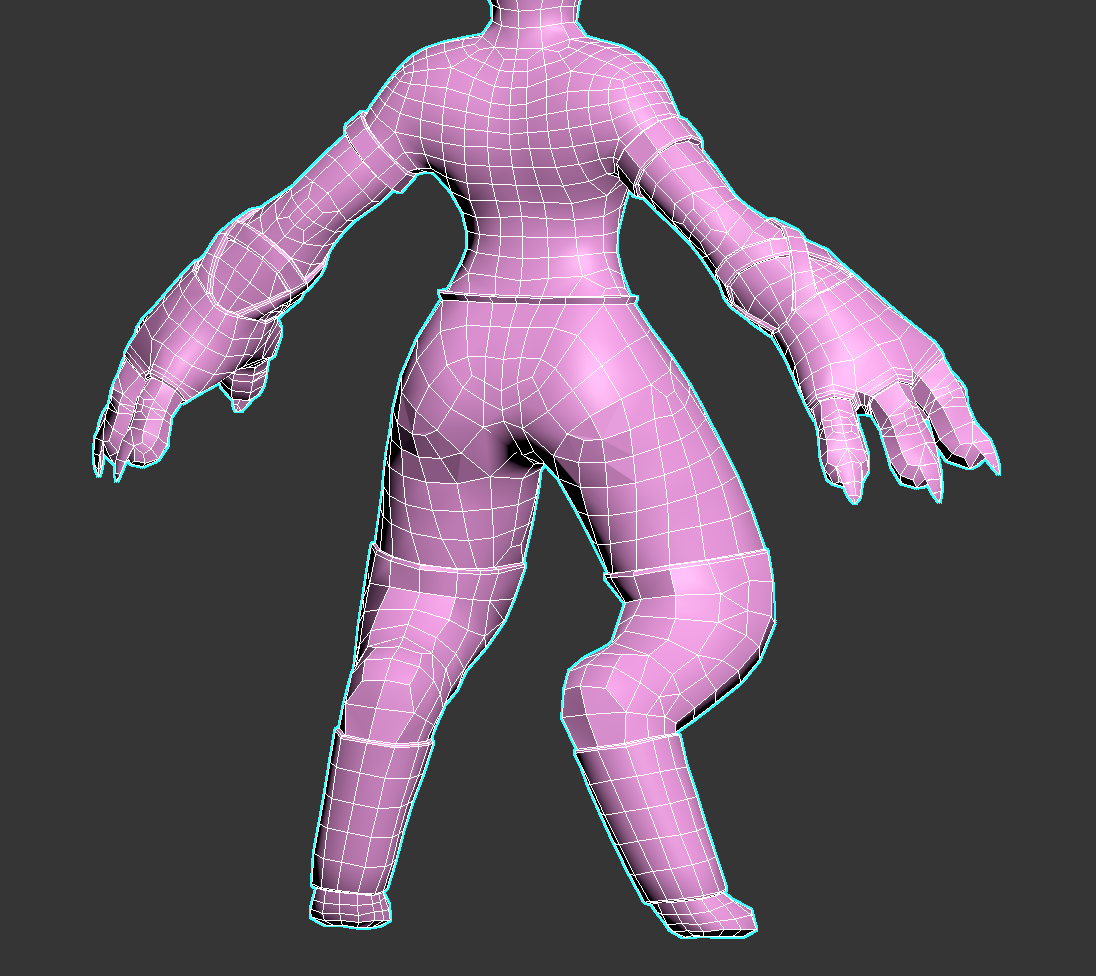
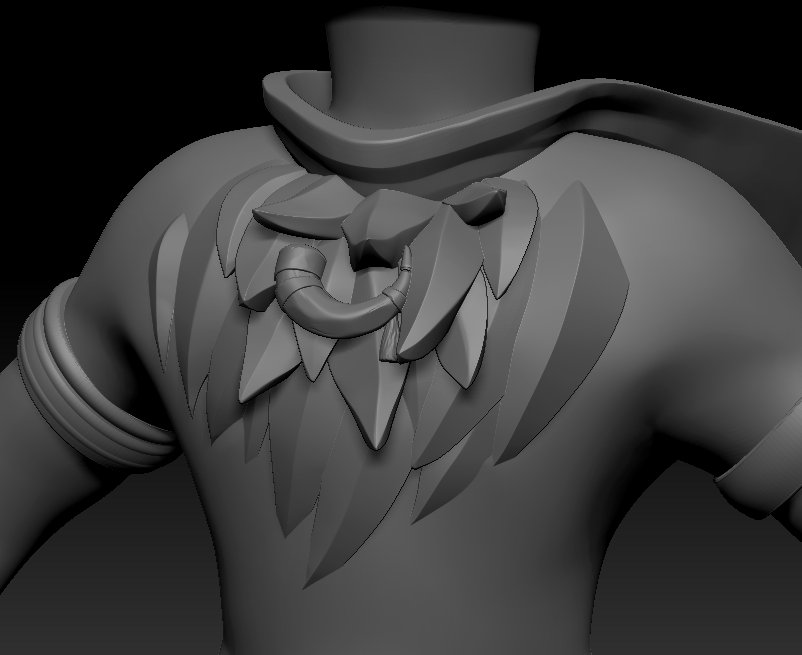
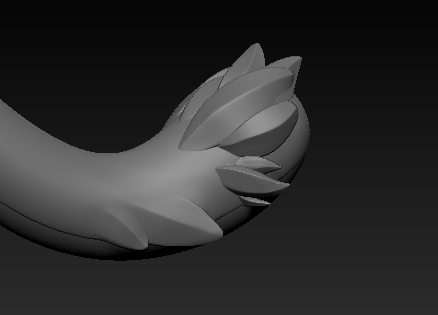
On Tuesday, I continued retopping the character. I separated subtools into the base body mesh, fur tufts and some parts of the clothes so that I could avoid having to make unnecessary topology to link them together. I worked on the body topology, using the symmetry modifier, step build, and the conform relax tool to create even topology with clean deformation areas. I added specific loops at the shoulders, knees, elbows, ankles and fingers to allow for movement and deleted topology in areas that I knew would be covered by the other subtoools.
Tuesday, February 11, 2020
Monday, February 10, 2020
FMP: Week 6 Monday
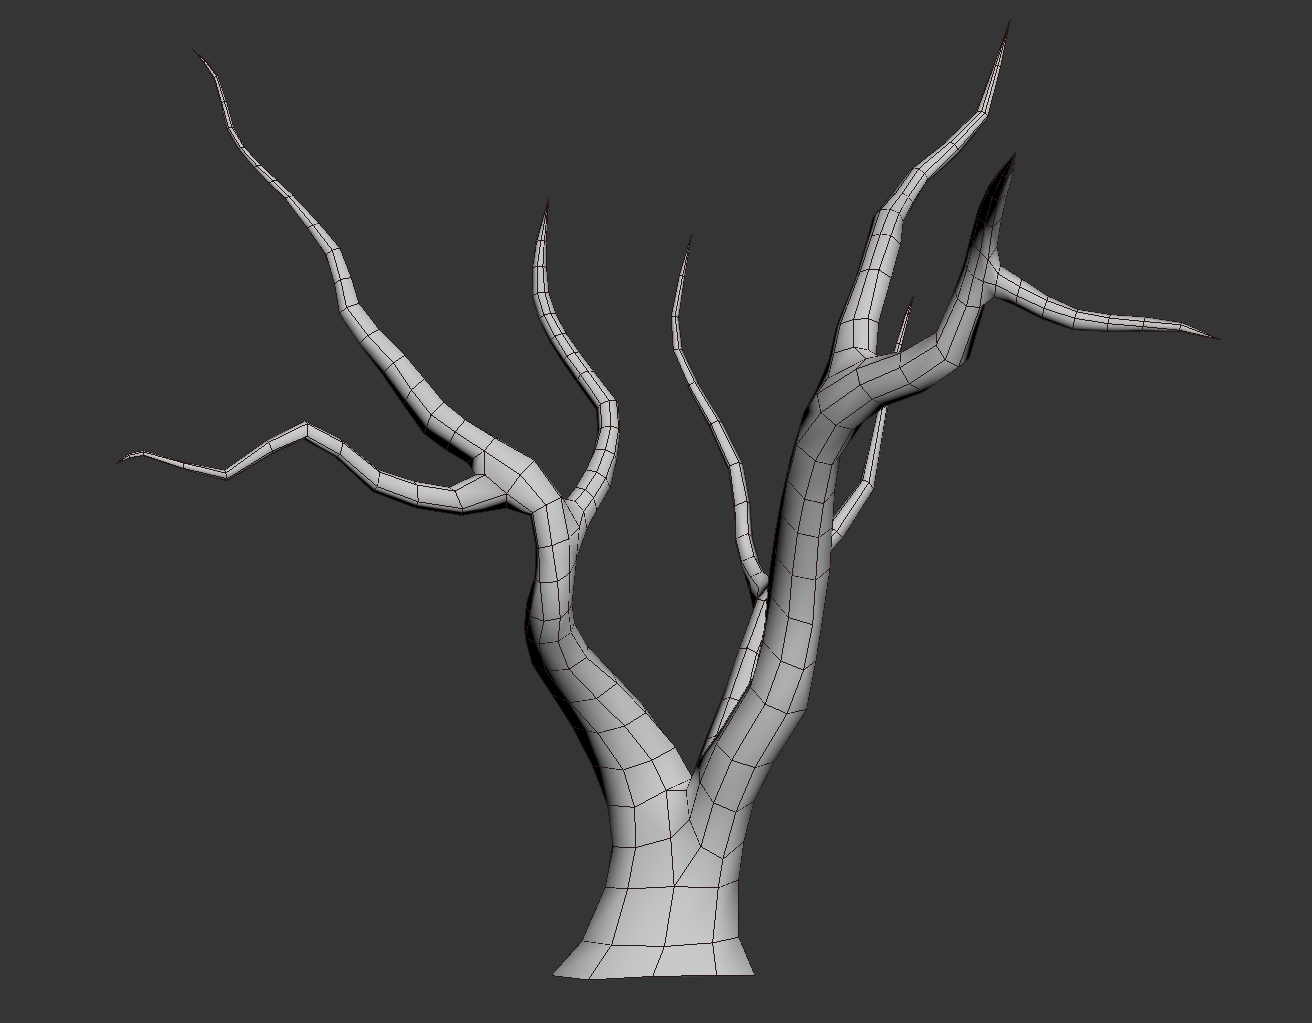
On Monday, I continued retopping the environment assets. I used the confirm brush tool to adjust the lowpoly tree to the highpoly, and then added some swift loops in places that needed to bend more. I used set flow with these loops to ensure that the topology was fairly even throughout.
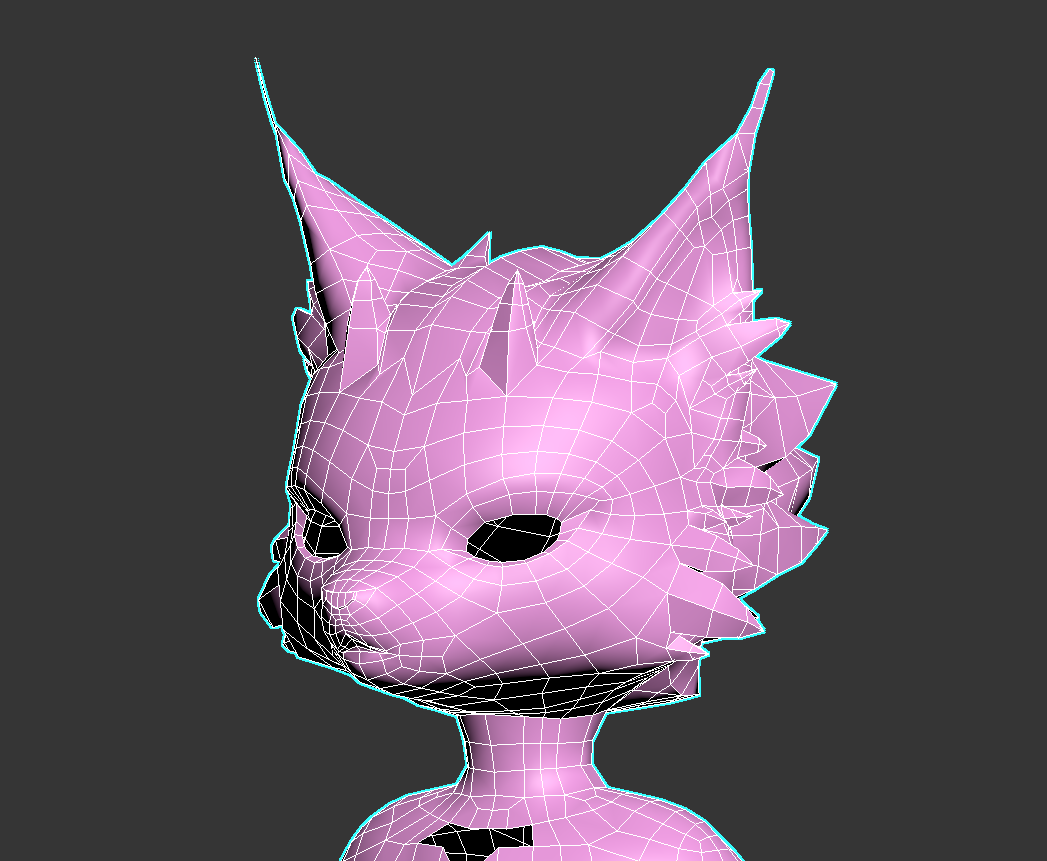
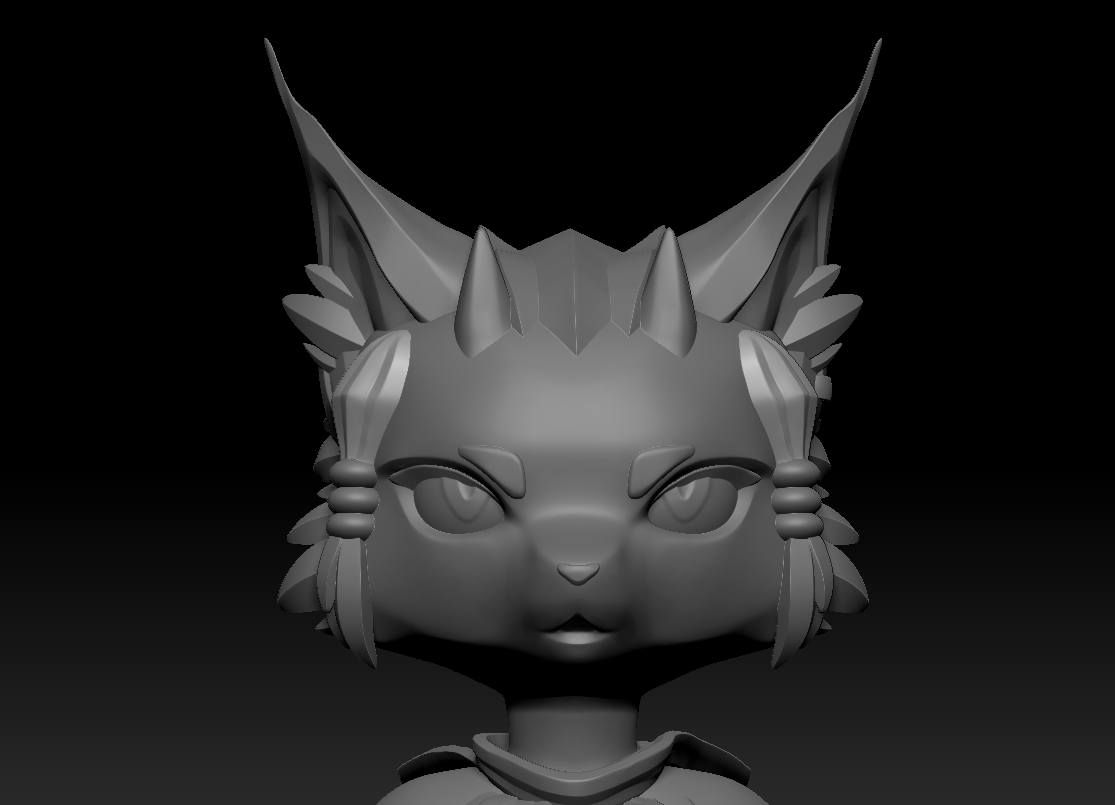
I also started on the head of the character, looking at multiple references on facial loops to ensure that they would work for a character with a muzzle. I used step build and the relax conform tool on symmetry to even out the topology and added triangles only in places that wouldn’t deform, such as the fur tufts on the sides of the face.
![]() |
| Originally, I kept even loops and topology but then later deleted any loops that didn't affect the form. |
I also started on the head of the character, looking at multiple references on facial loops to ensure that they would work for a character with a muzzle. I used step build and the relax conform tool on symmetry to even out the topology and added triangles only in places that wouldn’t deform, such as the fur tufts on the sides of the face.
Friday, February 7, 2020
FMP: Week 5 Friday
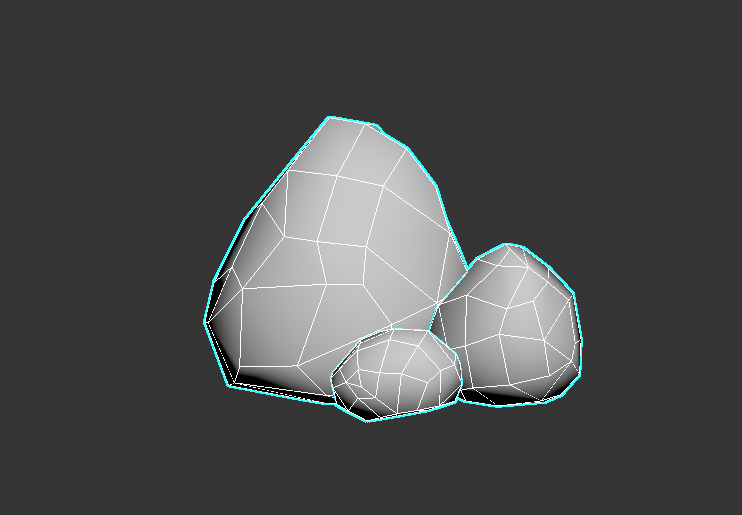
On Friday, I started retopping the rocks and adjusting the lowpoly versions of items that I hadn’t sculpted so that they had on a similar mesh density.
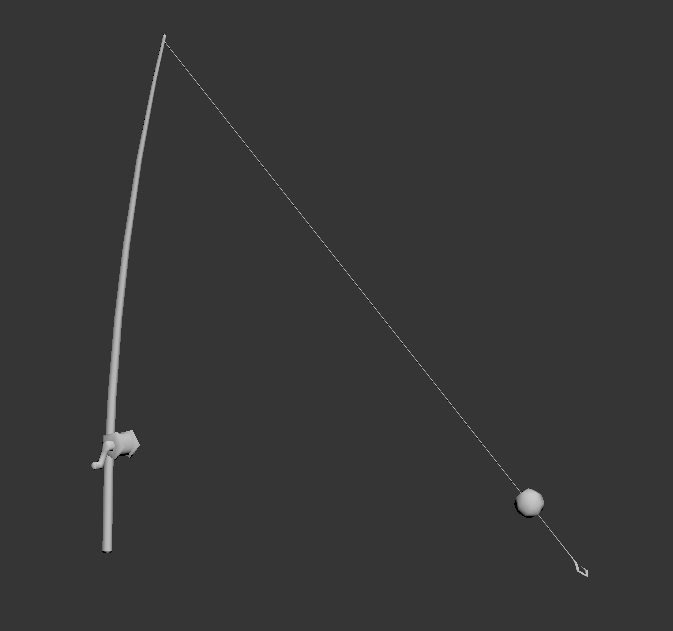
I also modelled a new item, a fishing rod, to be placed near the bridge. I used a cylinder with a taper modifier and a curve modifier, then extruded a thin rectangle from the tip of the rod. I added extra topology to this with the intention of adding physics later. I created the hook by cutting a shape into a plane and then using the shell modifier, deleting the top and attaching it to the end of the fishing line. The bobber was a spherified cube and the bobbin was a cylinder with extruded areas that was then chamfered. I decided not to connect the fishing line to the bobbin to save topology as it is such a fine detail, instead intending to paint some details in substance painter to suggest the presence of it instead.
![]() |
| The topology was intended to imitate the edges of the sculpt in the silhouette, but I decided later to remove some of the topology as it seemed to be too dense for what I wanted. |
I also modelled a new item, a fishing rod, to be placed near the bridge. I used a cylinder with a taper modifier and a curve modifier, then extruded a thin rectangle from the tip of the rod. I added extra topology to this with the intention of adding physics later. I created the hook by cutting a shape into a plane and then using the shell modifier, deleting the top and attaching it to the end of the fishing line. The bobber was a spherified cube and the bobbin was a cylinder with extruded areas that was then chamfered. I decided not to connect the fishing line to the bobbin to save topology as it is such a fine detail, instead intending to paint some details in substance painter to suggest the presence of it instead.
![]() |
Thursday, February 6, 2020
FMP: Week 5 Thursday
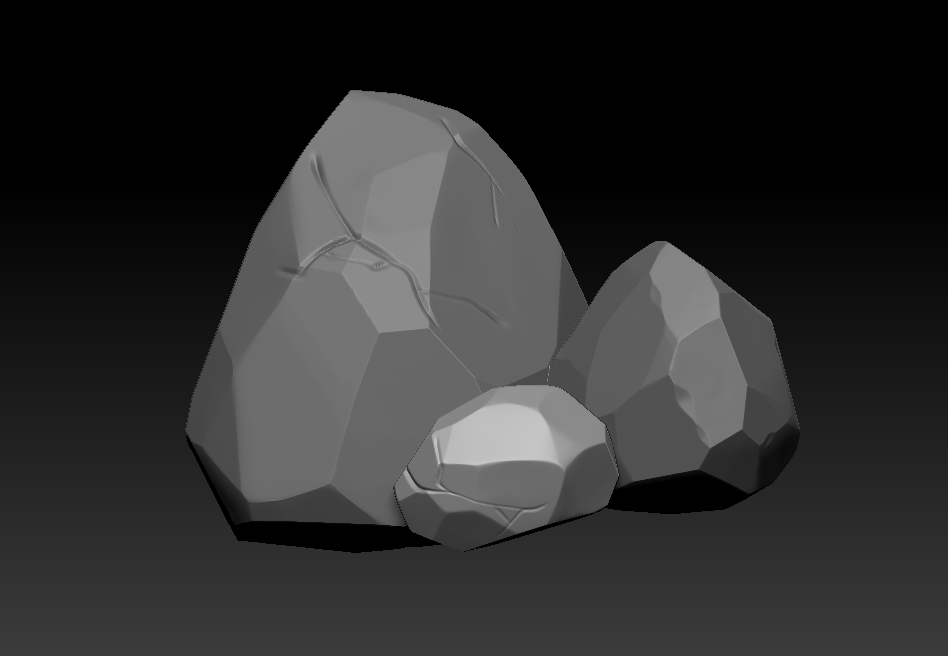
On Thursday, I started sculpting the rocks with the intention of using them in modular building later, so I modelled 3 different sizes of rock. I exported the original blockout rocks from 3ds max into zbrush, subdivided them and used the orb flatten edge protect tool to create the edges. I also used the trim tool to cut into the rocks further with the silhouette in mind.
After this, I used the orb cracks brush to make cuts in the surface, avoiding adding too much detail so that the stylisation would fit with the rest of the assets.
Wednesday, February 5, 2020
FMP: Week 5 Wednesday
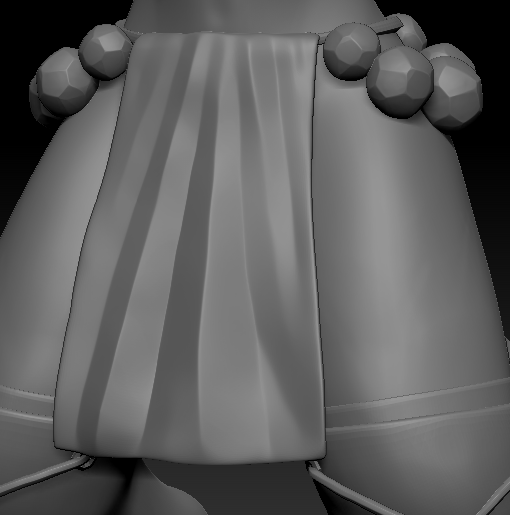
On Wednesday, I continued following feedback given by lecturers and resculpted the loincloth so that there was slightly less symmetry and more stylisation in the bold, crisp edges. Once again, I used damstandard, pinch and hpolish on add and sub to create height and depth in the folds.
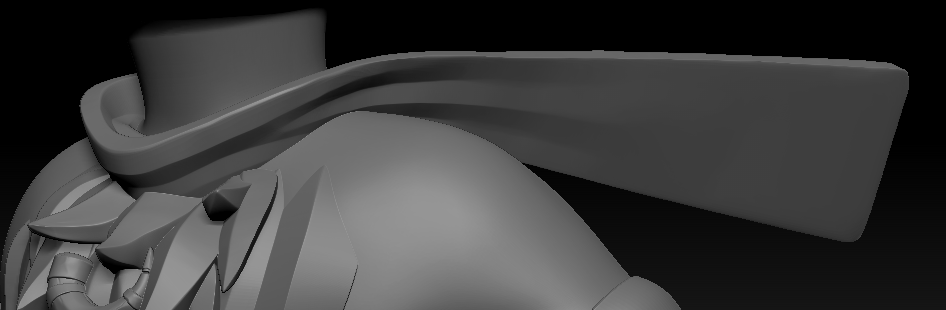
I had also discussed with lecturers the idea of adding cloth physics to the scarf, so I remade the tail ends of the mesh and reattached them. The original mesh was just a smaller tube within a tube, with the scarf ends coming out of the bottom of each side, but I wanted to make it look more believable as a scarf despite the character being stylised. I decided to trim holes into each scarf tube and then connect them to eachother to form a spiral, then again to one of the scarf ends, then I could slot the other scarf ends at the bottom of the other side, where the inner tube would also lower to, creating the image of a scarf wrapped around the character’s neck. To achieve this, I used the move tool and lower subdivisions to deform the scarf into place as cleanly as possible, then reassign polygroups and dynamic subdivide with creases to connect the edges more seamlessly. After that, I masked specific areas of the original scarf and projected it onto the new one to enhance the edges where they had softened.
Tuesday, February 4, 2020
FMP: Week 5 Tuesday
On Tuesday I moved onto the next criticism I received, which was that the chest fur felt more like back fur in the way it came out from the shoulders. To solve this, I auto selected polygroups in the mesh and deleted individual tufts that branched out too widely across the chest. I then followed advice to add another layer of fur tufts to add visual interest and silhouette. Do this, I considered the options of either using using the curve brush to create the tufts and then deform them to stick upwards, or to model a curved plane coming out of the chest and painting the curve brush strokes directly on top of that to follow an easy upwards curve, without any potential errors in deformation. In the end, I combined the two ideas and used the plane to begin with, then the topological move tool to adjust them as well as the curve tool in the mesh menu. I adjusted the tufts a lot so that they would be proportional to eachother in both size and placement on both sides of the model while still having variety in form.
I also added some tufts onto the tail using the move tool, pinch and hpolish to follow closer to the concept.
Monday, February 3, 2020
FMP Week 5: Monday
On week 5, I worked on following the feedback given to me in my presentation. On Monday I focused on tilting the ears and fur tufts outwards more to create a more interesting silhouette.
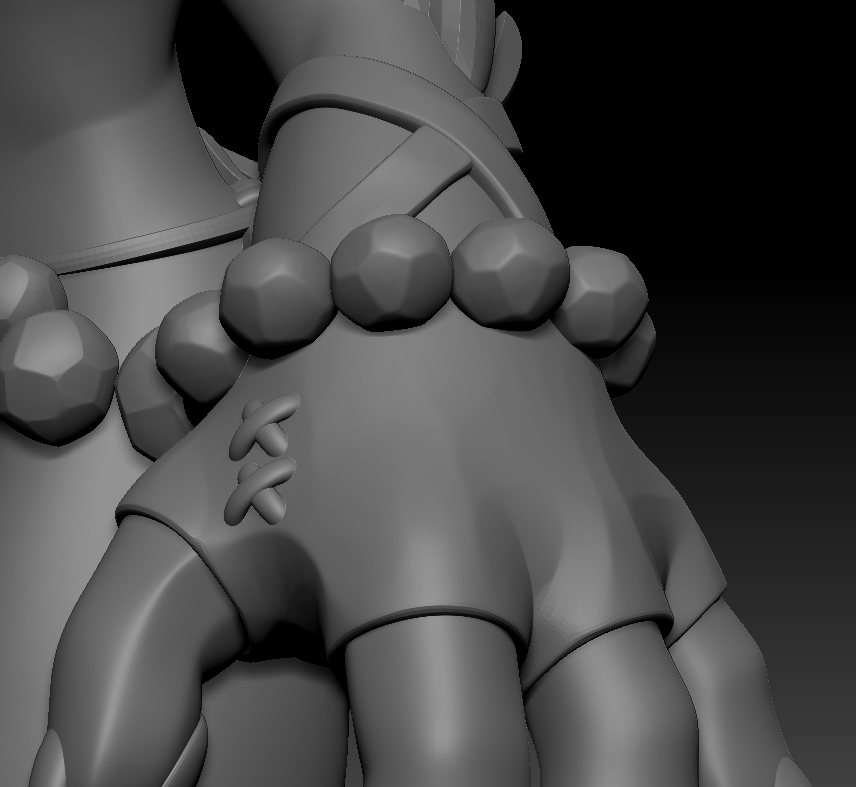
I also remade the gloves so that the straps would overlap eachother while maintaining a clean edge using polygroups and creases. I then added extra detail on the gloves to follow the concept, where I placed a cross stitch between the thumb and fingers using an insert mesh brush and then deforming the subtools.
Subscribe to:
Posts (Atom)