Friday, March 20, 2020
FMP: Week 11 Friday
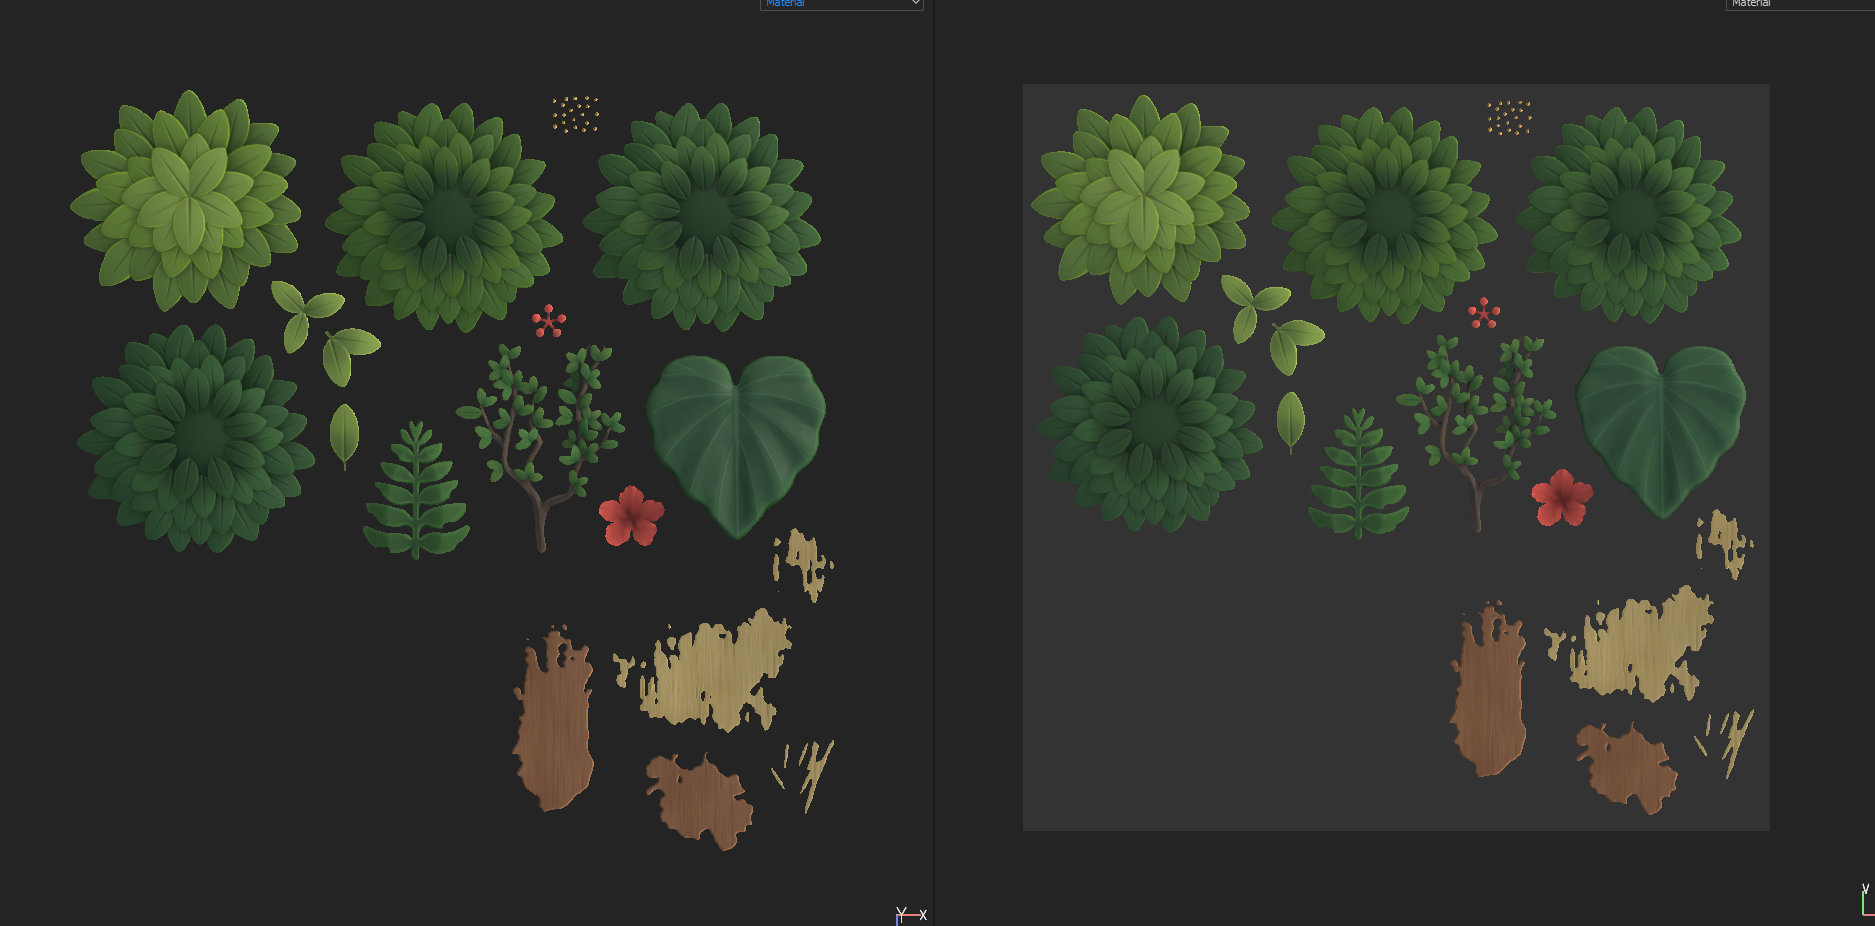
On Friday I imported the textures into substance painter and changed the shader to one that included alpha masks. I added opacity to the list of channels.
I mostly used a combination of AO generators and curvature generators with a bit of handpainting using a soft round brush to paint the foliage. For the stains in the bottom corner, I used different alpha brushes such as scratches hard, stain splat paper and stain spread. I then used a blur filter and a histogram scan filter to simplify the noise down to stronger shapes. I subtracted height from the light brown wood with intention of them being exposed wood stains from chipped paint, while the dark brown wood was added height so that it would be more of a paint splatter. I used the wood_pattern_01 grayscale mask to create the fibers in the wood with both colour and height information.

Thursday, March 19, 2020
FMP: Week 11 Thursday
On Thursday, I created the fern leaves and baked everything to a texture map in marmoset.
Throughout the process of making the foliage, I also learnt how to use the Zmodeler tool to move verts and loops individually to keep edges sharp and neat, which I used to move around areas that weren't quite bevelled evenly across the edge.
In the alphas, I cloned the bush and tree middle section two more times for colour variation in the texturing phase, and left extra space at the bottom to add flat alphas later.
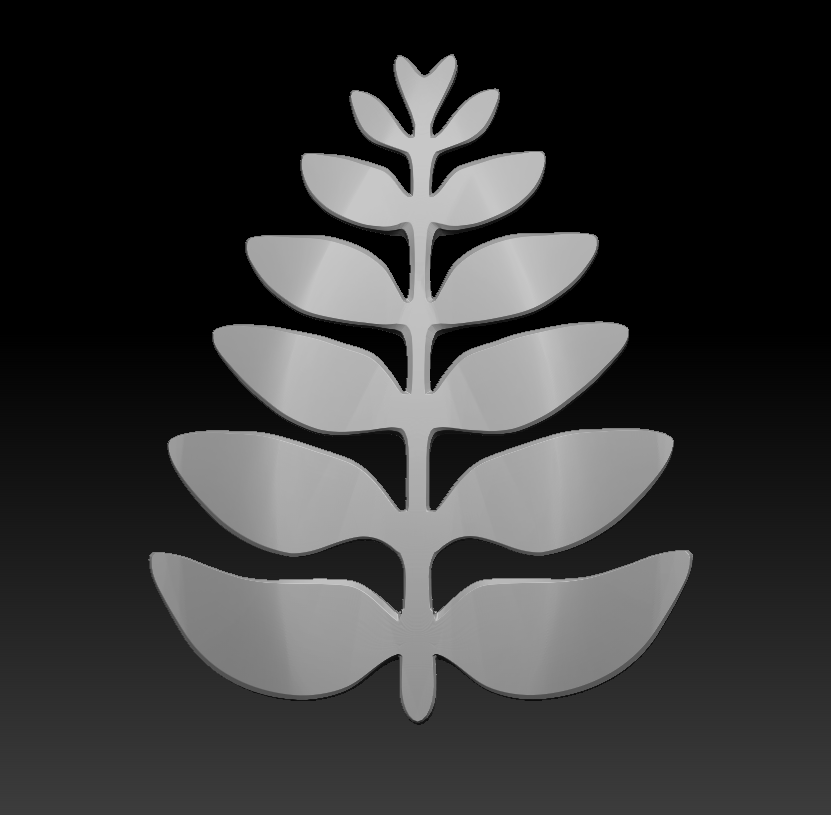 |
| I used the orb cracks brush to create a crease along the leaves. |
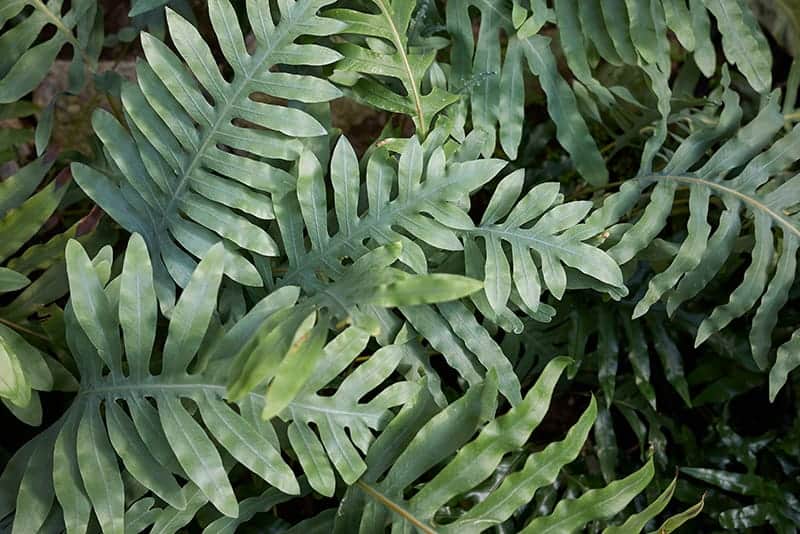 |
| Kangaroo paw fern reference |
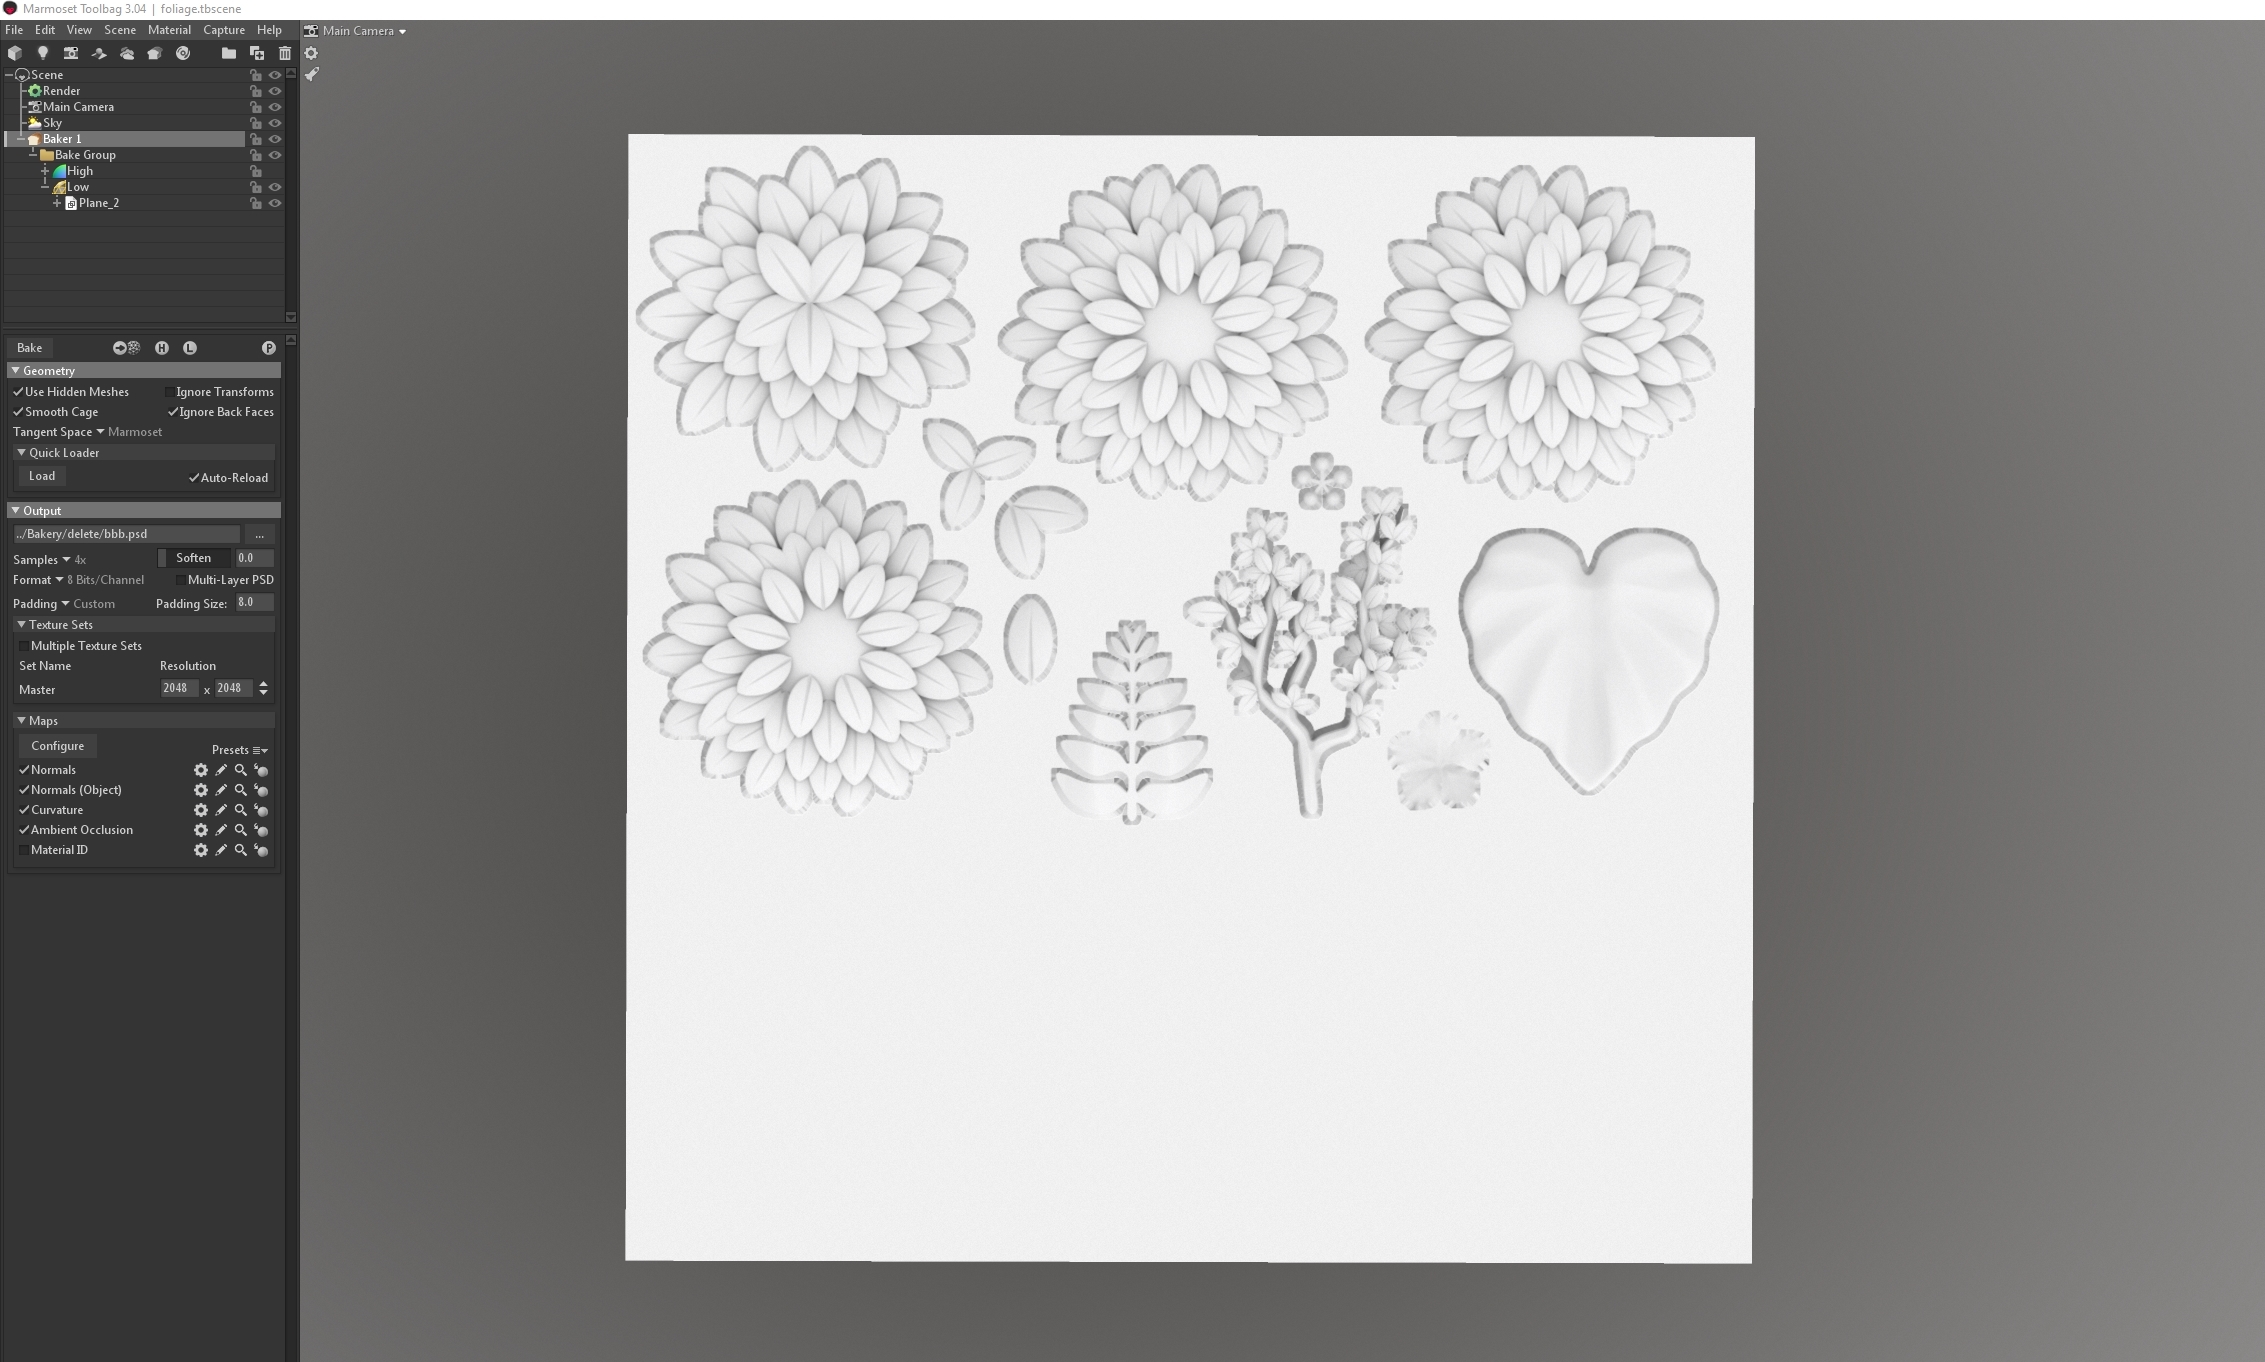 |
| baked normal map in marmoset |
Wednesday, March 18, 2020
FMP: Week 11 Wednesday
On Wednesday, I sculpted the branch and the hibiscus parts:
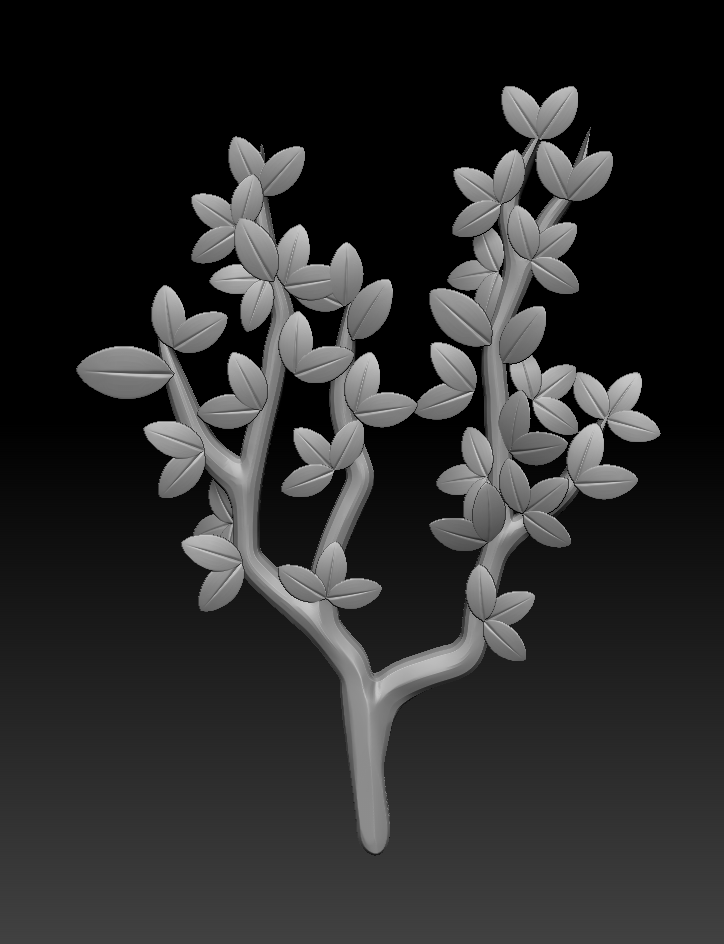 |
| Branch |
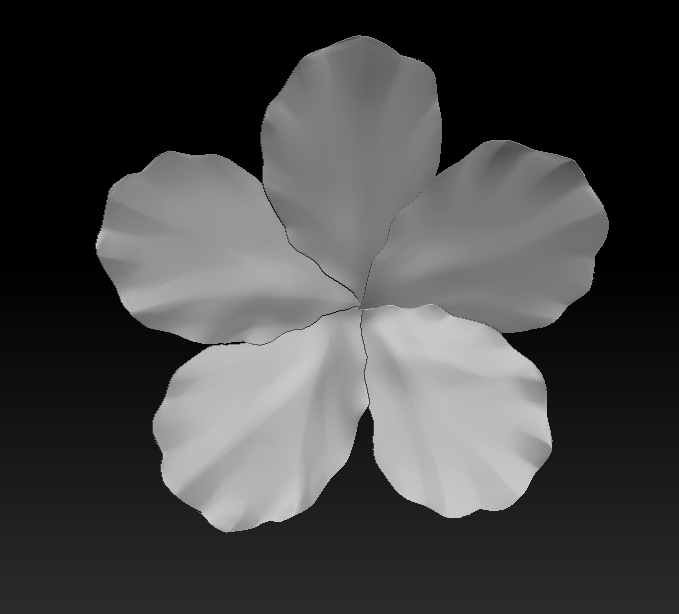 |
| Hibiscus petals |
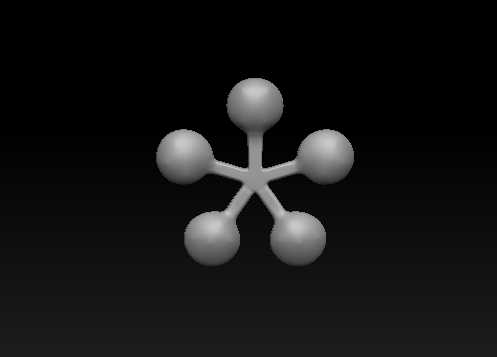 |
Hibiscus stem end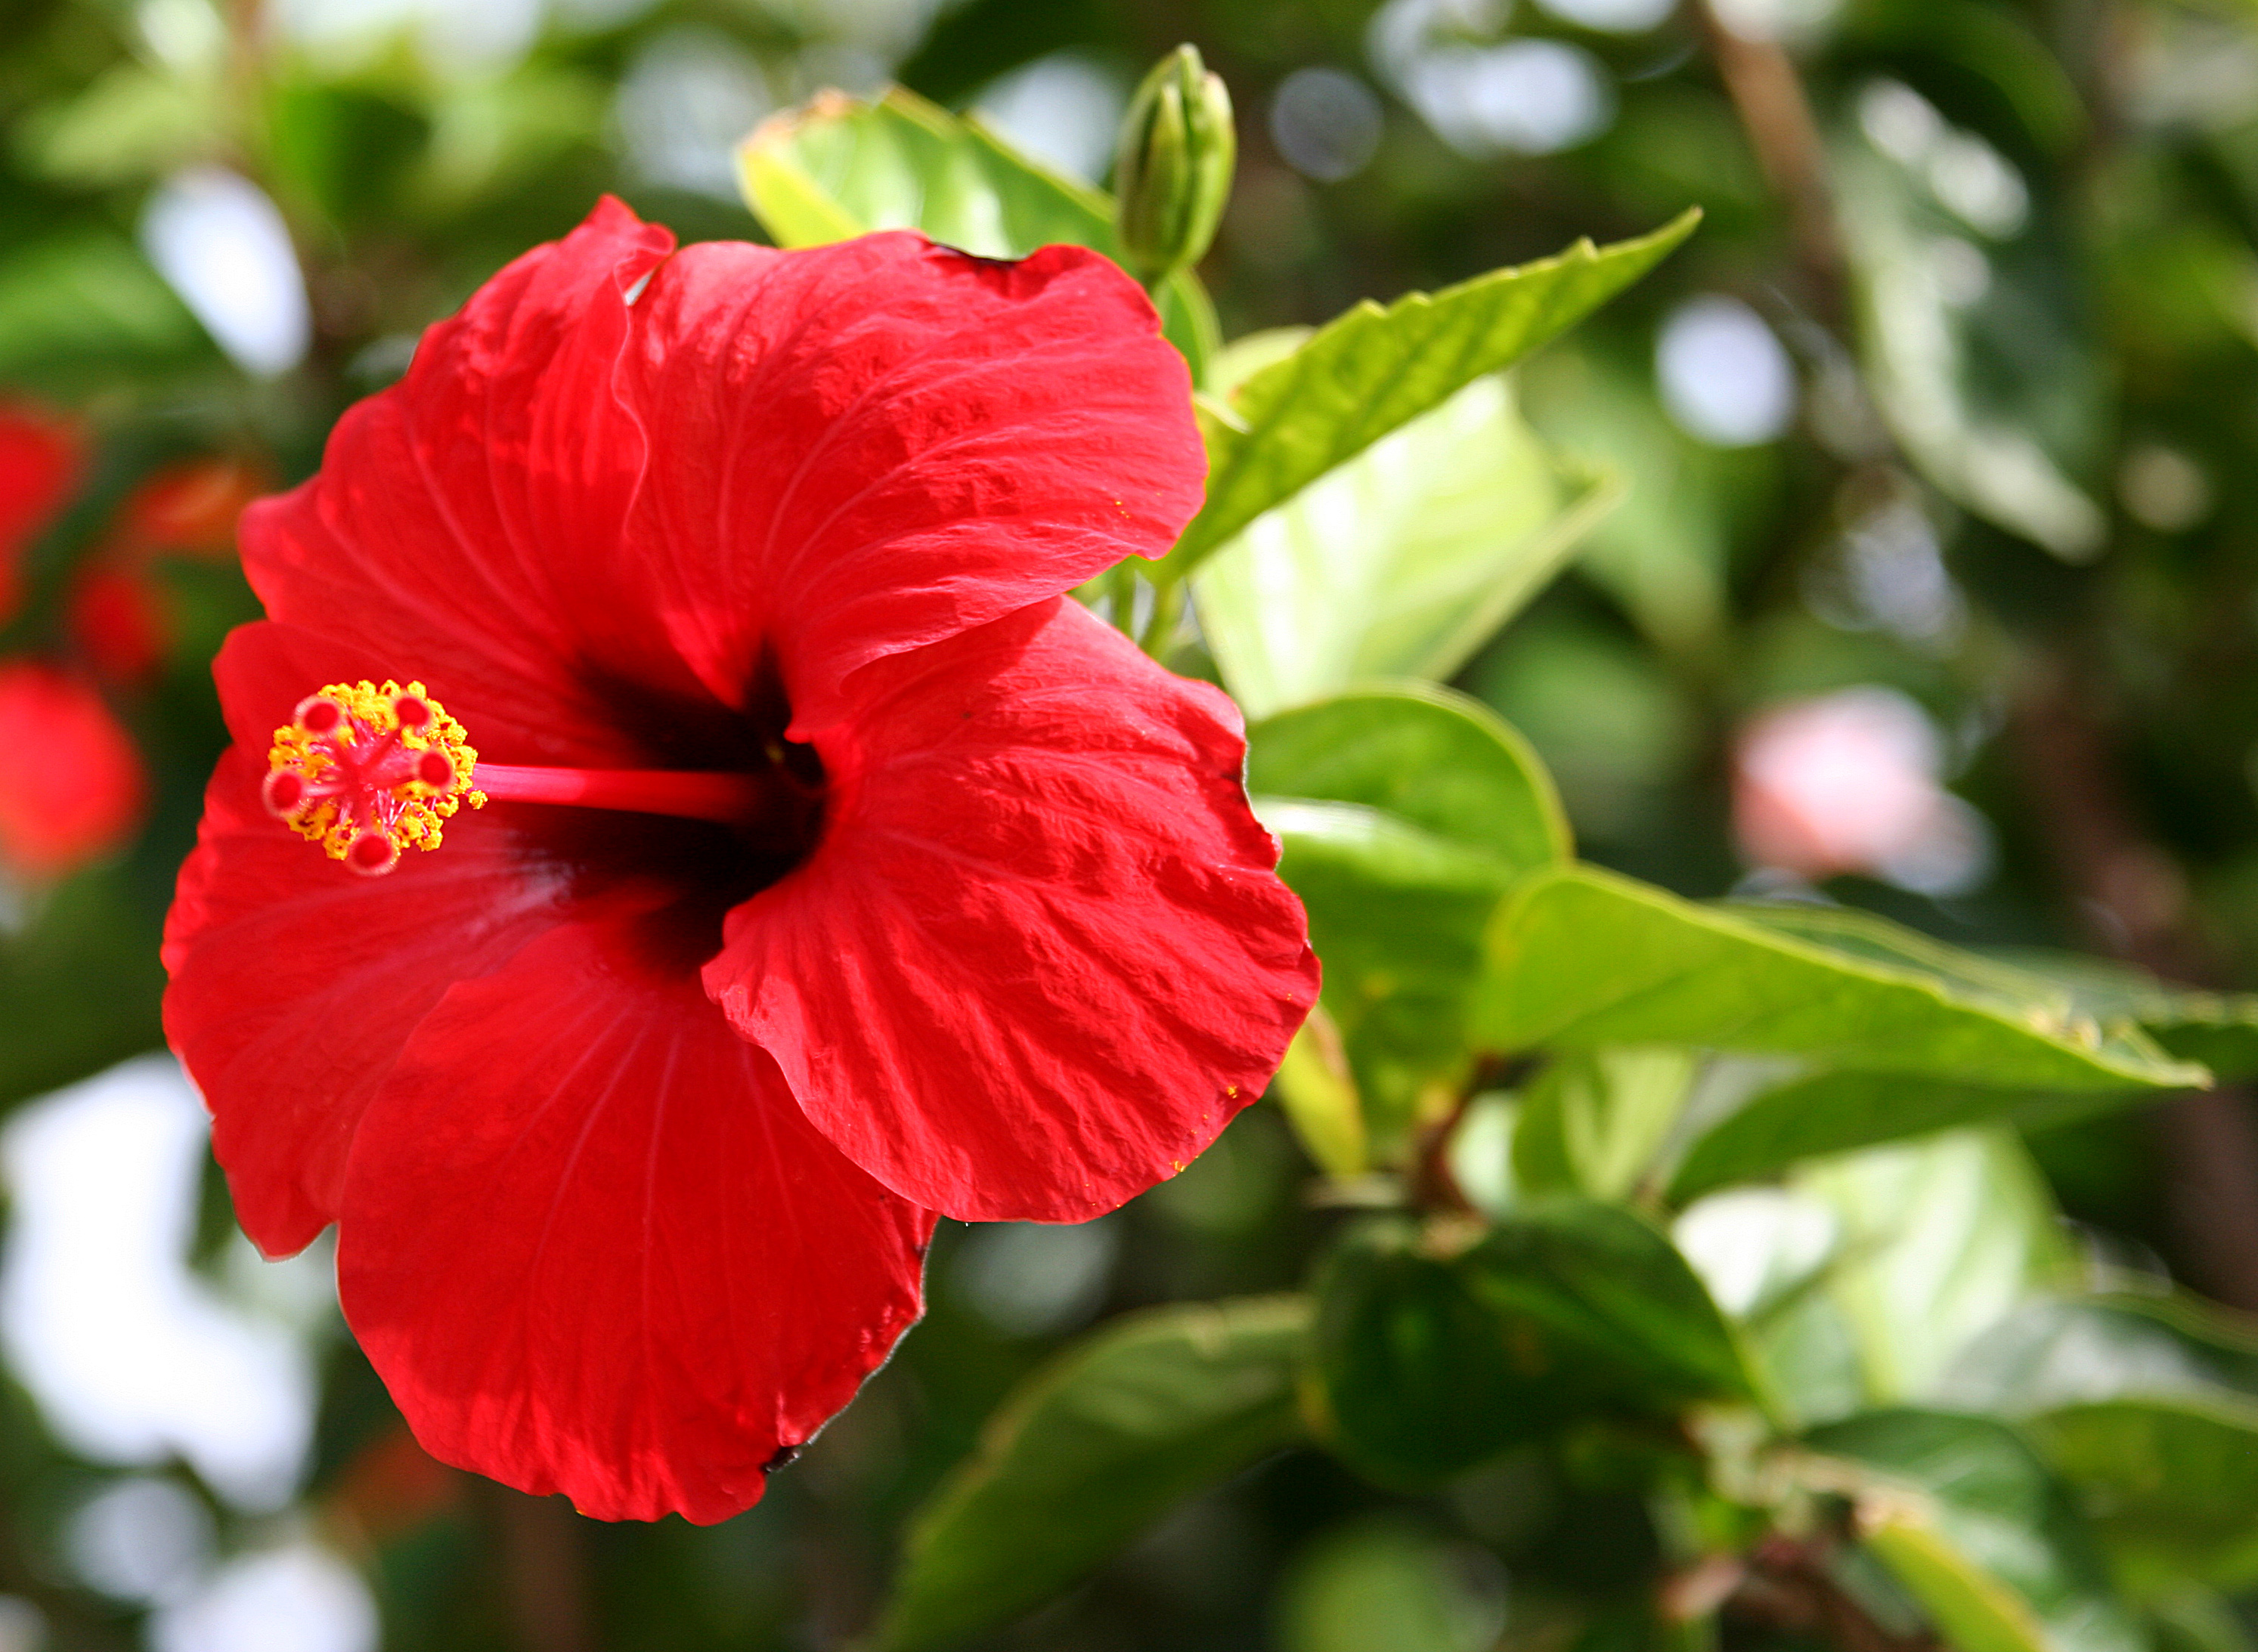
Hibiscus reference
|
Tuesday, March 17, 2020
FMP: Week 11 Tuesday
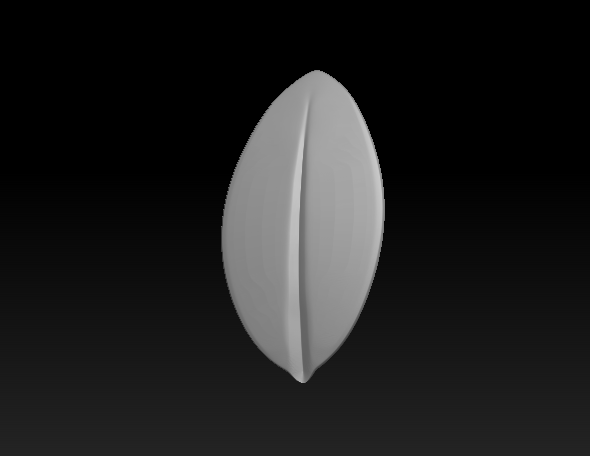
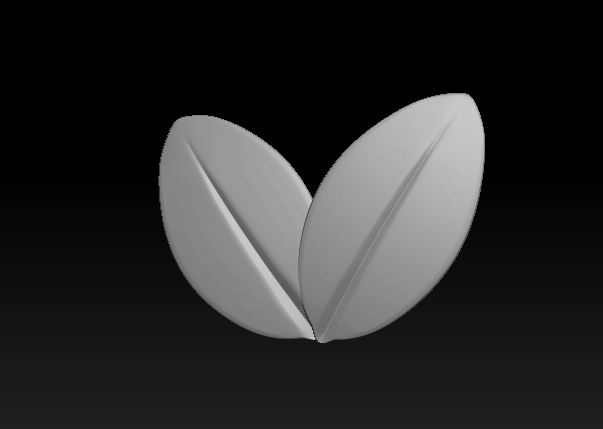
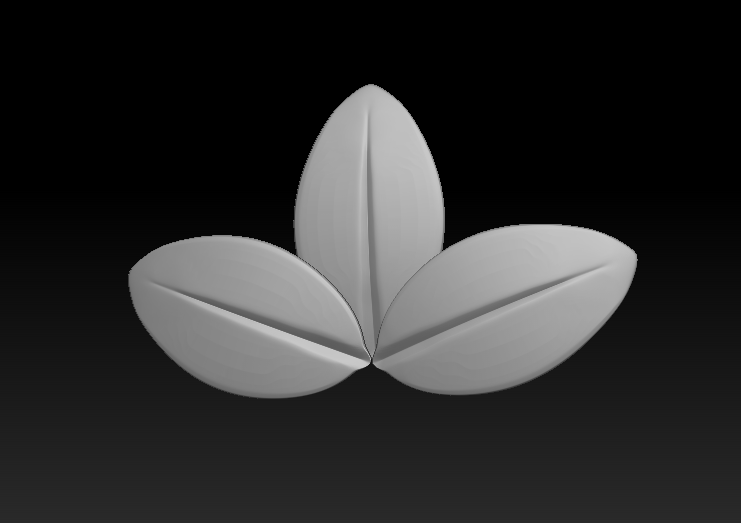
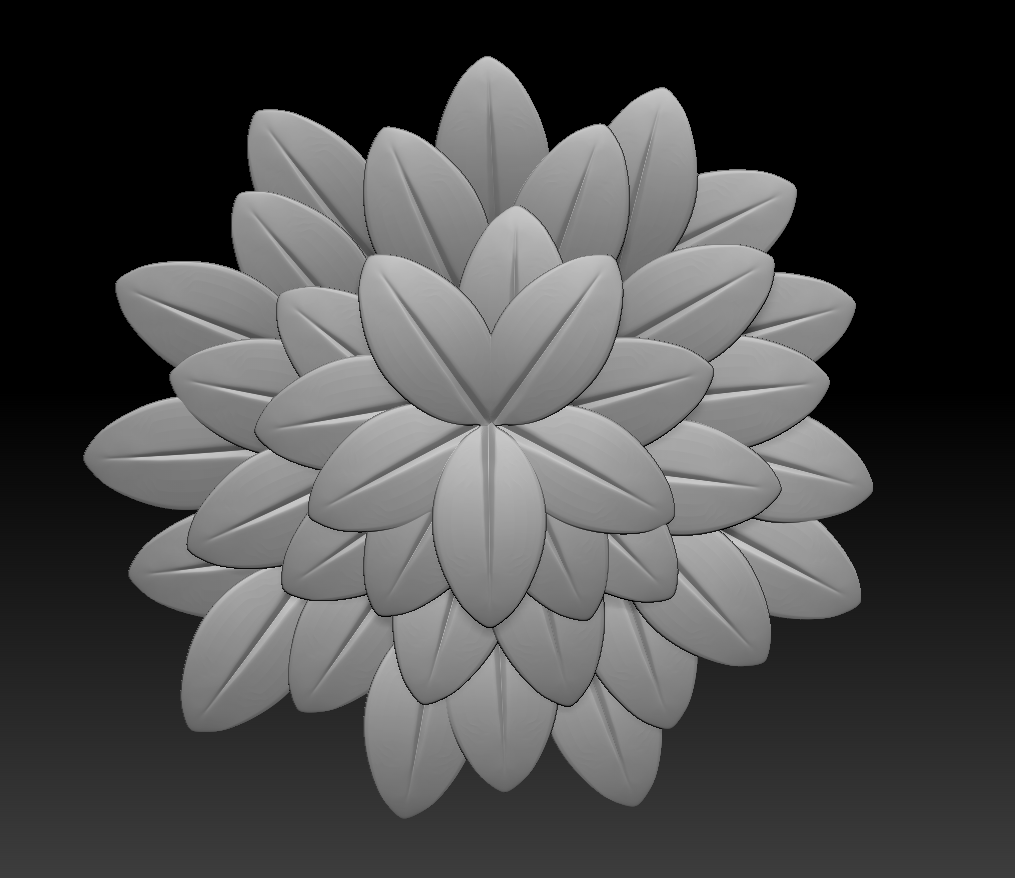
On Tuesday, I continued with the foliage sculpts following the previous post's methods:
I wanted to create leaf foliage similar to the ones seen in this tutorial, as I liked how fluffy the bushes looked, so I based the leaf formation off of the UV layout seen here.
 |
| Single Leaf |
 |
| Double Leaf for variety |
 |
| Triple leaf, the positioning was changed a little bit later. |
 |
| Bush and Tree top |
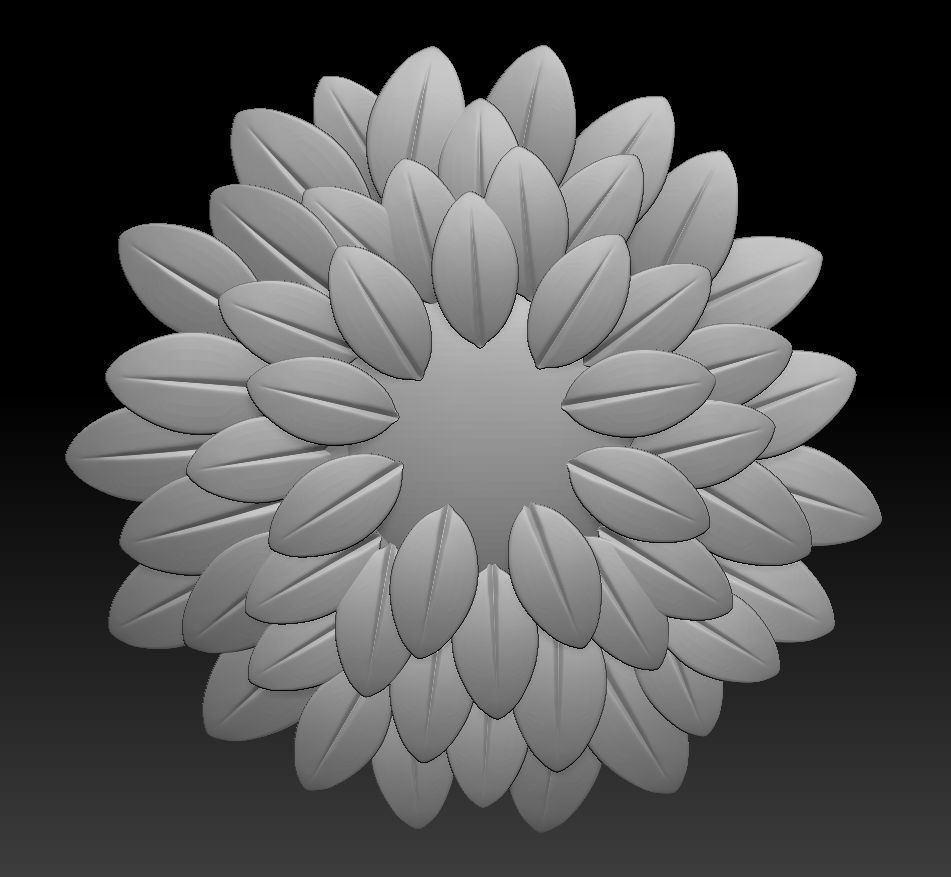 |
| Bush and Tree middle |
Monday, March 16, 2020
FMP: Week 11 Monday
On week 11 I began working on the foliage vfx, firstly by following the workflow that this tutorial mentioned, which meant sculpting and baking the foliage.
On Monday, I first began by creating the masks I would import into zbrush:
I then impoted them into zbrush as alphas and pressed the 'make 3D' button. This made them fairly jagged around the edges, and unnecessarily thick, so I flattened them and created polygroups by the 'Group Front' option. After this, I masked off and deleted the side I didn't need. Wherever I wanted to keep an edge, I masked off and created a new polygroup so that I could crease by polygroups. Now that I had a simple plane, I used the 'Panel Loops' option in EdgeLoop to create some thickness with a slight bevel. This created new edges with different polygroups in the areas I wanted to keep the edges sharp, which meant that after creasing by polygroup I could subdivide on smooth to get rid of any jagged edges I didn't want without losing the form.
For the elephant leaf, I used a combination of dam standard, the orbs cracks brush and pinch depending on how soft I wanted the effect to be for the creases. I strategically placed the creases to be bolder than the original reference image, with less creases as I didn't want it to be too detailed. A the end of the sculpt I also added some clay polish to further increase the stylisation.
On Monday, I first began by creating the masks I would import into zbrush:
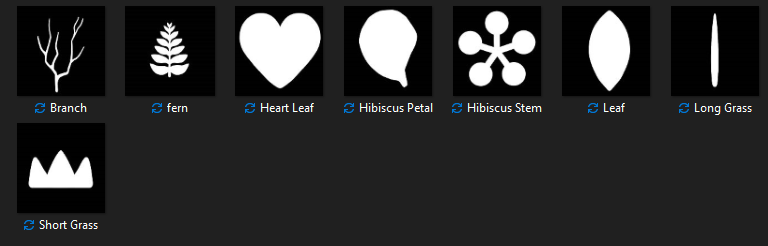 |
| Originally, I had included the grass in these masks, but later decided to skip them and have them be flat, as adding normal maps to them felt like too unnecessary detail. |
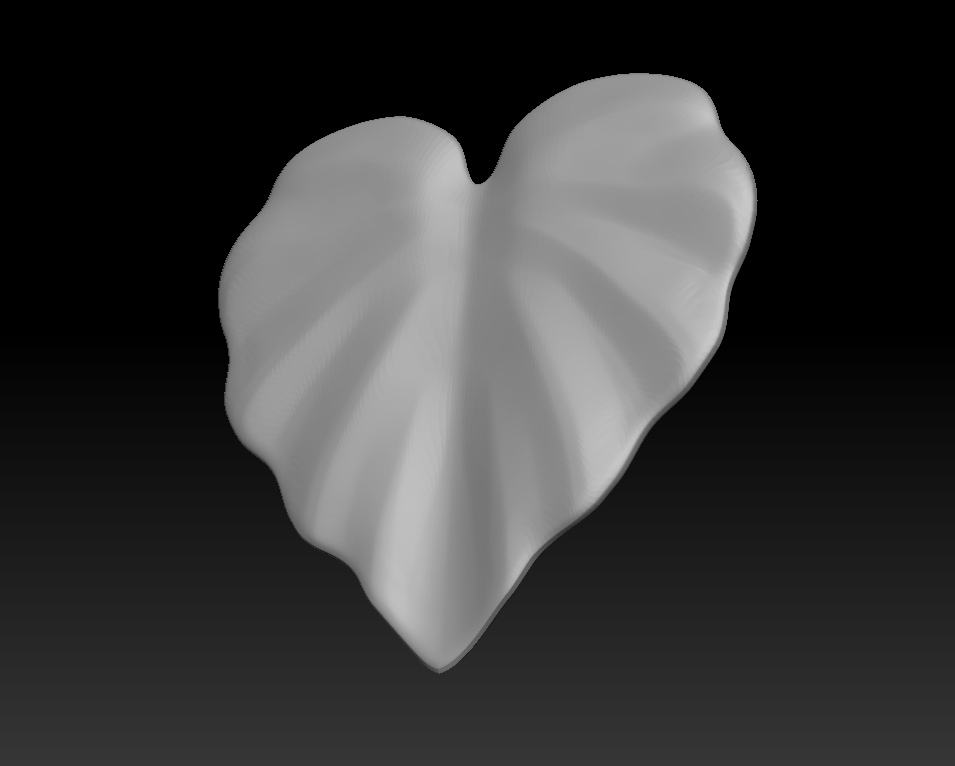 |
| The first piece of foliage I sculpted was the elephant leaf plant head |
 |
| I chose elephant leaves because I've been loosely themeing the location off of borneo and surrounding areas |
Friday, March 13, 2020
FMP: Week 10 Friday
On Friday, I created 2 vertex blend materials for the top material and the side materials of the terrain:
After this, I temporarily went back to the water to model and texture some ripple planes using the rime method, which is to have a donuts plane or half of that unwrapped into a square/rectangle with a panning foam texture:
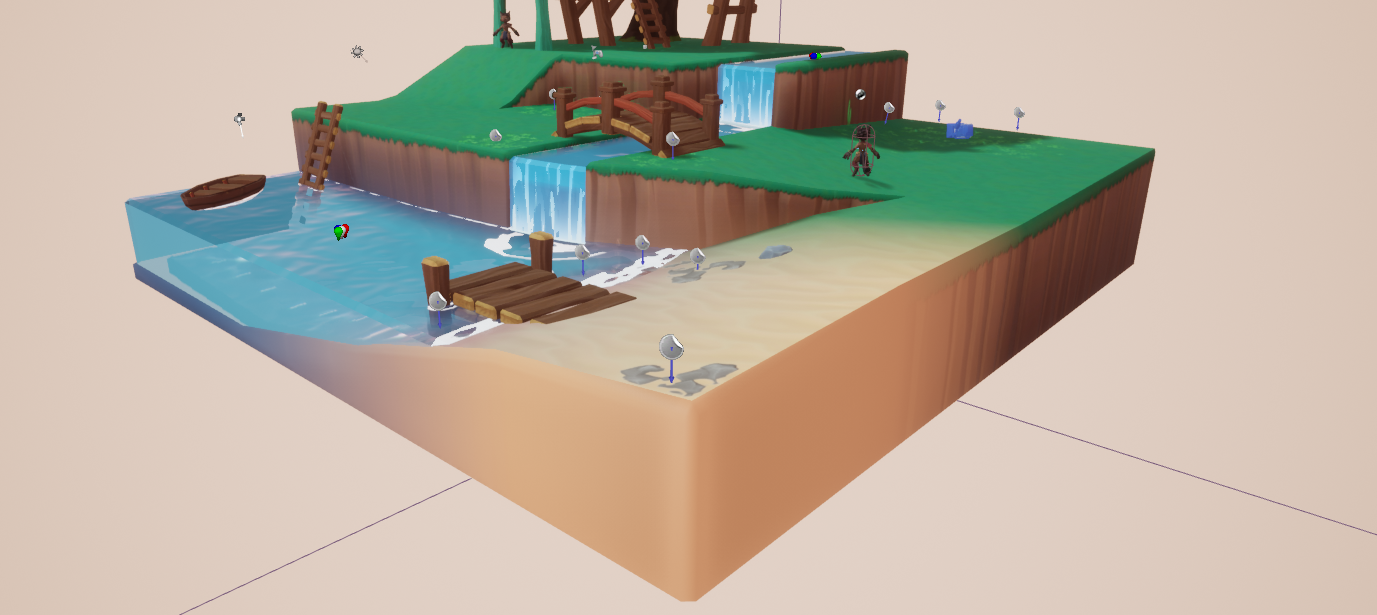 |
| Resulting textures |
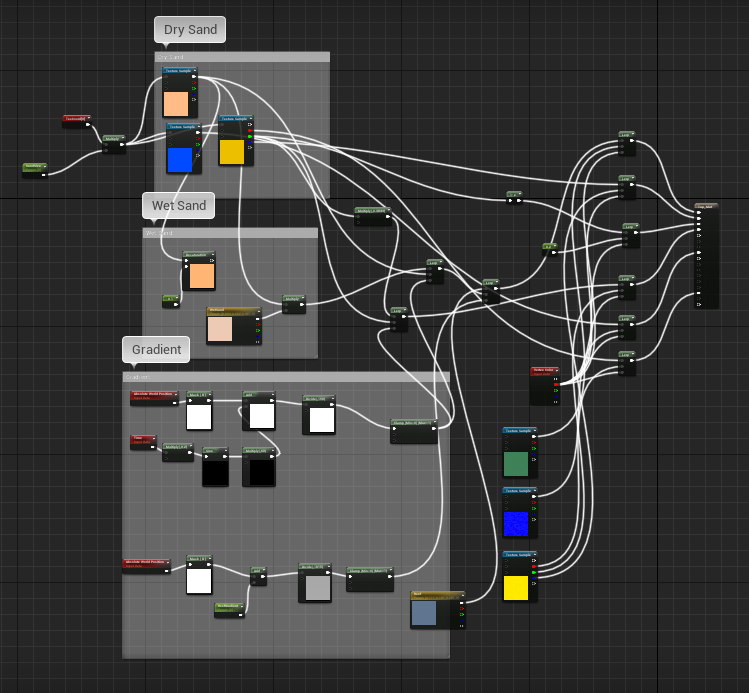 |
| (Top material) I simply lerped the materials and assigned them a vertex colour |
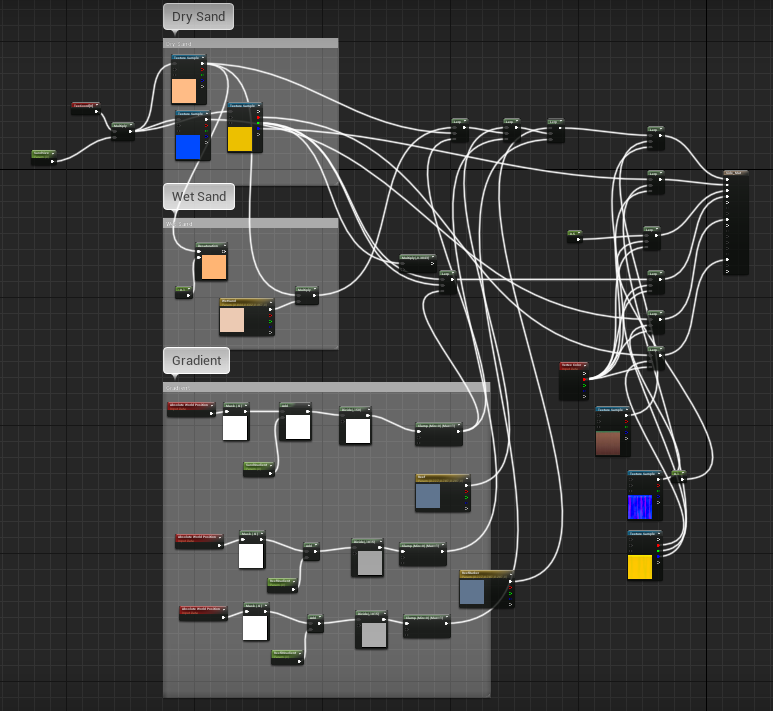 |
| (Side material) |
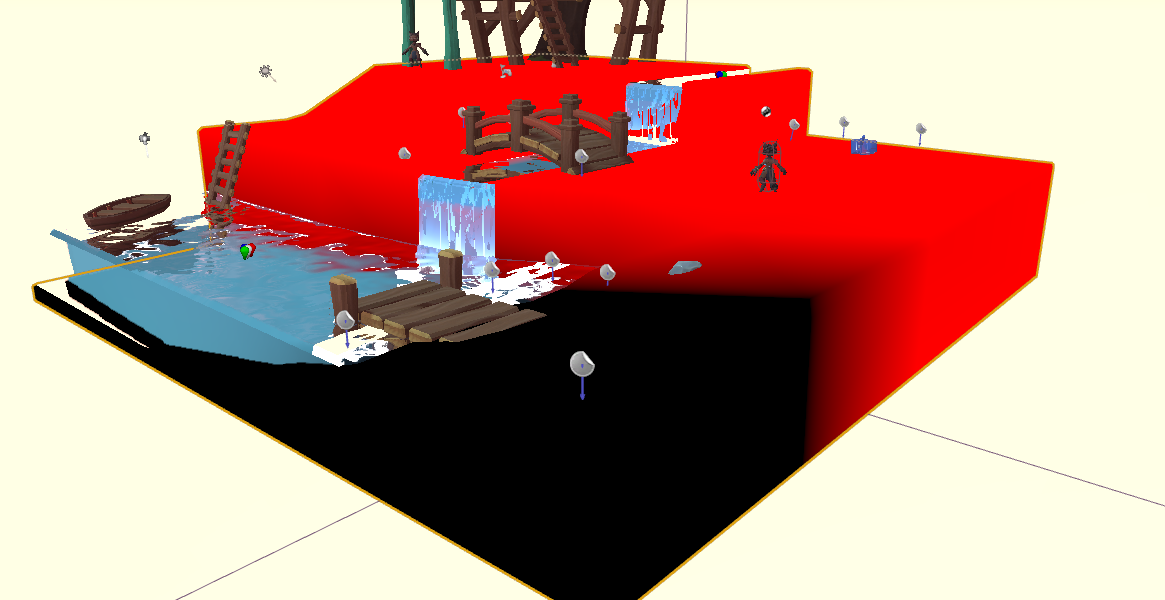 |
| Vertex painting RGB view |
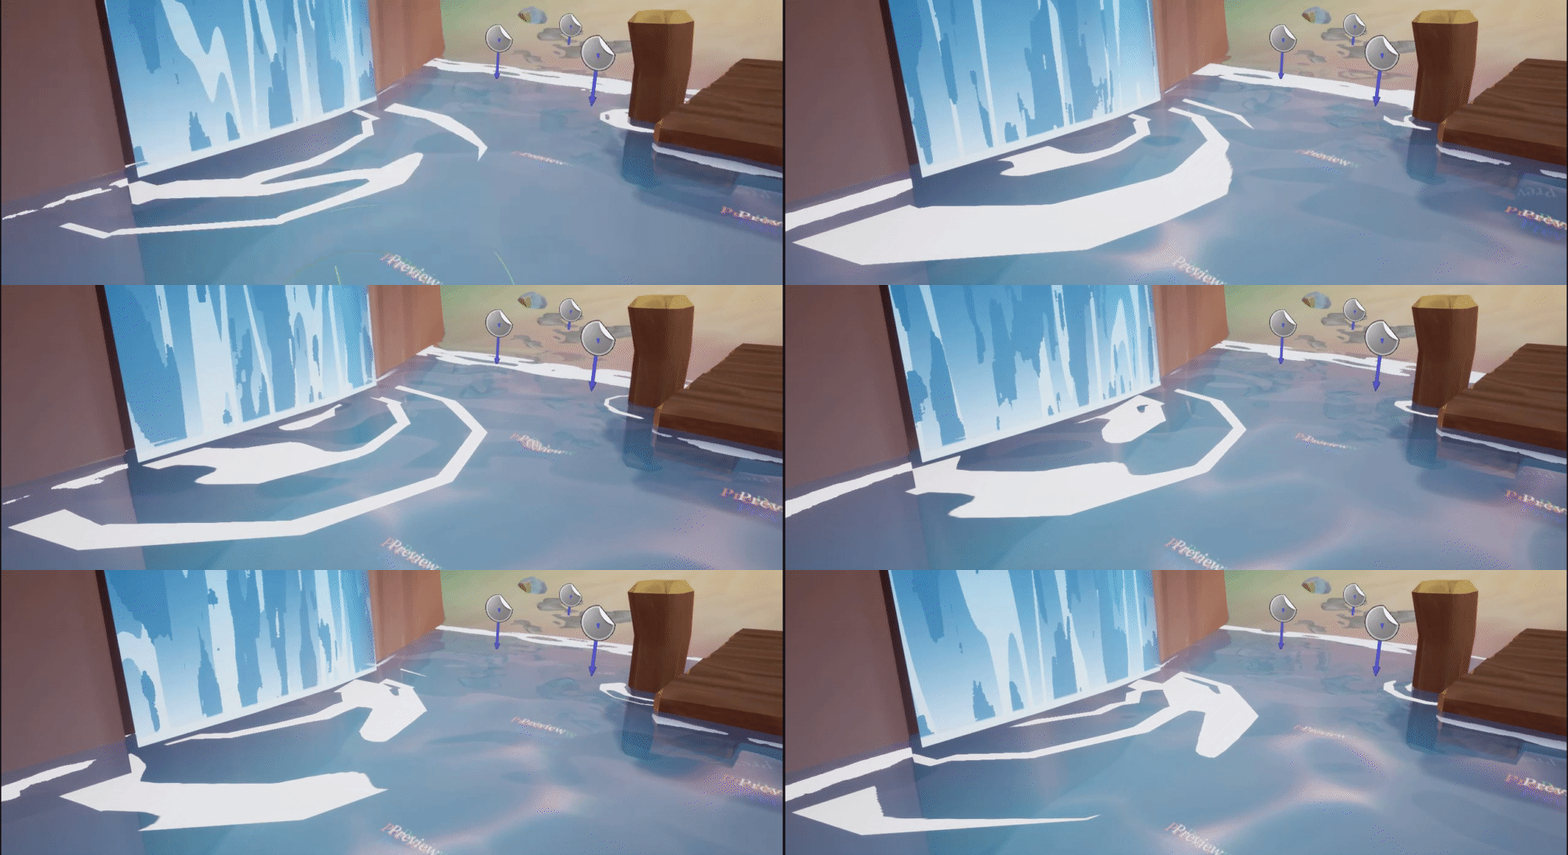 |
| Resulting texture |
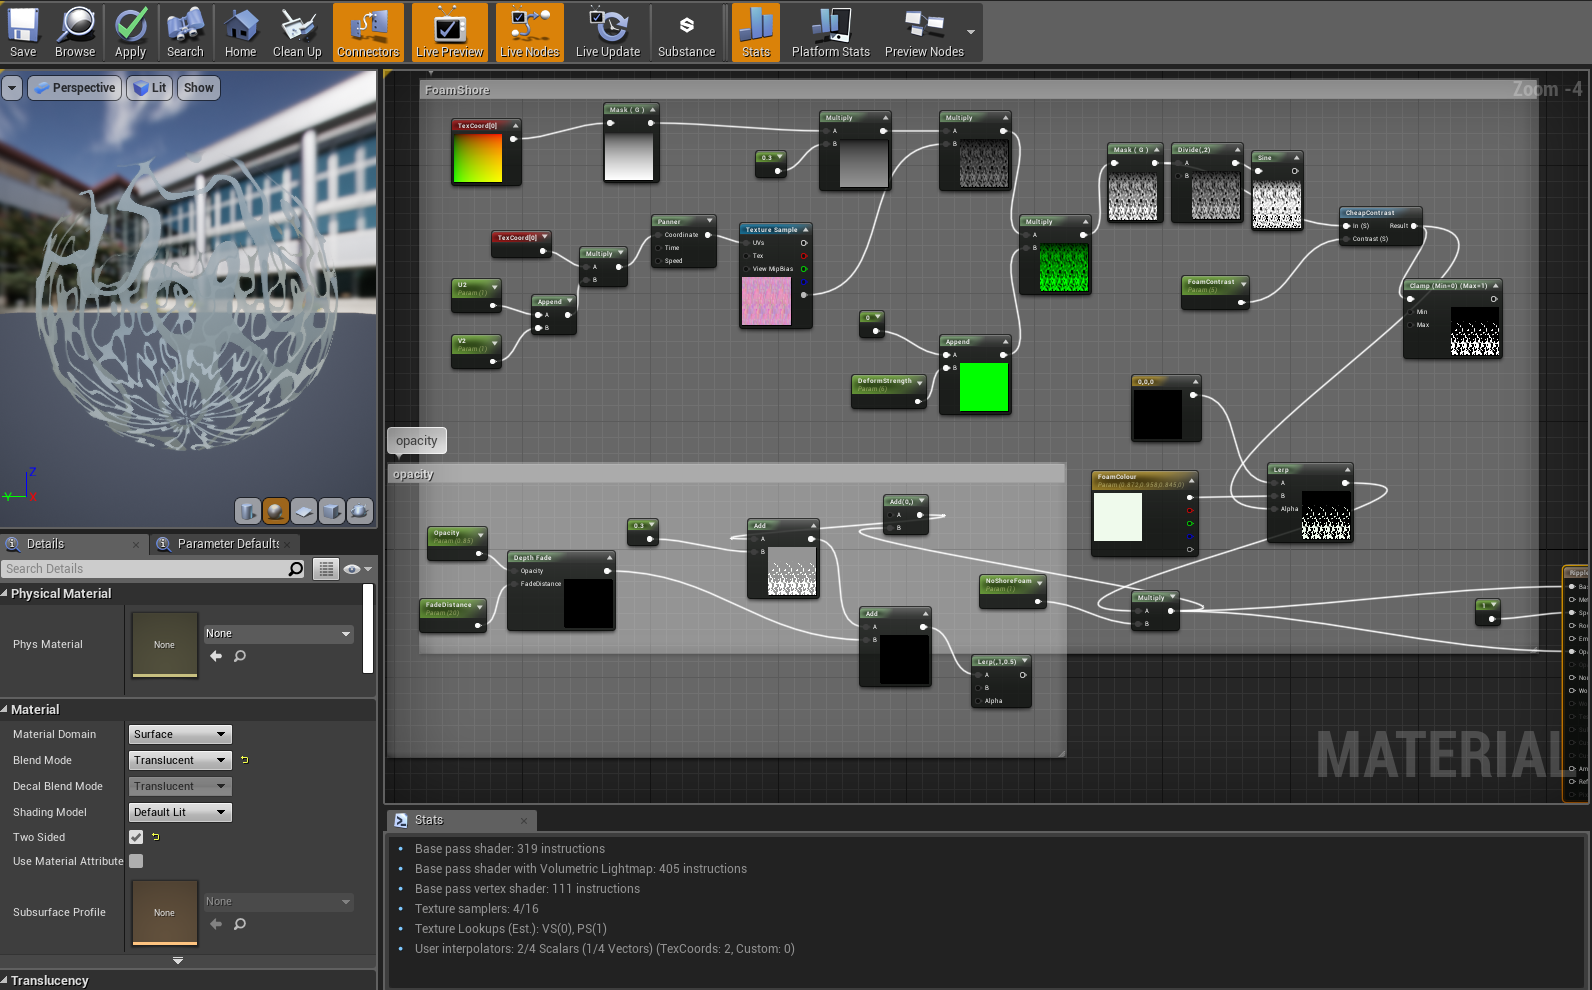 |
| Material |
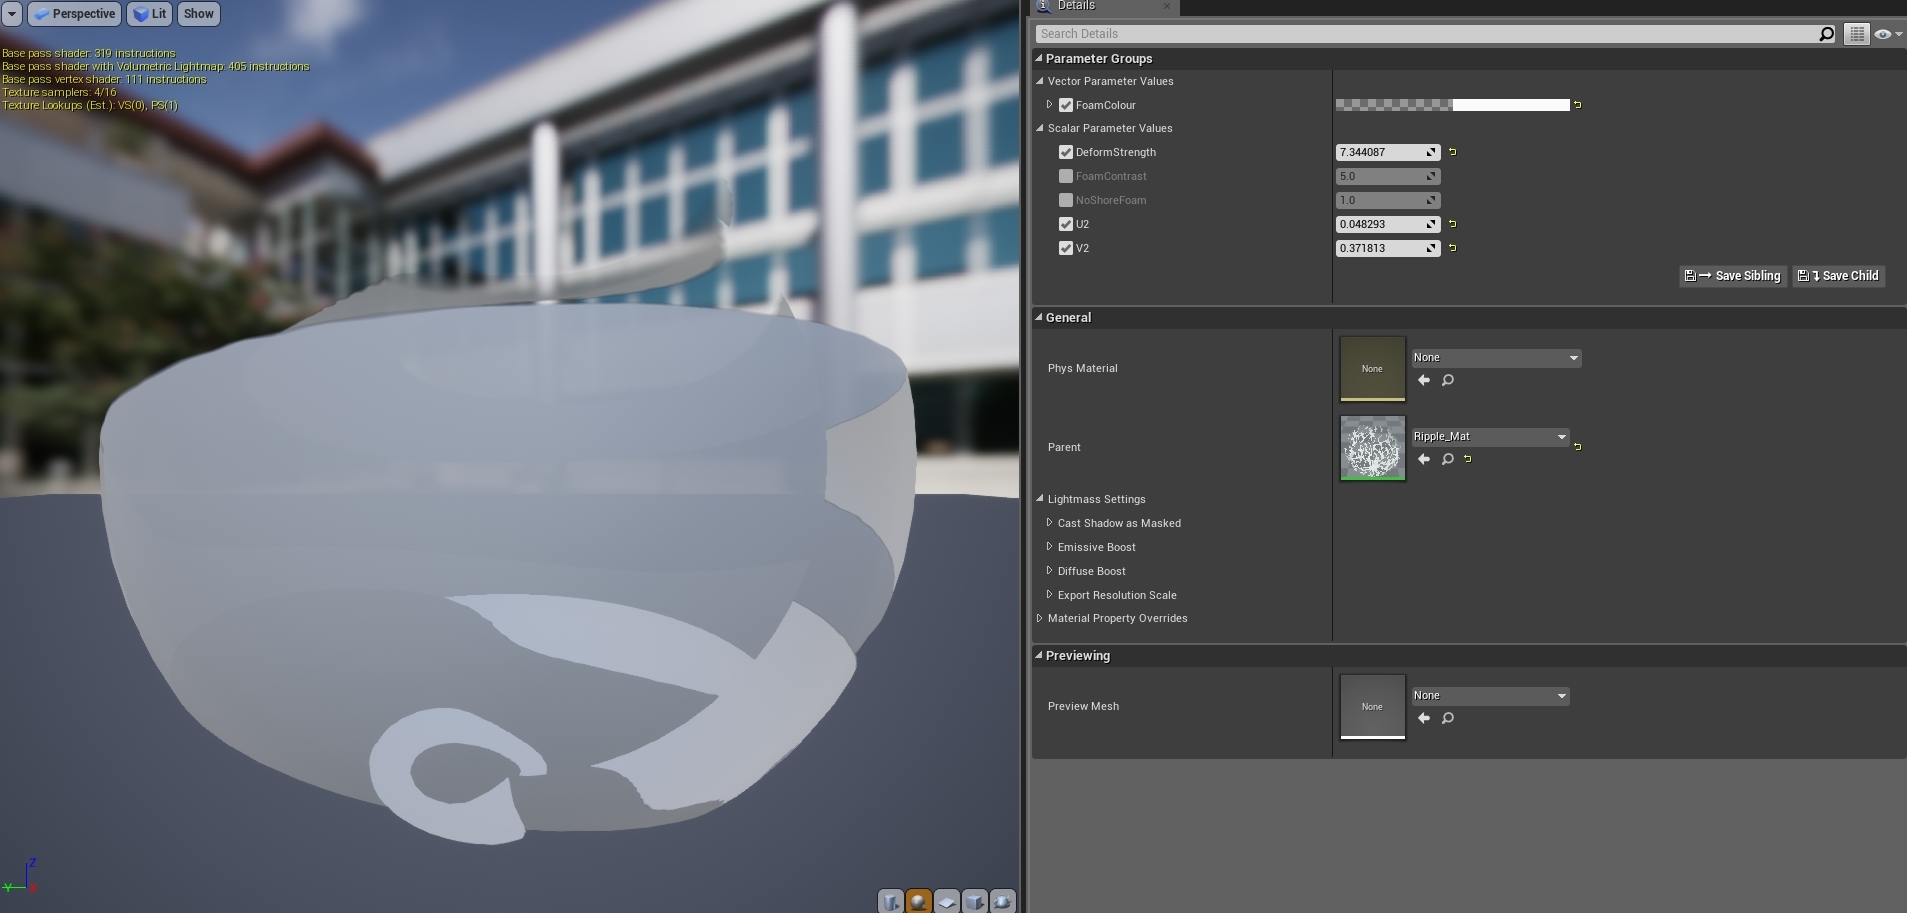 |
| Instance 2 |
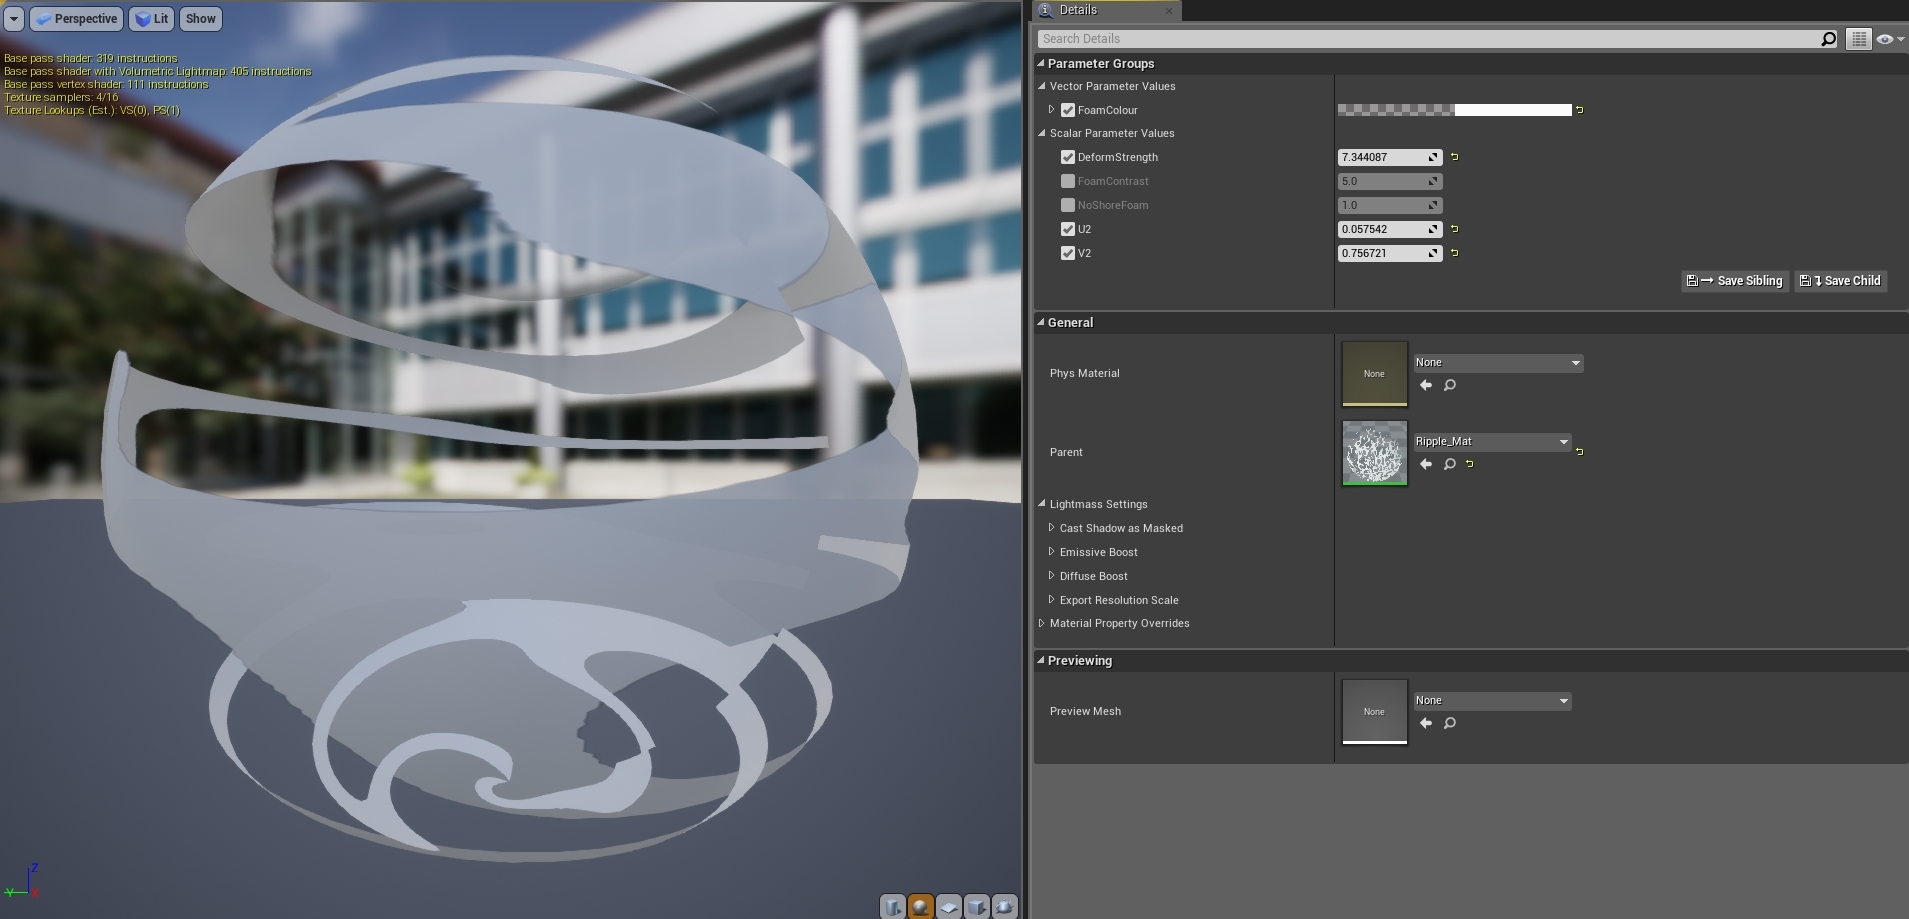 |
| Instance 1 |
Thursday, March 12, 2020
FMP: Week 10 Thursday
On Thursday I moved onto the waterfalls and rivers:
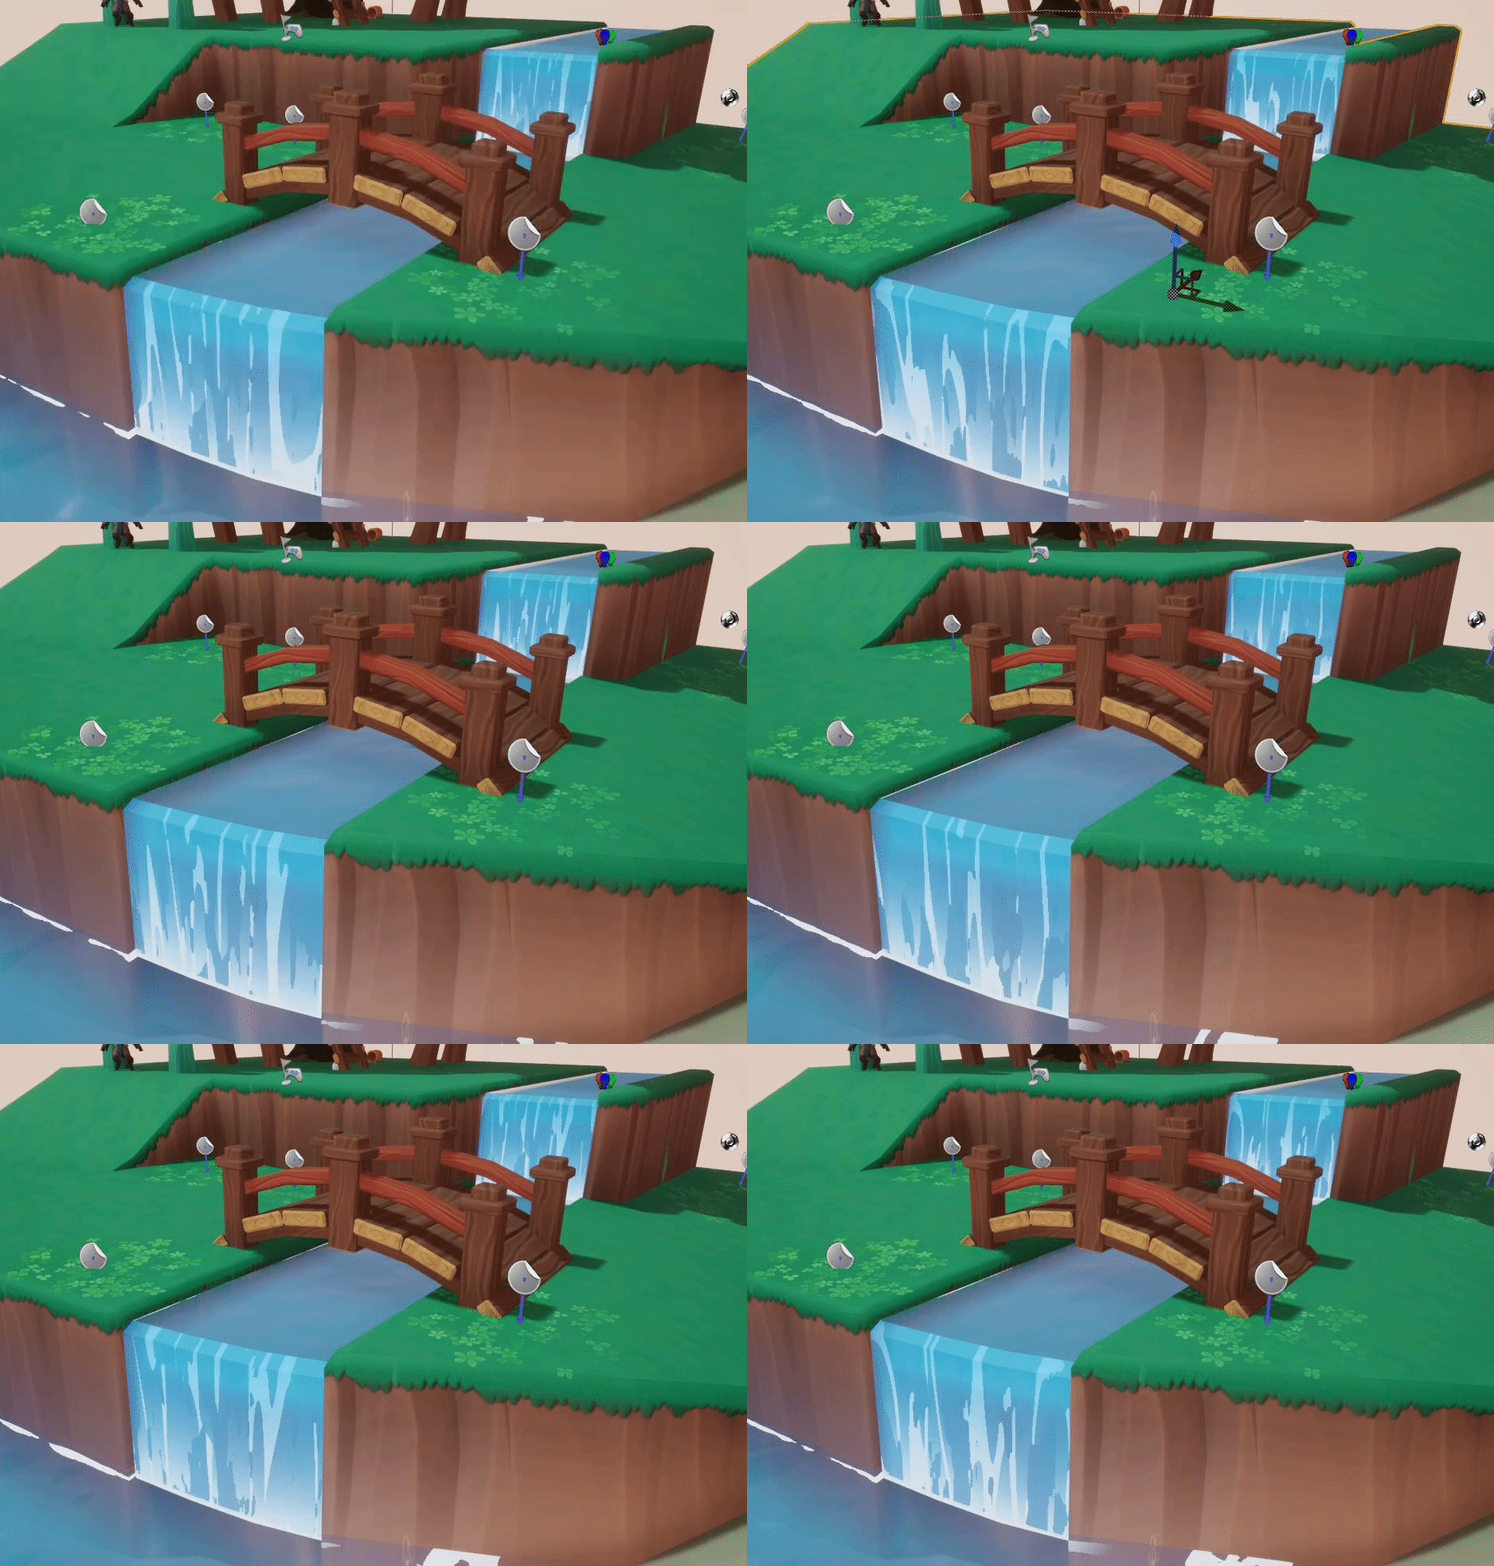 |
| Resulting textures |
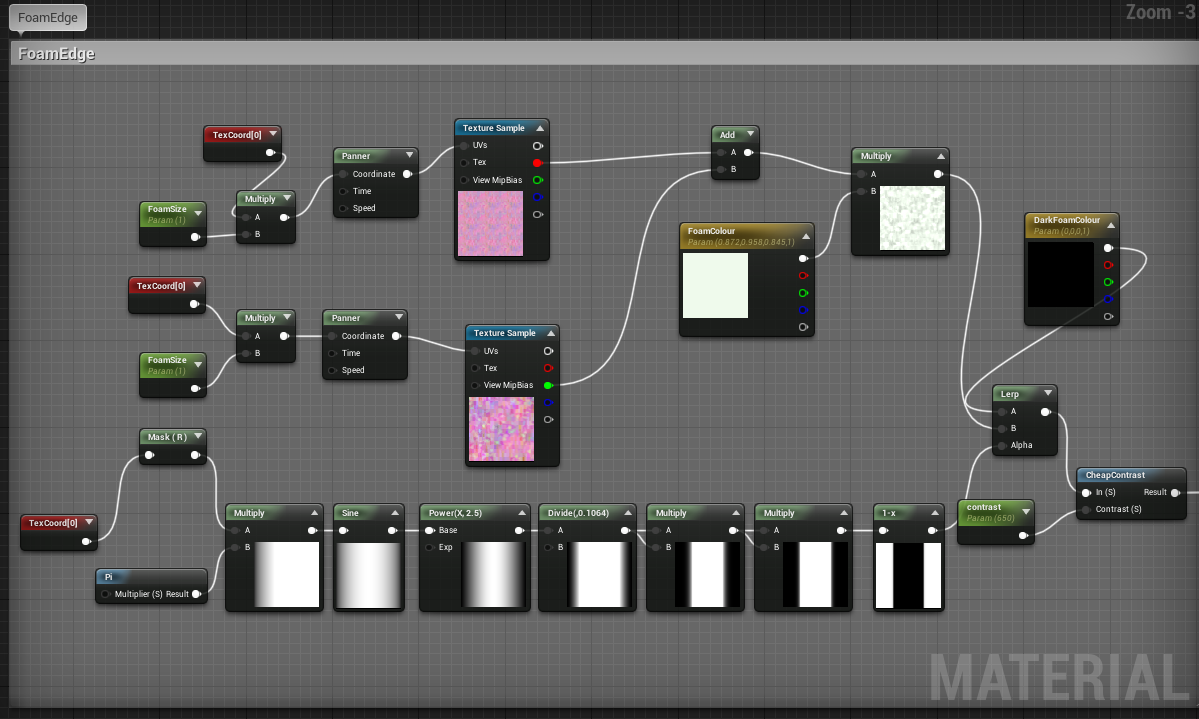 |
| Waterfall edgefoam (not currently used but will be later) |
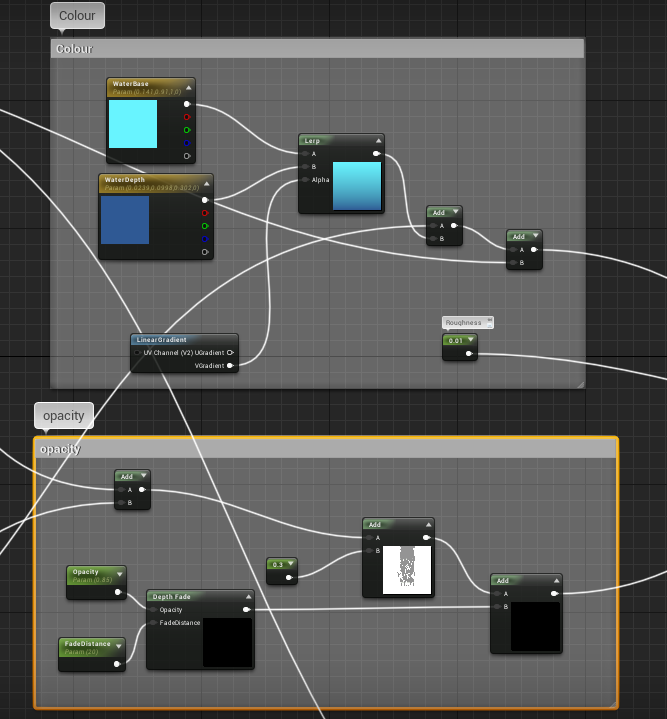 |
| Waterfall colour depth fade and opacity |
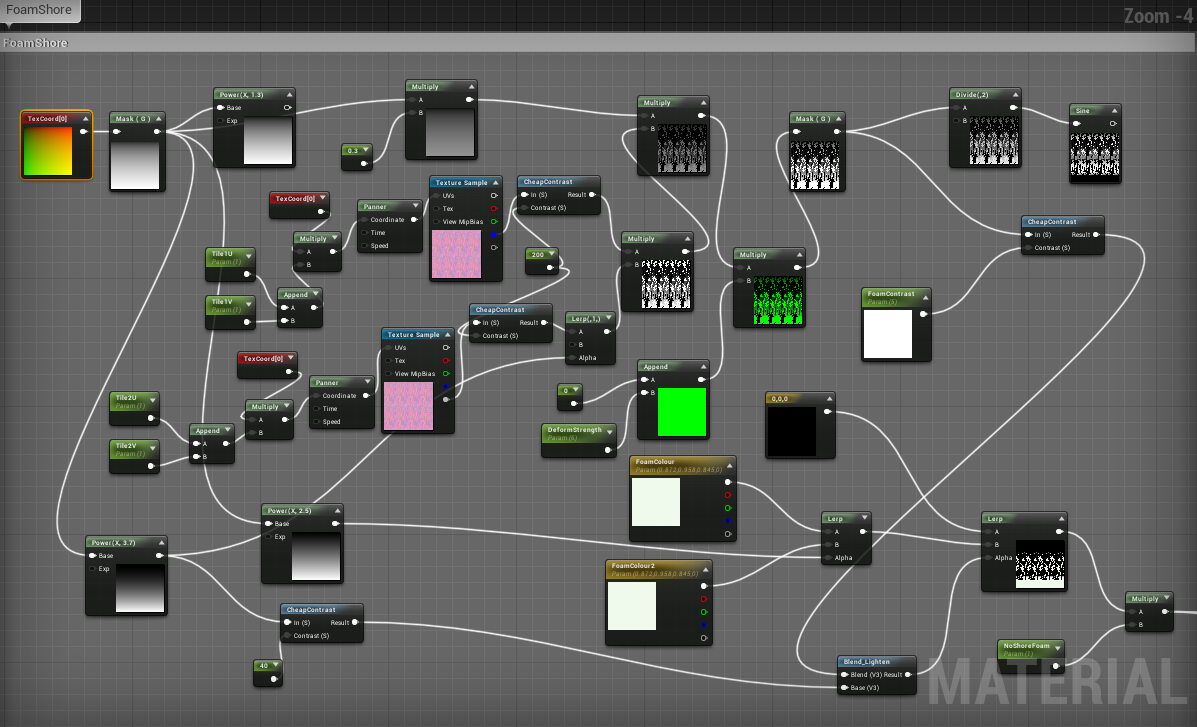 |
| Waterfall foam texture |
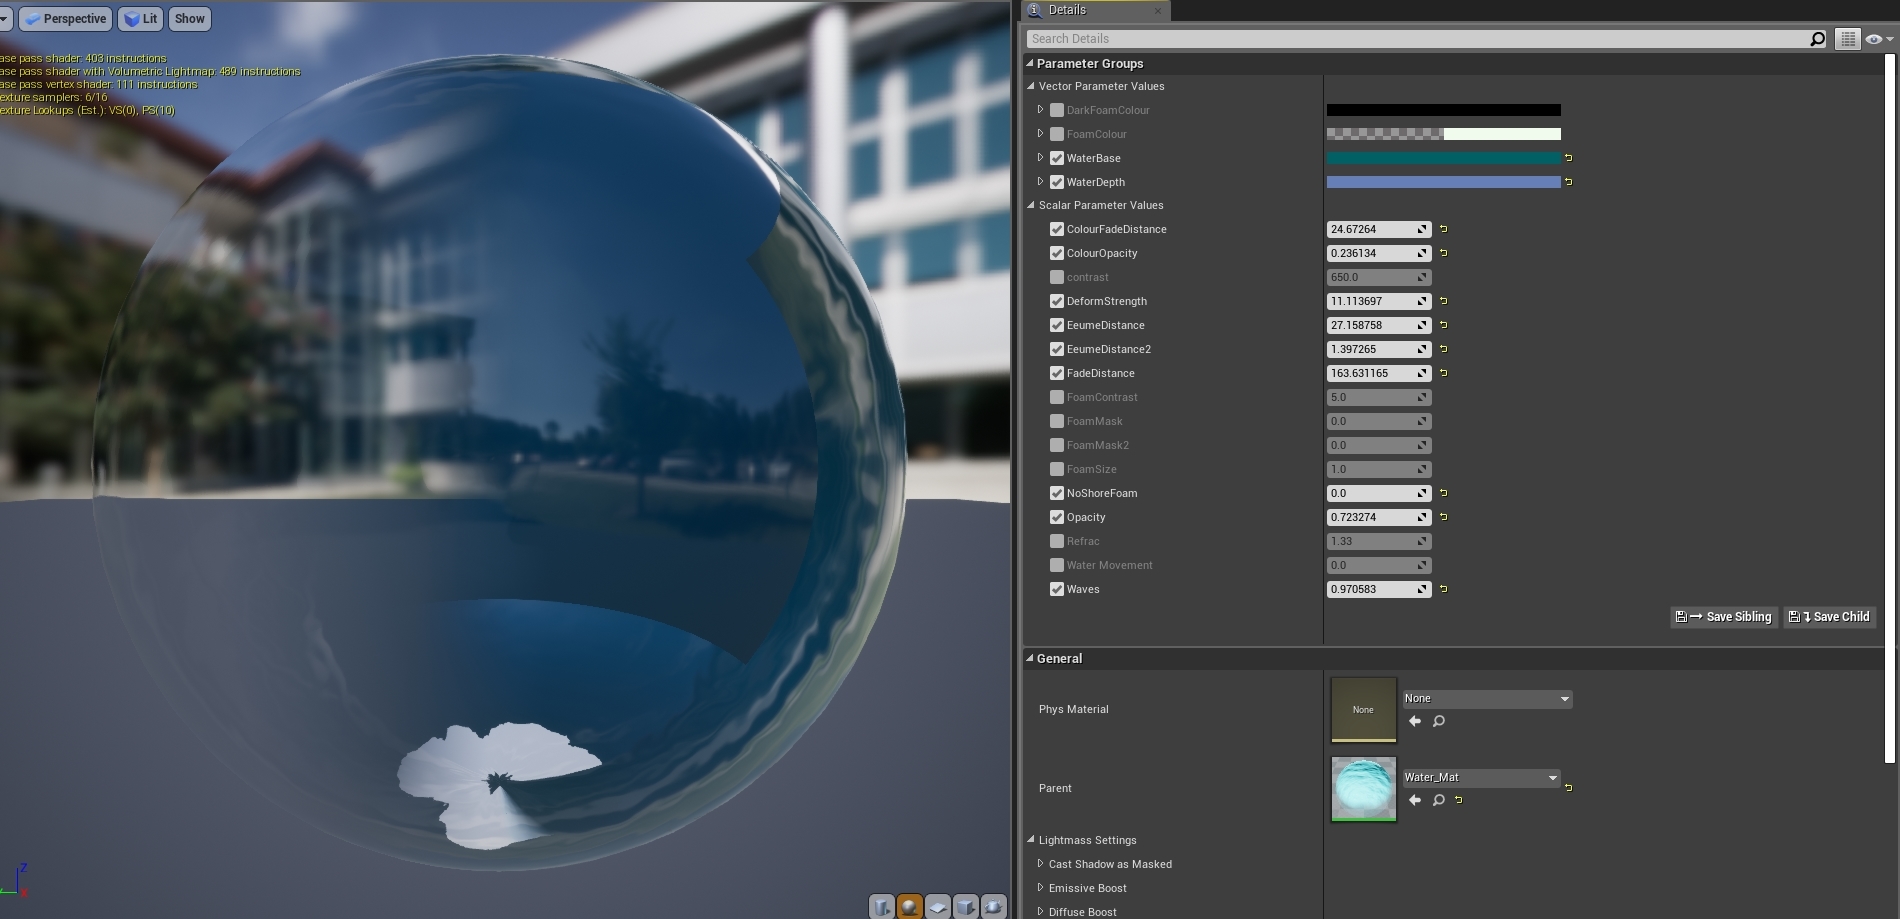 |
| For the lake, I simply made another instanced material of the original water material |
Subscribe to:
Posts (Atom)