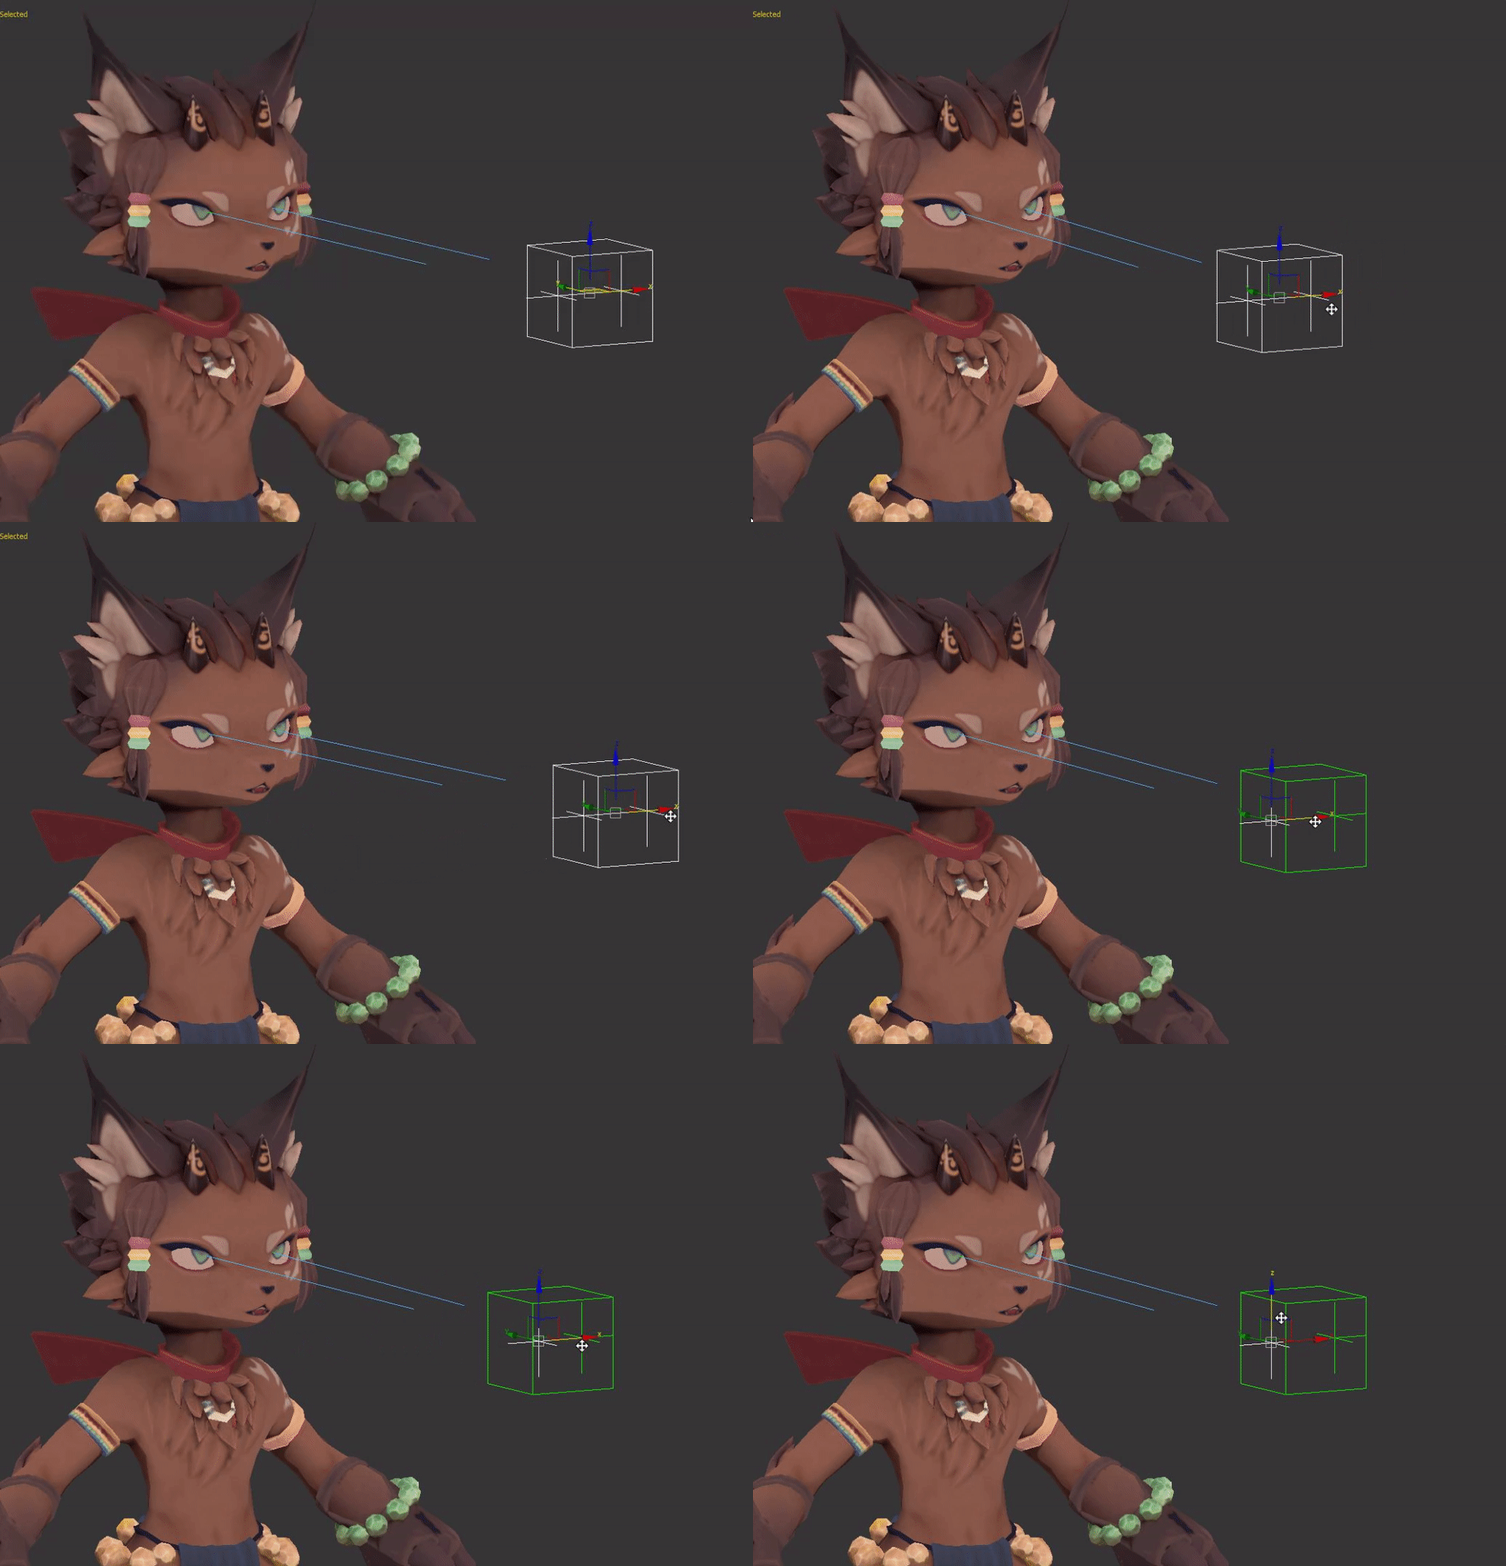
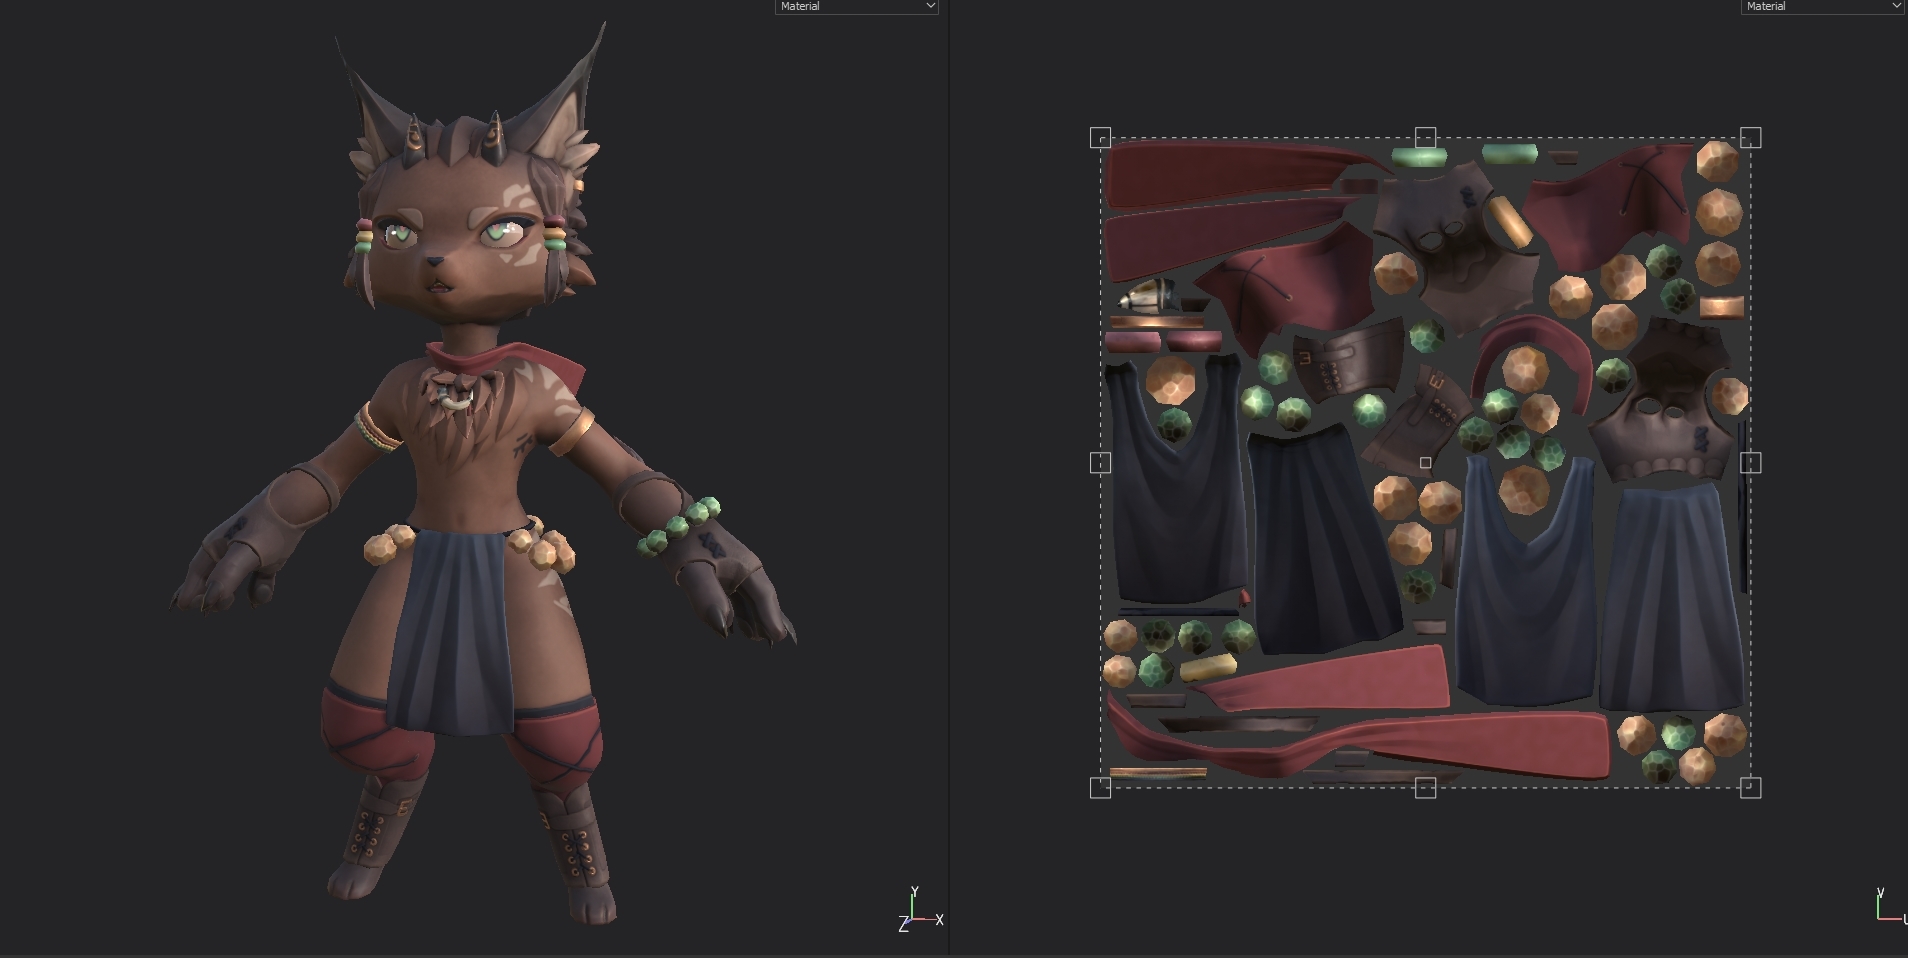
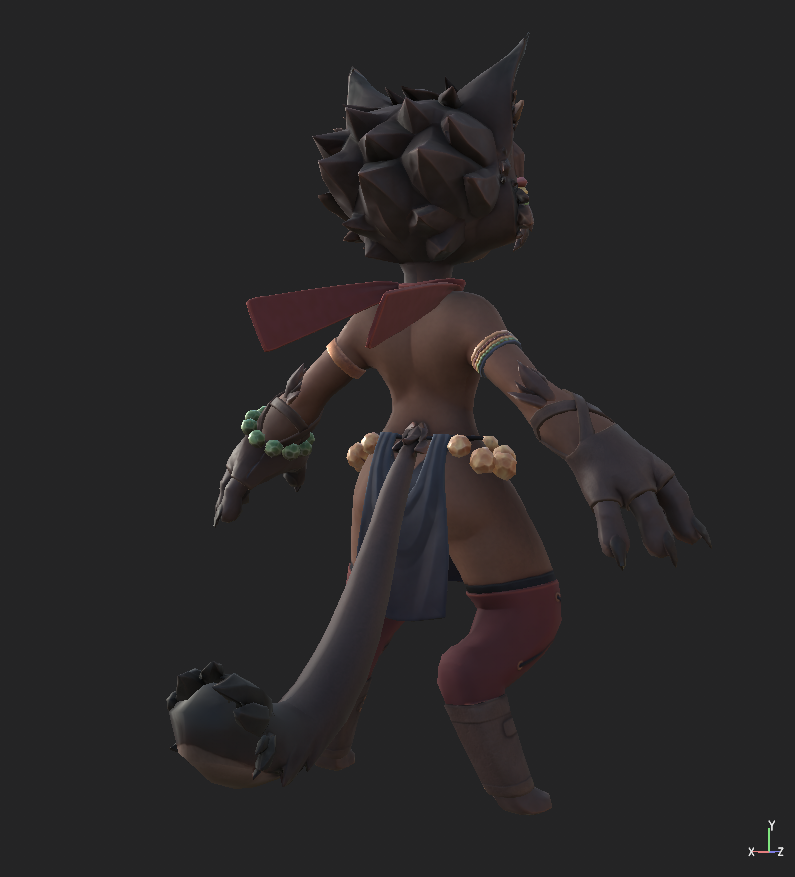
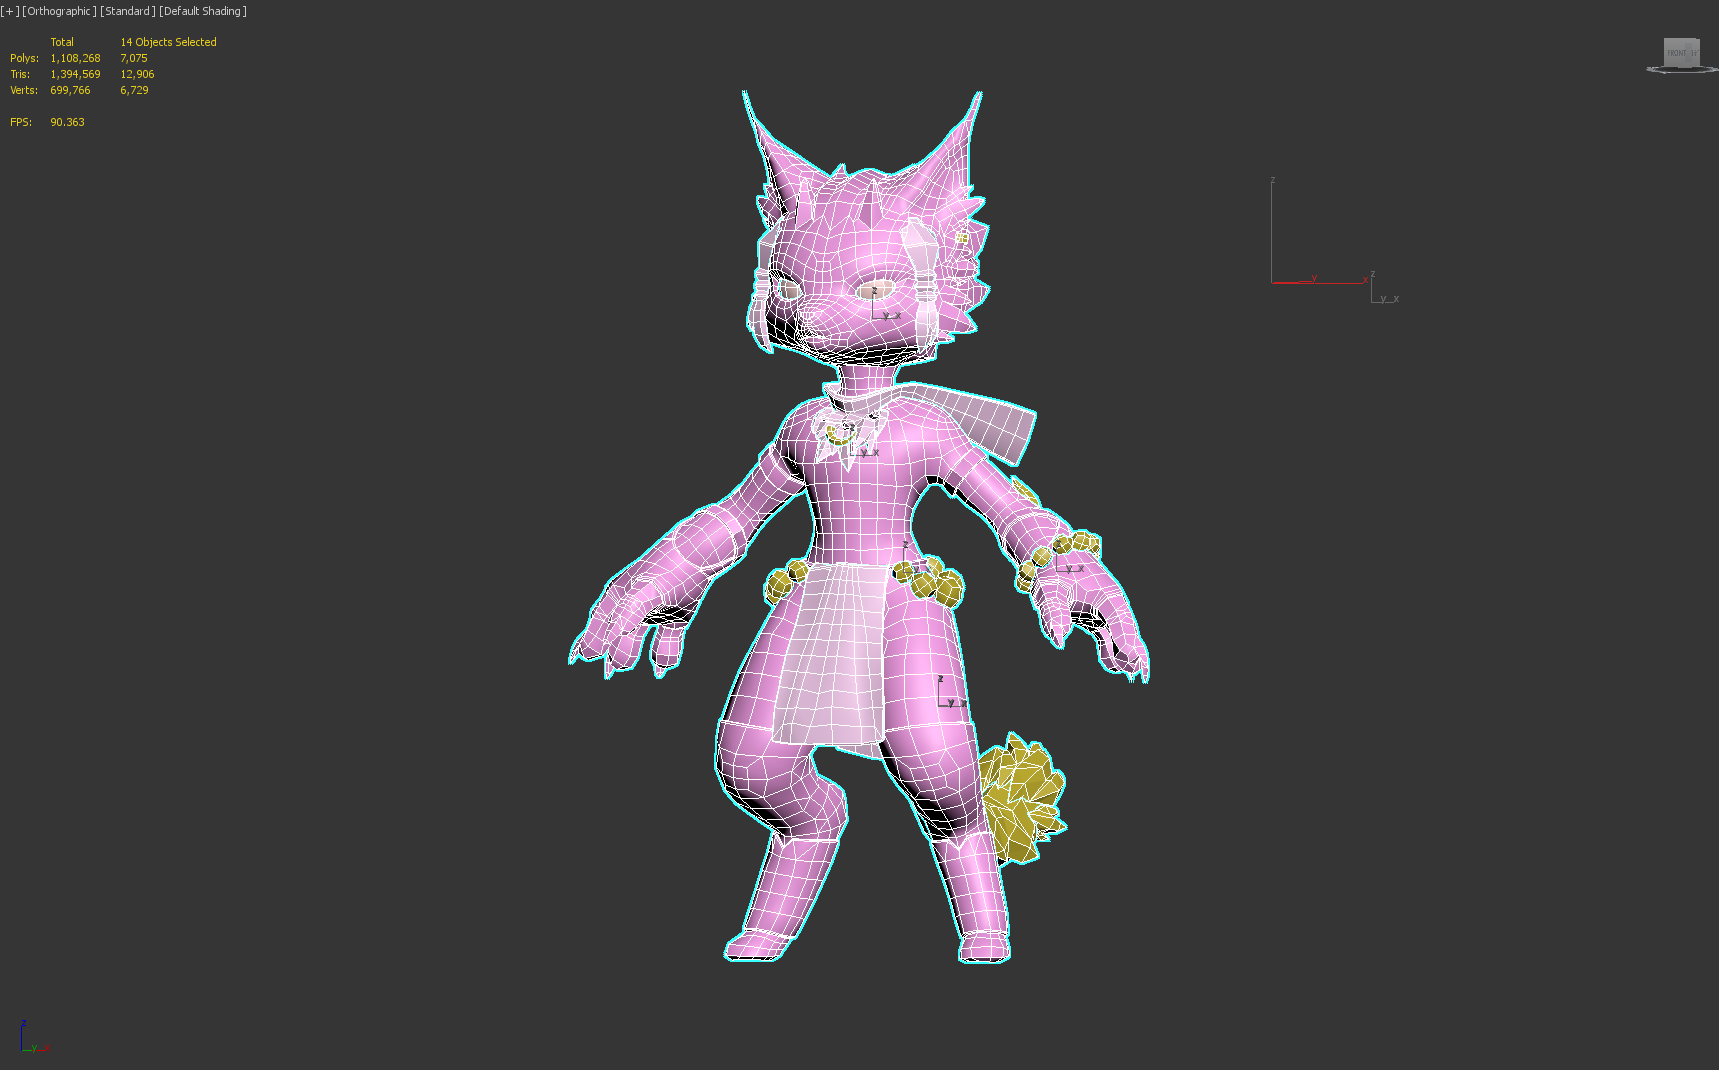
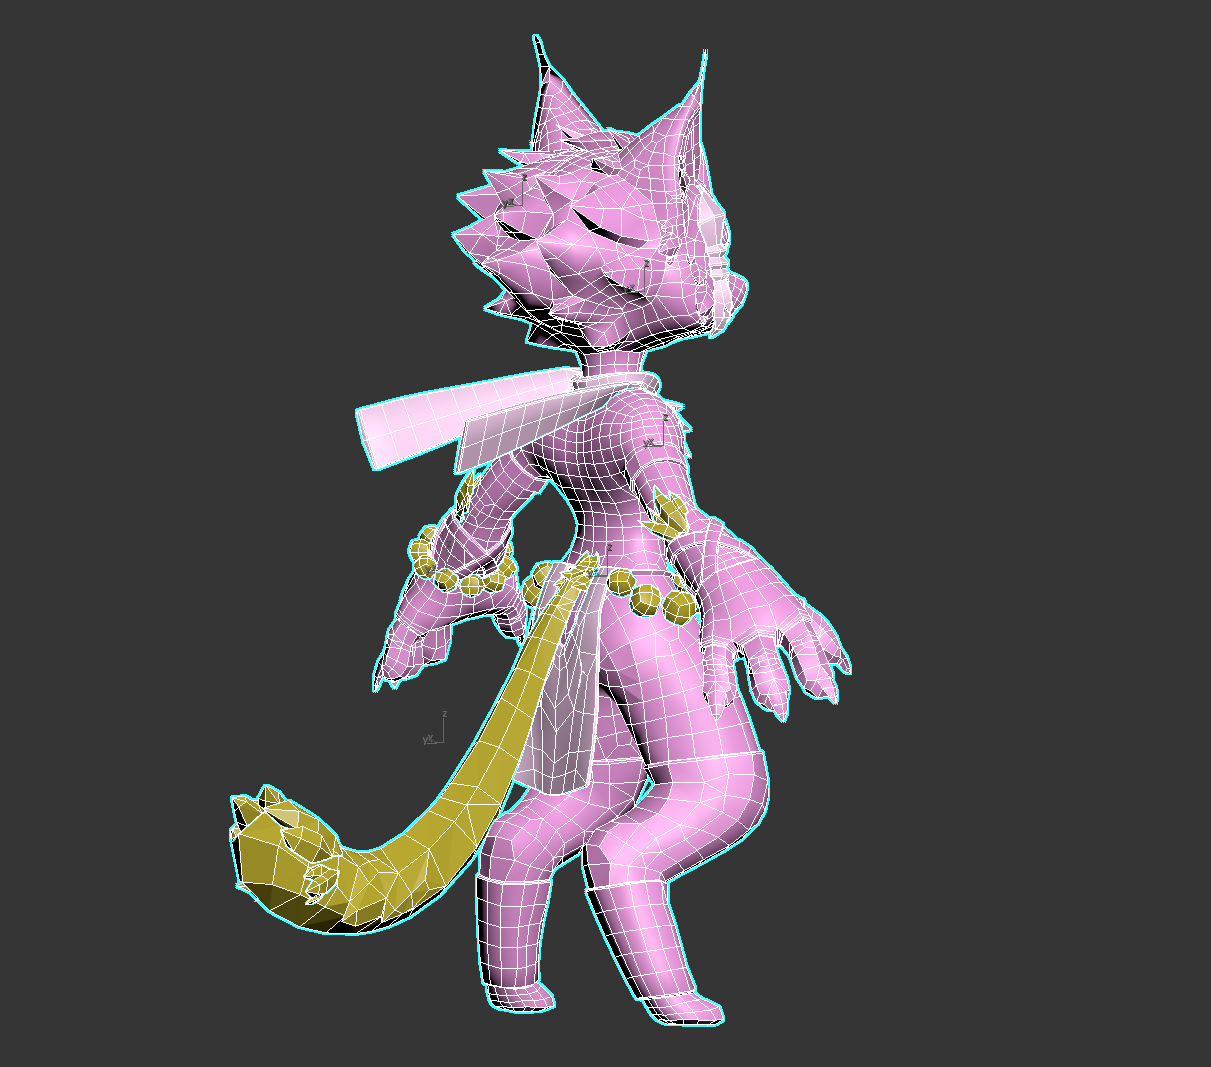
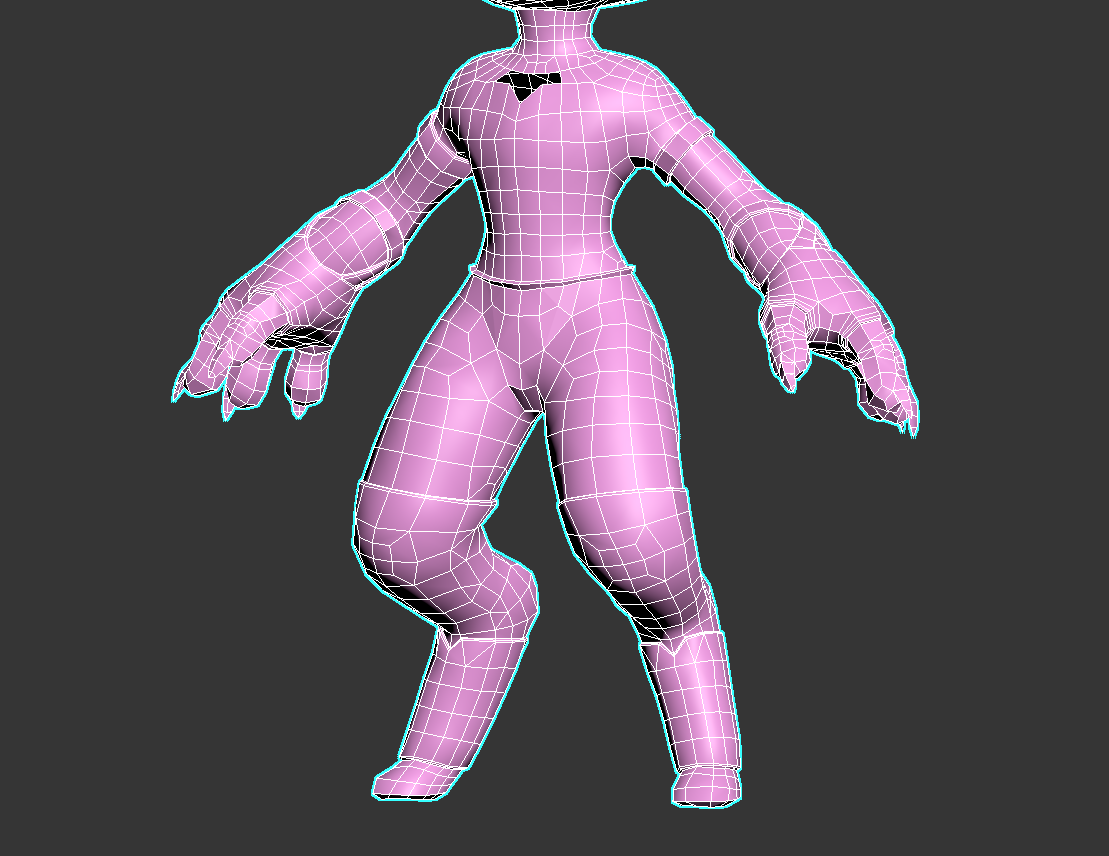
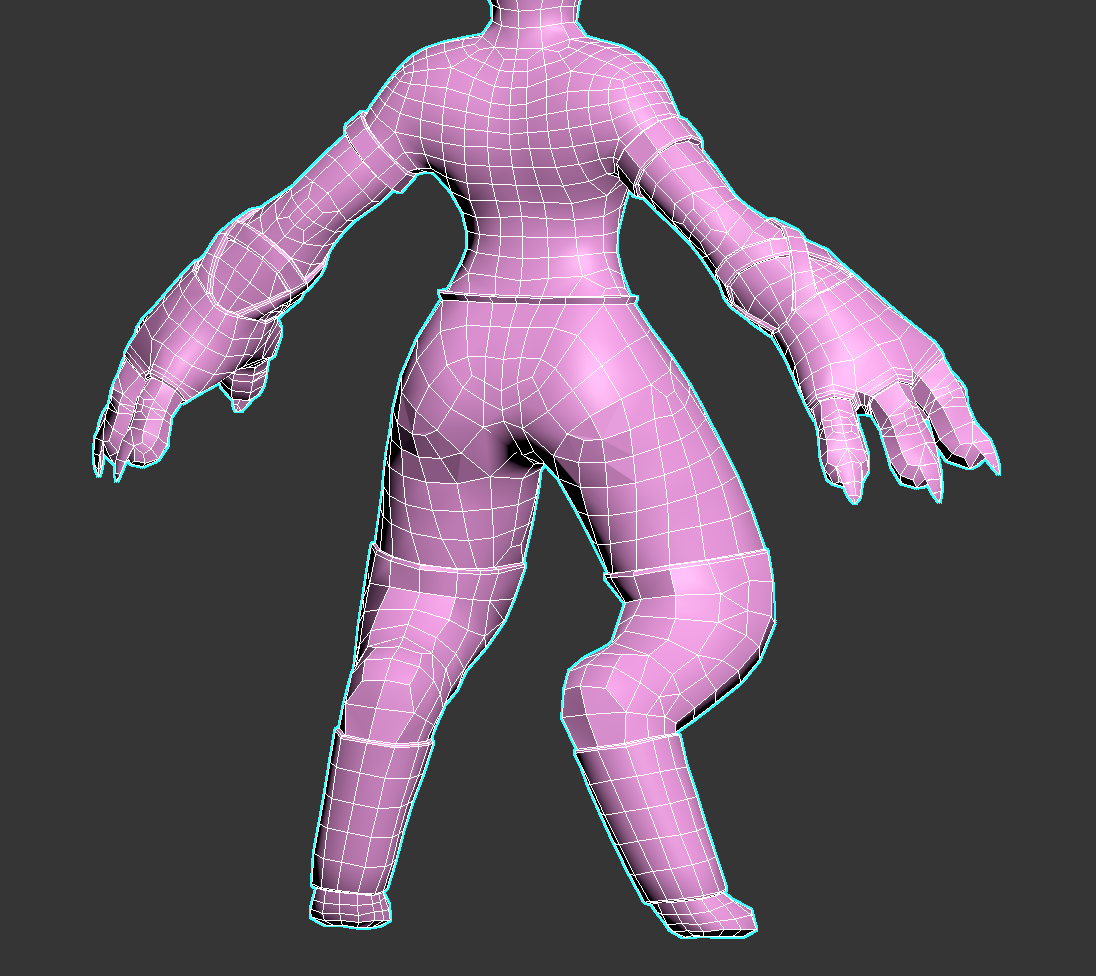
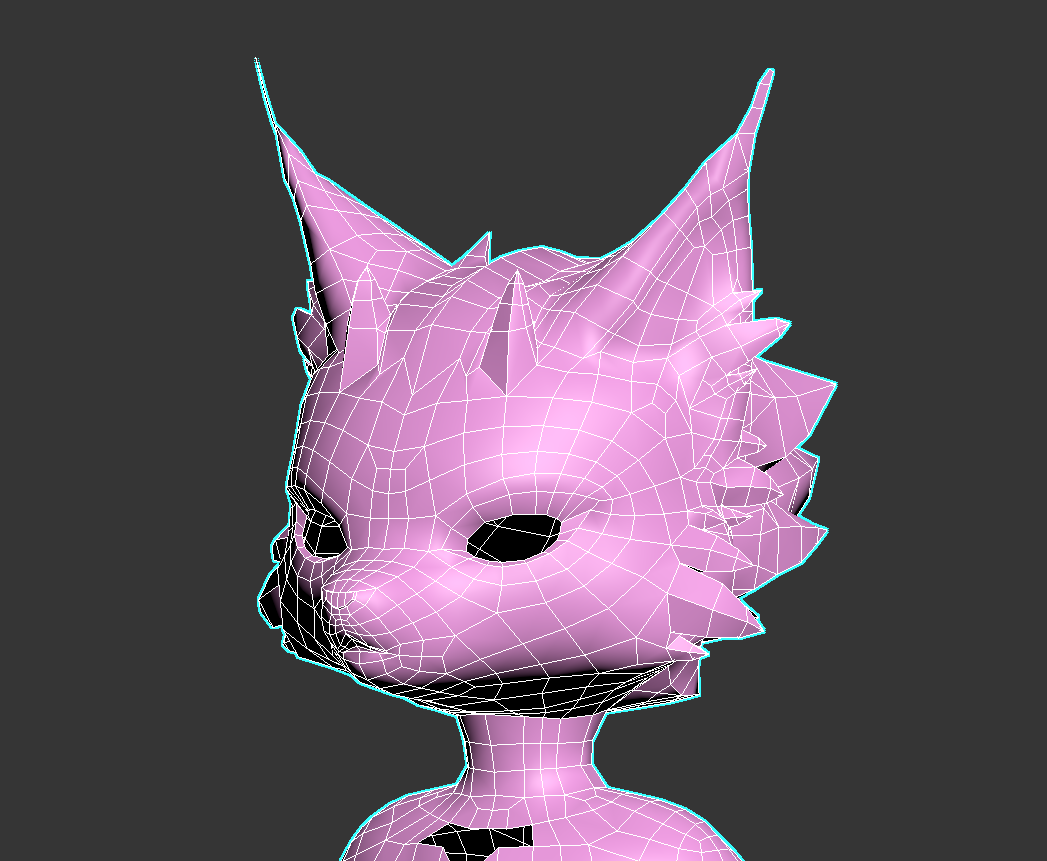
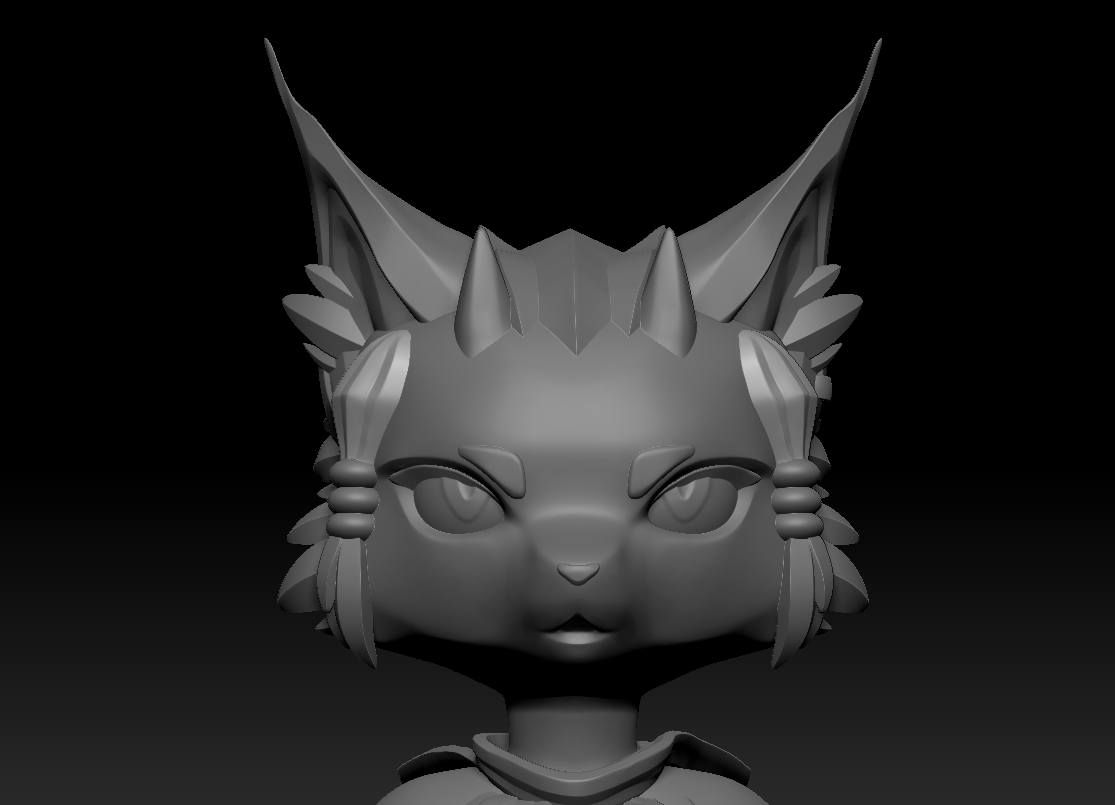
On Friday, I continued with the character's rig. This time, I decided to rig the eyes so that they could move independently and together as one, separate from the body rig. I had to keep the eyes seperate from the rest of the mesh to achieve this so that I could follow this tutorial and attach helpers to the eyes, linking the eyes to points and then using a LookAt Constraint directed at a dummy for each eye, then attaching those to a parent dummy.
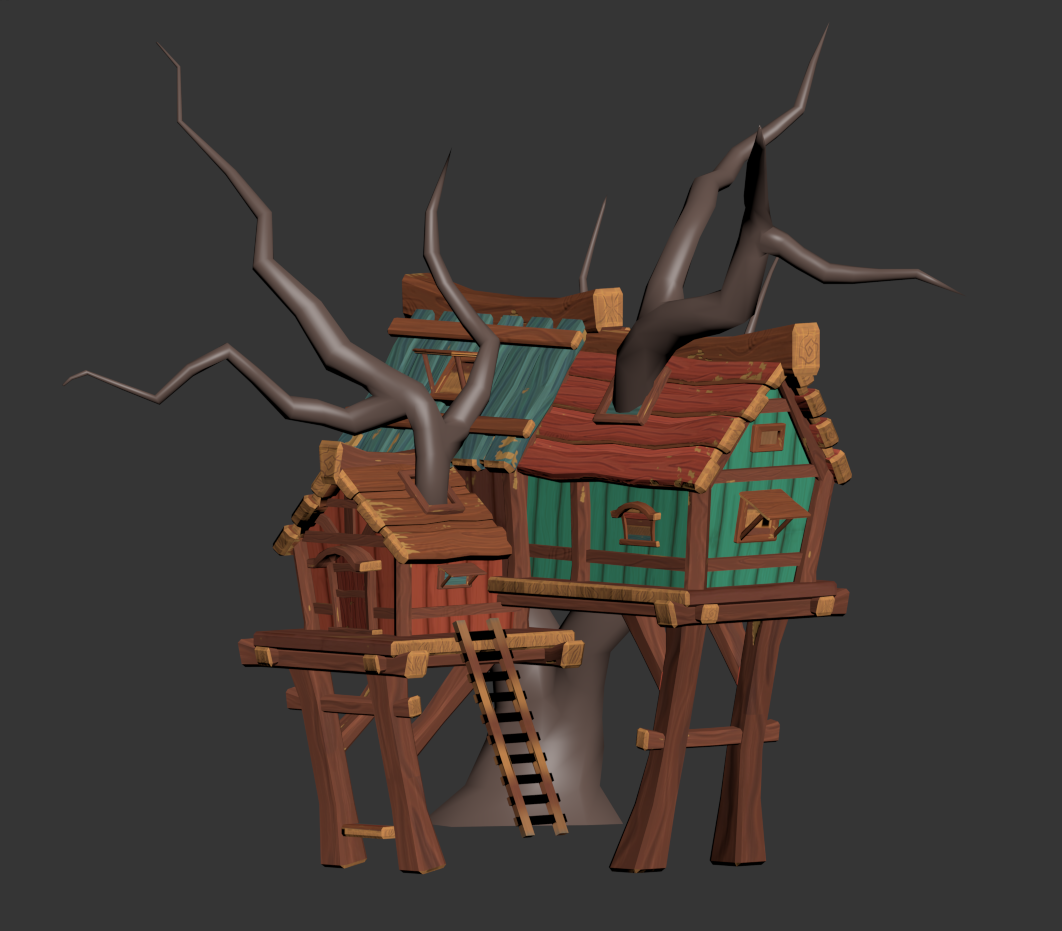
I then moved back to applying the trim sheets and tileable textures to the treehouse:
Friday, February 28, 2020
Thursday, February 27, 2020
FMP: Week 8 Thursday
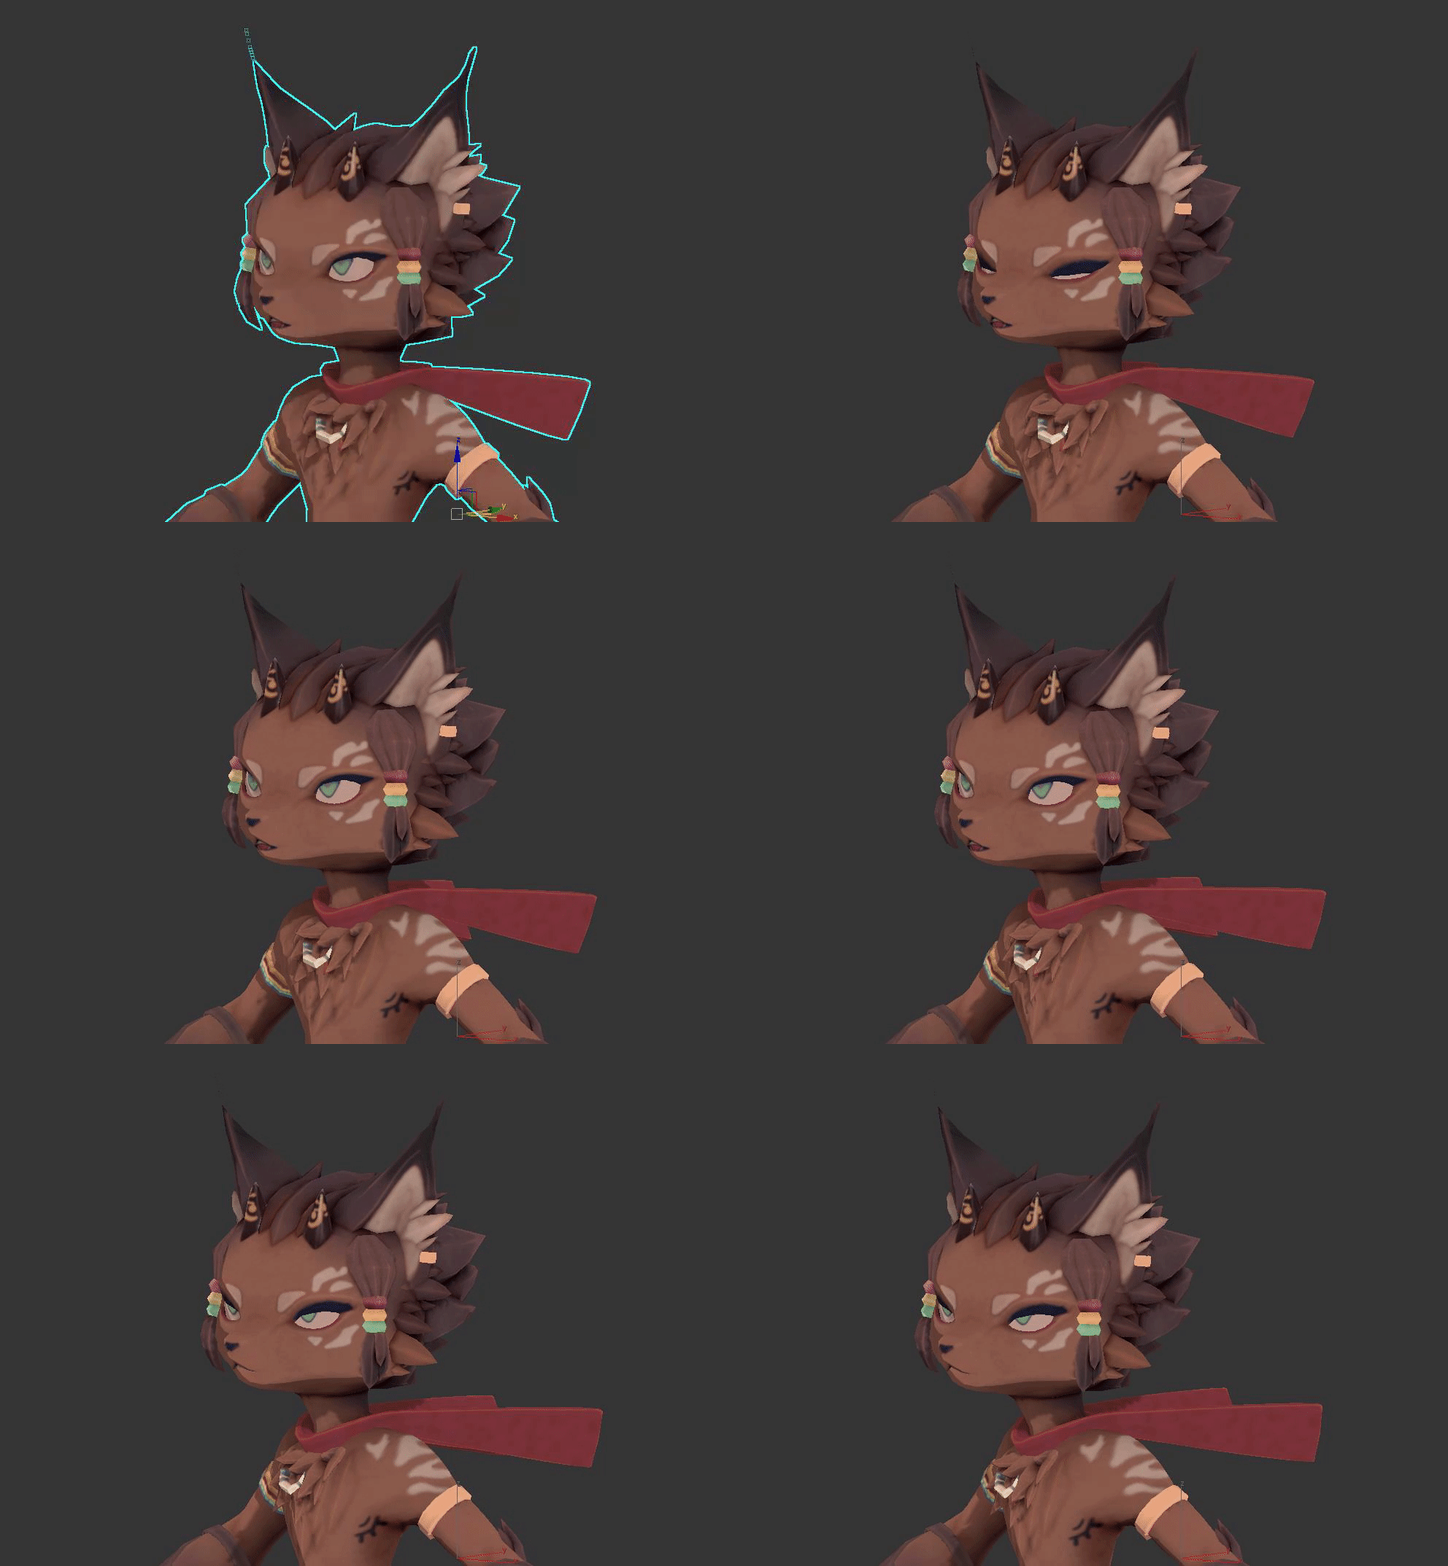
On Thursday, I began working on the animations for the character. I wanted him to have facial expressions, so I decided to create some morphers following this tutorial.
I duplicated the character mesh several times, slightly moving verts around the eyes and mouth to simulate blinking, the mouth opening and closing, as well as a slight furrow of the eyebrows to express anger. I originally used 3ds max's progressive morphing, but later removed it after finding out that it wasn't actually supported by ue4 yet.
I then animated them in different chunks of the animation timeline so that they would be easier to separate later. I made sure to filter out everything other than modifiers in the animation key settings so that the morphers would be the only thing recorded.
I then animated them in different chunks of the animation timeline so that they would be easier to separate later. I made sure to filter out everything other than modifiers in the animation key settings so that the morphers would be the only thing recorded.
Wednesday, February 26, 2020
FMP: Week 8 Wednesday
On wednesday, I reduced the topology following the crit from lecturers mentioned previously. I then created a bipedal skeleton and started rigging, using the copy/paste function where applicable:
 |
| (helpers and clones were added later) |
 |
| I limited the hand links to 2 to keep them simple, and added horselinks to the legs to replicate the animal anatomy. |
Tuesday, February 25, 2020
FMP: Week 8 Tuesday
On Tuesday, I placed my tileable plank texture that I had baked in marmoset into substance designer to generate AO and curvature maps based off of the normal to height map node. I did the
Is so that the maps would match the ones I generated using the same method for my trim sheet, which was created using substance designer because I was editing and combining the normal map in photoshop and couldn’t use the additional maps generated by marmoset, as they wouldn’t line up.
I created a smart material out of all of the layers used for my trim sheet, then applied it to my tileable plank texture so that I would have a similar style and colour for the both of them. I then made some tweaks to the colours following the concept, and made tweaks to the grunge/paint wear layers.
To preview the texture, I created a plane in 3ds max and doubled the size of the plane UV, covering a quarter of the overall space. This was so that the texture would tile four times in substance painter, allowing me to see each of the seams properly while painting.
Monday, February 24, 2020
FMP: Week 8 Monday
On Monday I had another presentation updating the lecturers on my work. I received feedback that I should further optimise my topology by deleting loops in areas that don’t need them, even if it results in having rectangles (as those areas wont be deforming).
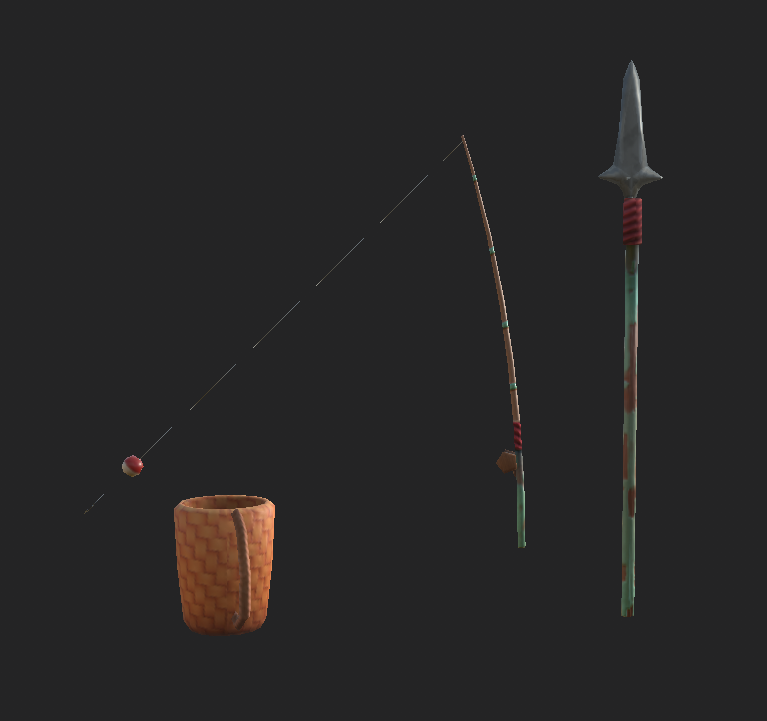
When I got back, I started working further on my item textures. On the spear I added paint wear in areas where the character would be holding it, using the same cloud, blur and histogram method mentioned previously, with the addition of a gradient to add interest. I used this same method on the fishing rod to add a pop of colour to the base, and used a fiber mask on the both of them to create the height for a rope wrapped around both assets. I then painted in marks going up the fishing rod to suggest the location of where the fishing line would be threaded through, leading back to the bobbin, without actually painting the hooks or fishing line in, as there was no reasonable place to paint those details on the mesh.
I made some tweaks to the tree texture by scaling the textures in places and repositioning some of the grain, then added curvature, ground up gradients and ao generators to add additional colour variation. I also used the gradient and a histogram filter to create the effect of moss and greenery around the base of the trunk.
For the starfish, I didn’t want to spend too much effort on such a tiny asset in terms of height or normal maps, so I avoided sculpting it. Instead, I painted a few small bumps in height, then added a salmony pink fill layer with roughness. After this, I added curvature and ao gradients to increase the visual impact a little further.
The shell was textured using height and colour on strips laid diagonally across the shell, using the same curvature and ao techniques mentioned previously.
For the rocks, I added a simple fill layer, curvature and AO for detail, and then the cloud, blur and histogram technique to create sand stains with slightly increased height and roughness on max.
Friday, February 21, 2020
FMP: Week 7 Friday
On Friday, I went back to the character textures and added extra detail to each of the material folders that I had made. I focused on adding colour variation with zoomed in noise texture masks, curvature generator layers that lightened edges (and darkened crevices), and AO generator layers that added extra colour depth where shadows would lay. I also baked a position map in substance painter so that I could use generators to create dark gradients coming up from the ground. On some materials I also used smart masks such as sand occlusion masks and fabric edgewear masks to add further detail. I also added some roughness variation in places to add interest.
I added emission on the eyes so that they would glow slightly in the dark, and whenever I added any kind of noise I made sure to add a slight blur filter and a histogram filter to stylise it further, making sure it would fit with the level of detail used in the rest of the project.
I added emission on the eyes so that they would glow slightly in the dark, and whenever I added any kind of noise I made sure to add a slight blur filter and a histogram filter to stylise it further, making sure it would fit with the level of detail used in the rest of the project.
Thursday, February 20, 2020
FMP: Week 7 Thursday
On Thursday, I moved onto the items and did the same as I did with the character, adding smart materials as a base and tweaking them slightly so that I could then develop them further later.
I also imported two textures that I had made previously in substance designer, the bark tileable texture for the tree and the woven texture for the basket. My issue with the bark tileable texture was the on a tri-planar projection, the texture would rotate in places and look weird when compared with the overall grain of the tree, while the UV projection would show seams. To solve this, I used several layers of both and painted them in on a replace layer with masking, to ensure that seams were not visible and the texture followed the grain properly throughout the tree. By doing this, the normal maps and textures would blend into eachother without overlapping and creating weird details.
I also imported two textures that I had made previously in substance designer, the bark tileable texture for the tree and the woven texture for the basket. My issue with the bark tileable texture was the on a tri-planar projection, the texture would rotate in places and look weird when compared with the overall grain of the tree, while the UV projection would show seams. To solve this, I used several layers of both and painted them in on a replace layer with masking, to ensure that seams were not visible and the texture followed the grain properly throughout the tree. By doing this, the normal maps and textures would blend into eachother without overlapping and creating weird details.
 |
| For the tree, I later decided to erase a majority of the tiled normal map to reduce the intensity and fit more with the more smooth, stylised artstyle. |
Wednesday, February 19, 2020
FMP: Week 7 Wednesday
On Wednesday I moved into 3ds max, and started applying the trim sheet to the treehouse. I tried to make each plank look fairly unique while keeping the majority of the edgewear on the ends of the planks as opposed to the center for more believability. I also cycled through each of the wood plank ends to avoid having the same end repeated too often.
Tuesday, February 18, 2020
FMP: Week 7 Tuesday
On Tuesday, I moved onto creating the trim sheet. I added a base wood layer using a smart material, then tweaked the colours to be more vibrant. I then edited the material to appear less noisy by increasing the scale of textures and deleting some grunge dirt layers that added too much detail for stylised textures. After this, I added another fill colour on a higher height setting to simulate paint, with a glossier finish than the rough wood. I then created a mask with a cloud texture and used a blur filter, then a histogram filter to remove noise. This left me with bold looking, simple splash marks that I then inverted to create the peeling of the paint. After this, I tweaked the scale of the clouds to avoid too many repeating marks that wouldn’t look good when tiling. I wanted to have areas that would have edge damage on my roof planks and areas that didn’t, to suggest that the ends were damaged more than the center from edgewear. I did this for each of the plank colours with variations in paint wear. Finally, I moved onto the rope texture and added a simple burlap texture to create a rough bumpy texture, removing anything that added too much noise.
After this, I added a curvature generator layer to enhance the edges, brightening and darkening them for more visual impact, and an AO generator layer to add additional colour depth.
After this, I added a curvature generator layer to enhance the edges, brightening and darkening them for more visual impact, and an AO generator layer to add additional colour depth.
 |
| I later realised that the normals were inverted on the wood plank ends, so I flipped the channel in photoshop and reimported the texture. |
Monday, February 17, 2020
FMP: Week 7 Monday
On the 7th week I started texturing. I placed my lowpoly mesh into substance painter and set it to the unreal engine 4 preset and the normal map settings to OpenGL. I then imported resources into my project as textures and placed the world space normals, curvature and AO maps in the texture set settings. The normal map itself was placed directly in the textures so that I could make another normal layer and paint over the errors. I placed the normal map on a fill layer, changed the setting from auto to OpenGL, then added a paint layer to make edits, colour picking from the normal map view on the model and painting directly onto the mesh. I decided to do this instead of using photoshop because I wanted to be able to see directly where I was painting onto the mesh instead of having difficulties locating each of the relevant UV islands on the texture map itself.
After this, I made a folder for each separate material and either dropped in a relevant smart material or made a fill layer with some basic PBR settings just to do the base colours. This was done with the intention of tweaking, adding and deleting parts of each smart material to make my own unique materials using grayscale fill layers on black masks (such as using the cloud, white noise and fractal sum textures on darken and lighten modes to add detail to generators).
After this, I made a folder for each separate material and either dropped in a relevant smart material or made a fill layer with some basic PBR settings just to do the base colours. This was done with the intention of tweaking, adding and deleting parts of each smart material to make my own unique materials using grayscale fill layers on black masks (such as using the cloud, white noise and fractal sum textures on darken and lighten modes to add detail to generators).
Friday, February 14, 2020
FMP: Week 6 Friday
On Friday, I baked my items in marmoset. I separated several subtools into different bake groups to try and avoid them baking onto eachother, and separated the body and clothes into two bakers so that they would create two map outputs that match up with the unwraps that I did the day before. For some assets, despite painting the cage closer, I couldn’t avoid some details being printed in unwanted areas, so I saved out the maps with the intention of fixing them in substance painter.
Thursday, February 13, 2020
FMP: Week 6 Thursday
On Thursday, I went through all of my retopped assets and lowpoly assets to unwrap them. I used quick peel with seams for the majority of the unwrapping, using pelt unwrap for things that didn’t quite work. Then, any assets that were vaguely rectangular were straightened by selecting the edges and group straightening them so that they would fit more efficiently in the UVs. I placed the tree branches diagonally to maximise texture space useage, however would avoid doing this again in the future to avoid diagonal stepping in the pixels With any extra space on the map I hope to add additional items to optimise the space.
Wednesday, February 12, 2020
FMP: Week 6 Wednesday
On Wednesday I finished retopping. I worked on the leftover fur tufts, making them as low poly as possible without losing too much form. I also spherified a cube, then duplicated it for the crystals on the wrist and hips, and retopped the tail with the intention of either rigging it to move later or to add physics to it (avoiding triangles in deformation areas). For the eyes I used a spherified cube and mirrored it to ensure that they weren’t wonky and could rotate properly for later.
Finally, I went over everything again and chamfered edges that seemed too sharp on the clothes, using the move conform tool to line edges up with the highpoly version.
Finally, I went over everything again and chamfered edges that seemed too sharp on the clothes, using the move conform tool to line edges up with the highpoly version.
Tuesday, February 11, 2020
FMP: Week 6 Tuesday
On Tuesday, I continued retopping the character. I separated subtools into the base body mesh, fur tufts and some parts of the clothes so that I could avoid having to make unnecessary topology to link them together. I worked on the body topology, using the symmetry modifier, step build, and the conform relax tool to create even topology with clean deformation areas. I added specific loops at the shoulders, knees, elbows, ankles and fingers to allow for movement and deleted topology in areas that I knew would be covered by the other subtoools.
Monday, February 10, 2020
FMP: Week 6 Monday
On Monday, I continued retopping the environment assets. I used the confirm brush tool to adjust the lowpoly tree to the highpoly, and then added some swift loops in places that needed to bend more. I used set flow with these loops to ensure that the topology was fairly even throughout.
I also started on the head of the character, looking at multiple references on facial loops to ensure that they would work for a character with a muzzle. I used step build and the relax conform tool on symmetry to even out the topology and added triangles only in places that wouldn’t deform, such as the fur tufts on the sides of the face.
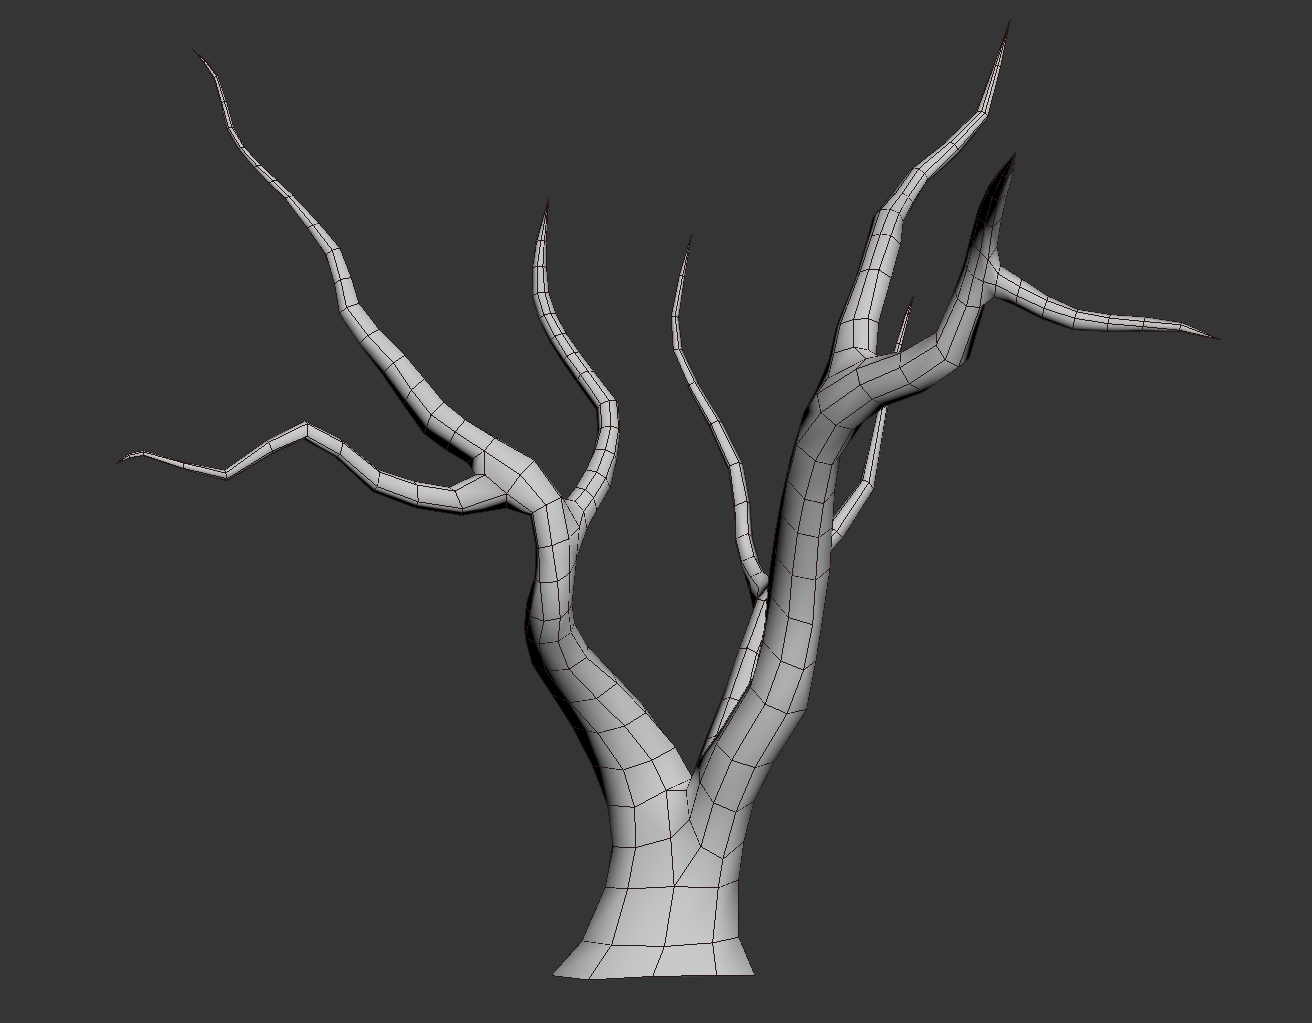 |
| Originally, I kept even loops and topology but then later deleted any loops that didn't affect the form. |
I also started on the head of the character, looking at multiple references on facial loops to ensure that they would work for a character with a muzzle. I used step build and the relax conform tool on symmetry to even out the topology and added triangles only in places that wouldn’t deform, such as the fur tufts on the sides of the face.
Friday, February 7, 2020
FMP: Week 5 Friday
On Friday, I started retopping the rocks and adjusting the lowpoly versions of items that I hadn’t sculpted so that they had on a similar mesh density.
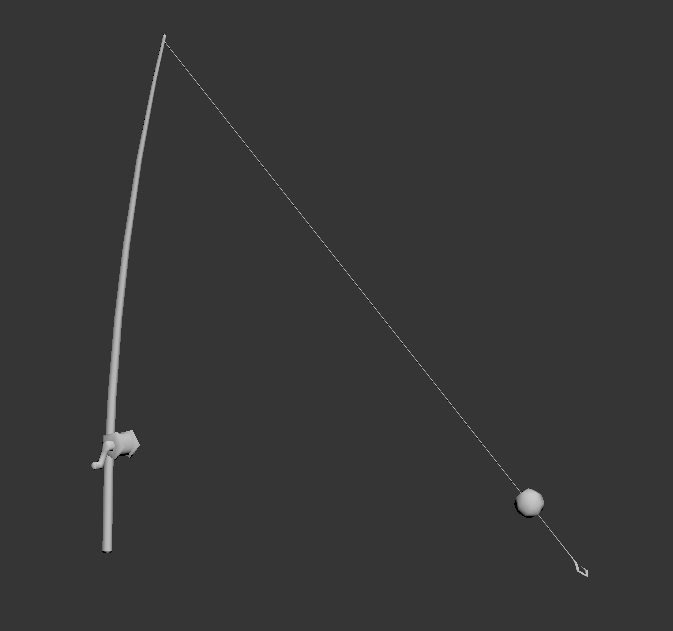
I also modelled a new item, a fishing rod, to be placed near the bridge. I used a cylinder with a taper modifier and a curve modifier, then extruded a thin rectangle from the tip of the rod. I added extra topology to this with the intention of adding physics later. I created the hook by cutting a shape into a plane and then using the shell modifier, deleting the top and attaching it to the end of the fishing line. The bobber was a spherified cube and the bobbin was a cylinder with extruded areas that was then chamfered. I decided not to connect the fishing line to the bobbin to save topology as it is such a fine detail, instead intending to paint some details in substance painter to suggest the presence of it instead.
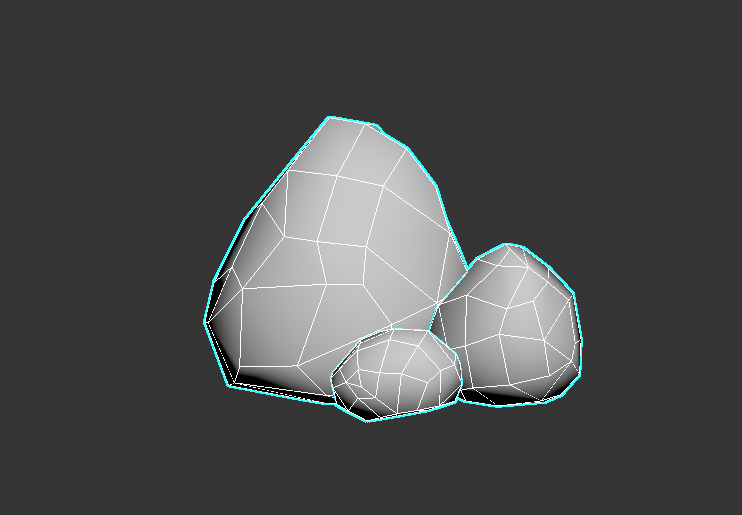 |
| The topology was intended to imitate the edges of the sculpt in the silhouette, but I decided later to remove some of the topology as it seemed to be too dense for what I wanted. |
I also modelled a new item, a fishing rod, to be placed near the bridge. I used a cylinder with a taper modifier and a curve modifier, then extruded a thin rectangle from the tip of the rod. I added extra topology to this with the intention of adding physics later. I created the hook by cutting a shape into a plane and then using the shell modifier, deleting the top and attaching it to the end of the fishing line. The bobber was a spherified cube and the bobbin was a cylinder with extruded areas that was then chamfered. I decided not to connect the fishing line to the bobbin to save topology as it is such a fine detail, instead intending to paint some details in substance painter to suggest the presence of it instead.
 |
Thursday, February 6, 2020
FMP: Week 5 Thursday
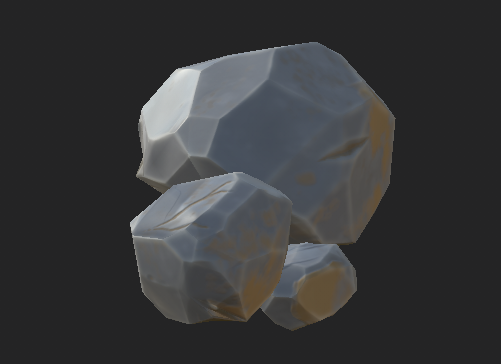
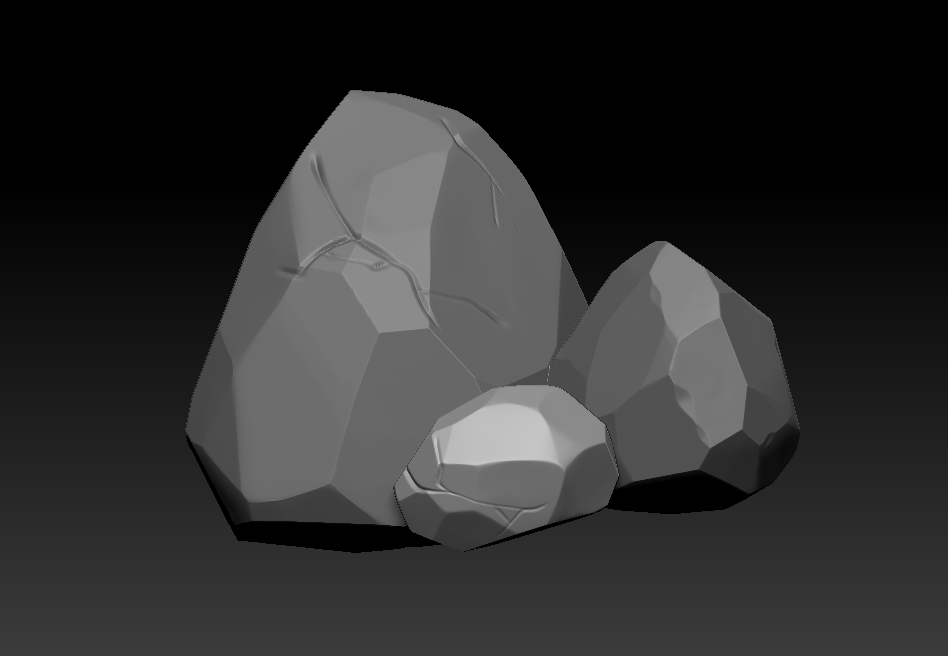
On Thursday, I started sculpting the rocks with the intention of using them in modular building later, so I modelled 3 different sizes of rock. I exported the original blockout rocks from 3ds max into zbrush, subdivided them and used the orb flatten edge protect tool to create the edges. I also used the trim tool to cut into the rocks further with the silhouette in mind.
After this, I used the orb cracks brush to make cuts in the surface, avoiding adding too much detail so that the stylisation would fit with the rest of the assets.
After this, I used the orb cracks brush to make cuts in the surface, avoiding adding too much detail so that the stylisation would fit with the rest of the assets.
Wednesday, February 5, 2020
FMP: Week 5 Wednesday
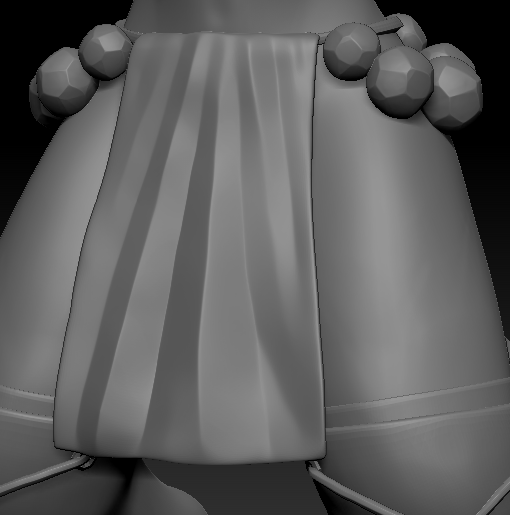
On Wednesday, I continued following feedback given by lecturers and resculpted the loincloth so that there was slightly less symmetry and more stylisation in the bold, crisp edges. Once again, I used damstandard, pinch and hpolish on add and sub to create height and depth in the folds.
I had also discussed with lecturers the idea of adding cloth physics to the scarf, so I remade the tail ends of the mesh and reattached them. The original mesh was just a smaller tube within a tube, with the scarf ends coming out of the bottom of each side, but I wanted to make it look more believable as a scarf despite the character being stylised. I decided to trim holes into each scarf tube and then connect them to eachother to form a spiral, then again to one of the scarf ends, then I could slot the other scarf ends at the bottom of the other side, where the inner tube would also lower to, creating the image of a scarf wrapped around the character’s neck. To achieve this, I used the move tool and lower subdivisions to deform the scarf into place as cleanly as possible, then reassign polygroups and dynamic subdivide with creases to connect the edges more seamlessly. After that, I masked specific areas of the original scarf and projected it onto the new one to enhance the edges where they had softened.
Tuesday, February 4, 2020
FMP: Week 5 Tuesday
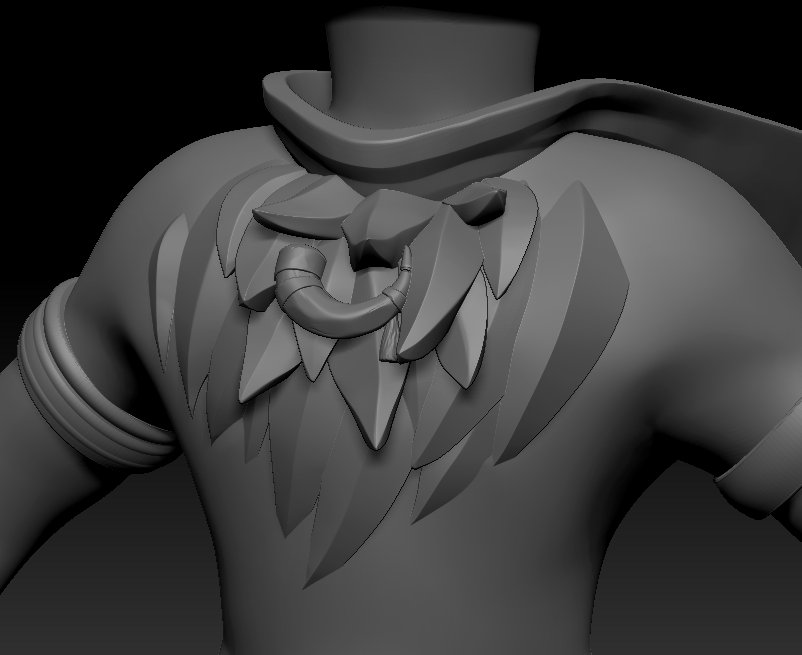
On Tuesday I moved onto the next criticism I received, which was that the chest fur felt more like back fur in the way it came out from the shoulders. To solve this, I auto selected polygroups in the mesh and deleted individual tufts that branched out too widely across the chest. I then followed advice to add another layer of fur tufts to add visual interest and silhouette. Do this, I considered the options of either using using the curve brush to create the tufts and then deform them to stick upwards, or to model a curved plane coming out of the chest and painting the curve brush strokes directly on top of that to follow an easy upwards curve, without any potential errors in deformation. In the end, I combined the two ideas and used the plane to begin with, then the topological move tool to adjust them as well as the curve tool in the mesh menu. I adjusted the tufts a lot so that they would be proportional to eachother in both size and placement on both sides of the model while still having variety in form.
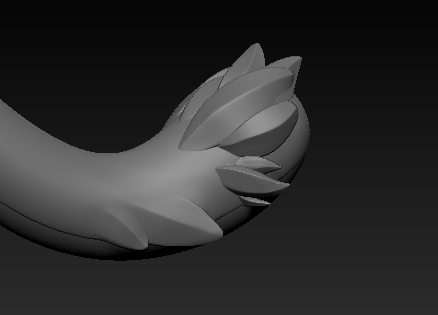
I also added some tufts onto the tail using the move tool, pinch and hpolish to follow closer to the concept.
I also added some tufts onto the tail using the move tool, pinch and hpolish to follow closer to the concept.
Monday, February 3, 2020
FMP Week 5: Monday
On week 5, I worked on following the feedback given to me in my presentation. On Monday I focused on tilting the ears and fur tufts outwards more to create a more interesting silhouette.
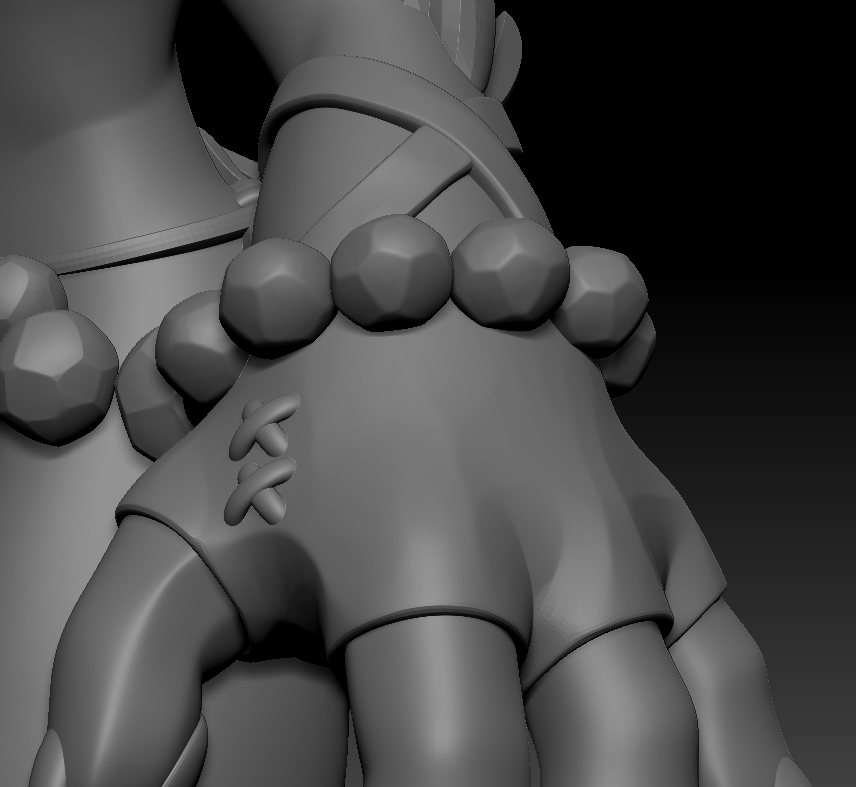
I also remade the gloves so that the straps would overlap eachother while maintaining a clean edge using polygroups and creases. I then added extra detail on the gloves to follow the concept, where I placed a cross stitch between the thumb and fingers using an insert mesh brush and then deforming the subtools.
I also remade the gloves so that the straps would overlap eachother while maintaining a clean edge using polygroups and creases. I then added extra detail on the gloves to follow the concept, where I placed a cross stitch between the thumb and fingers using an insert mesh brush and then deforming the subtools.
Subscribe to:
Comments (Atom)
