Thursday, April 30, 2020

FMP: Week 17 Thursday

On Thursday I started on the thing I was the most excited about adding: the fetch quest! To start with, I needed to create the pickups: a berry and a fish. I went into photoshop and I repurposed my fish texture, then painted a lingonberry for the UI. I then followed this tutorial in making the widget for them as well as a blueprint. Following this tutorial however, I came across a hitch: I didn't want to click on the actors, I wanted to press a key on the keyboard (E). To solve this, I decided to add this tutorial to the mix.

My incredibly empty looking inventory widget
The inventory widget graph that adds a texture into the box. I edited it from the original tutorial so that it wipes the previous one first though, as I wanted the player to exchange the berry for the fish, not have them both at the same time.
The item widget! Once again looking very empty
In the event graph though, the texture can be set using an index and an array of textures, so the icon shown in the UI will depend on the item being picked up.
Actor blueprint: On play, the text widget is hidden as the player cannot interact with the item immediately. When it is visible though, it will rotate towards the camera at all angles so that it can always be read. It also has a world offset so no matter what rotation the mesh is at, the text will always float a certain distance above it.
Here it gets a bit complicated, and starts to mix in with the work I did the day after. On overlap, it checks whether or not the player has already destroyed one of the items (identified by index), if so, it moves onto the next one and if not it checks to see if it can be interacted with yet. From there, it sets another boolean of interactivity and sets the visibility of the widget to on. If all of this isn't the case, the visibility of the widget and the interactivity will be set to off, which is the same for end overlap.
Widget and collision added to mesh
'Press E To Interact' widget to be displayed above the mesh

Wednesday, April 29, 2020

FMP: Week 17 Wednesday

On wednesday I got the cloth working in engine! For each character I had to edit the bone collisions so that they both blocked the cloth from clipping through areas they shouldn't, and also laid as close to the mesh as possible so that the cloth wouldn't stick out weirdly.

Not entirely sure why the arm is missing a collision capsule here
I then went back to the mesh asset itself and went on the section selection mode, where I right clicked the cloth material and chose 'create clothing data from selection'. I could then right click again and select 'apply clothing data' which then allowed me to activate cloth paint and paint on cloth weights:

I added a gradient for the loincloth and the scarf
Initially, I had an issue where the cloth was so lowpoly that it wasn't colliding properly with itself (since I had previously followed lecturer advice to make the cloth thick to follow the style of the characer), where the backface was actually clipping through to the front with some movements. I ended up using the quick and dirty fix of simply unchecking two sided material in the material itself, but next time I might consider either using higher poly cloth or just using a plane.

After doing this for every character, I added a WindDirectionalSource to the scene and animated it with a level sequencer to change directions at the same time that the grass wind does.

Breezy...

Tuesday, April 28, 2020

FMP: Week 17 Tuesday

On Tuesday I continued with the blueprints, this time working on making the characters heads follow the player! Firstly though, I realised that it would be easier to have each animation blueprint be a child of a single parent blueprint. The issue was... I was using two separate sets of bones: one for the original character model, and one for the updated tiger model. The parent and children all had to have the same set of bones, so, I decided to assign a new skeleton to the fisher character and retarget the animations (another new skill for the book I guess). I went onto each skeleton and used the retarget manager to set up a rig by assigning each bone to a source and a target, which was then replicated for the other set of bones:

I also went into the advanced list so I could set fingers and other extra bones
I then right clicked on my animation asset for the tiger and clicked on retarget, selecting the NPC_Skeleton from the list of compatible skeletons, and went through with the change. There were some issues where different parts of the body became enlarged or stretched a little bit, but that was solved by going into the skeleton tree within the animation and showing the re-targeting options.

I changed everything to skeleton other than the Bip and the Pelvis,
which were set to animation and animation scaled respectively.
All of this was done following these two tutorials [link] [link].

After this was done, I started on the lookat blueprints using this tutorial:
EventGraph: Checking if the owning actor is valid, and if so executes the
custom function setting the self actor as the owner, and the look at target as the player.

First section: setting the maximum amount of head turn (so necks don't snap),
setting itself as a variable and making sure it isn't the player character and the socket location is valid.
Second section: finding the target location, making a rotation to follow it for both the pitch and yaw of the head
as well as checking the rotation of the head against the maximum yaw.
Final section: if the rotation exceeds the maximum yaw, it resets the head rotation to the original one, if not, it continues to rotate. I also added some boolean variables here to check whether or not the player is in viewing range to turn off the animation when not in use.
Animgraph showing final animation pose, where the alpha is whether or not the head is to move or not.
Child blueprint that sets the alpha depending on whether or not the character is A: in the collision range of actor blueprint itself, and B: in range of the head turn.

Monday, April 27, 2020

FMP: Week 17 Monday

On Monday, I got started on the engine work.

I originally intended to have some foot IK placements sorted out on monday following this tutorial, but I had some issues with the implementation. The ray trace was buggy and caused the character to glitch off of ledges a lot, and the legs weren't actually conforming properly to the collisions of the ground and slopes in some areas, so I ended up ditching it.

I've noticed that whenever I do blueprints it always tends to take me 4 times as long as it would if I had a lecturer around in person to help me out, as I often encounter issues that I'm not sure how to fix and have to spend hours using print string to figure out the issue. I'm too nervous to post my issues to a discord server where the rest of the course can see what I'm struggling with, and emails take too long to exchange- especially since the hours I'm most productive at don't correspond with the hours the lecturers are working now... not having a schedule has really messed with my body clock.


it almost works if you ignore how awful the glitches are :')

Foor IK function graph
Animation graph
Trace ground function graph
I have no idea how to stop it being so buggy so I've decided to just... try again in the future if I have time.

I managed to waste a lot of time trying to figure out how to fix the issue of foot placement, but did manage to get something productive done by attaching the props to their sockets. I added a CAT tail bone to the fishing rod and animated it bending, then imported that separately to the bobber into the scene. I created blueprints for each of the characters and added hand sockets to the relevant bones, of which I could then attach the static and skeletal meshes to.

He can finally eat!
He can finally fish!
He can finally guard!

Friday, April 24, 2020

FMP: Week 16 Friday

On Friday, I imported all of the animations into UE4 and started on constructing the player animations.

First, I created the Blendspace 1D file needed to gradient between the running and idle animation depending on the speed of the character movement:

If I had extra time, I would add a walking animation between the idle
and the run animation to make it flow better.
Then I created the animation blueprint:
Animation BP Event Graph to update the animation based on whether or not the character is in air,
and what speed the character is moving at
Anim Graph connecting the state machine to the final animation pose
State machine that cycles between animations depending on whether or not the character is in the air
I don't have a jumping animation yet, so I hooked up the idle animation and paused it for a temporary replacement.


Thursday, April 23, 2020

FMP: Week 16 Thursday

Now that I'd textured the player, I could start on animating her.
I had to look at the animation blueprints and the animations themselves for the mannequin within UE4 to figure out how they put it together, then created my own versions to replace them with.
I struggled a bit with this, since I'm not exactly an animator, so the resulting running animation ended up being a bit stiff in my opinion.

For the animation itself, especially with the running, I made use of the copy pose button, which allowed me to animate one side and then paste the same position to the other side at another point in the timeline, which would save me time and make the animation flow nicer.

Idle animation
Running animation
I am considering removing the blinking from the idle animation and adding it to the animation blueprint as the morpher it is, so that she can blink seamlessly regardless of what state of animation she's in.

Wednesday, April 22, 2020

FMP: Week 16 Wednesday

Between yesterday and today, I textured the player character in substance painter using the same methods described previously:

I wanted her gender to be subtle,
so I just edited the eyelashes a bit and gave her a small amount of blush.
By being a maned lioness, it excuses the ponytail of fur she has at the back of her head
...not that tigers (the previous character) are supposed to have hair back there anyway, but it gives him personality.
Like previously mentioned, I gave her a toasty back to contrast against the light sand texture in the scene, and also have her some tattoos to add interest to her as a character. These tattoos had to be symmetrical, since it's part of the 'balance' that comes with their purpose.

Tuesday, April 21, 2020

FMP: Week 16 Tuesday

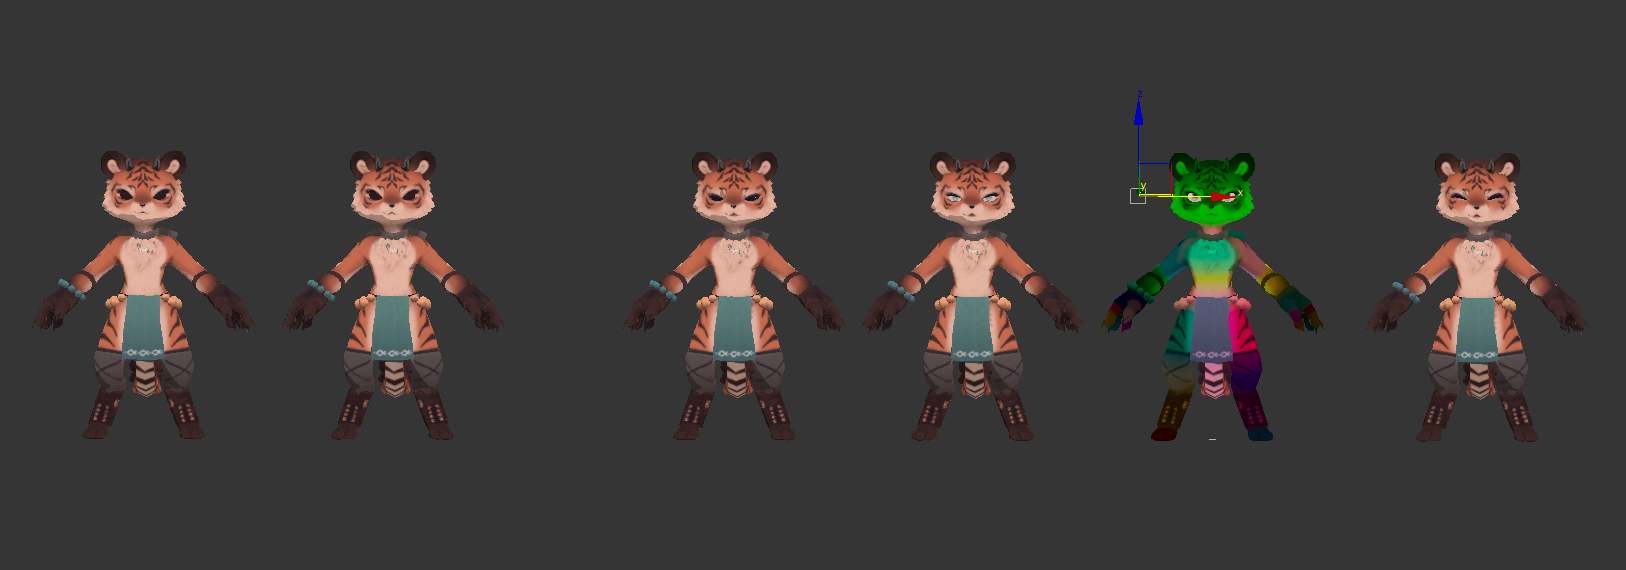
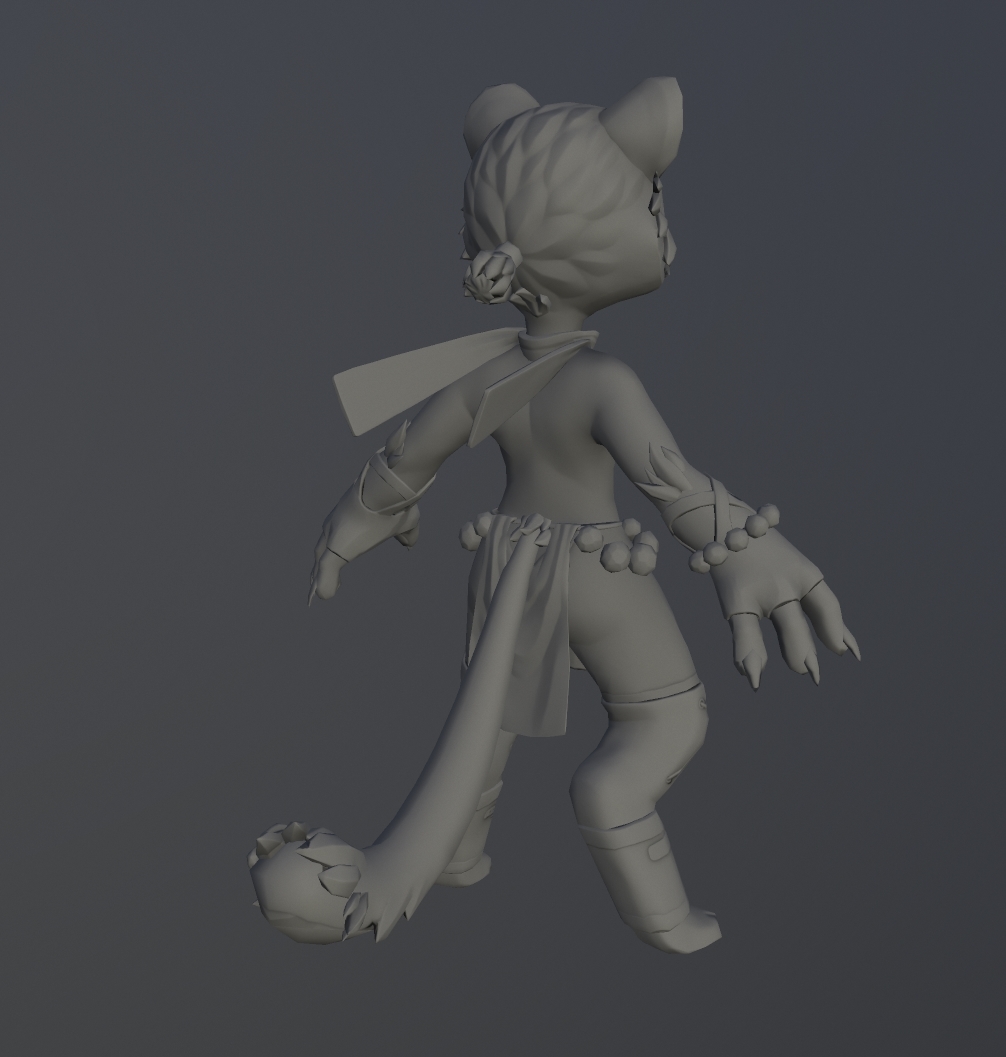
On Tuesday, after animating the bobber and the boat with level sequencers, I moved onto the player character. This character wasn't originally in my concepts for the scene, but needed to be made so that the interactive elements of the scene can actually be interacted with. I considered the colours of my scene and how much I wanted her to stand out, and decided against any white colourings (such as a snow leopard) since it would contrast too much against the rest of the scene, when I wanted the player to have a fairly balanced focus between the player character and her surroundings. I also had to consider her structure for what kind of markings I would give her, as she would be using the tiger character base, which is a pretty stocky big cat.

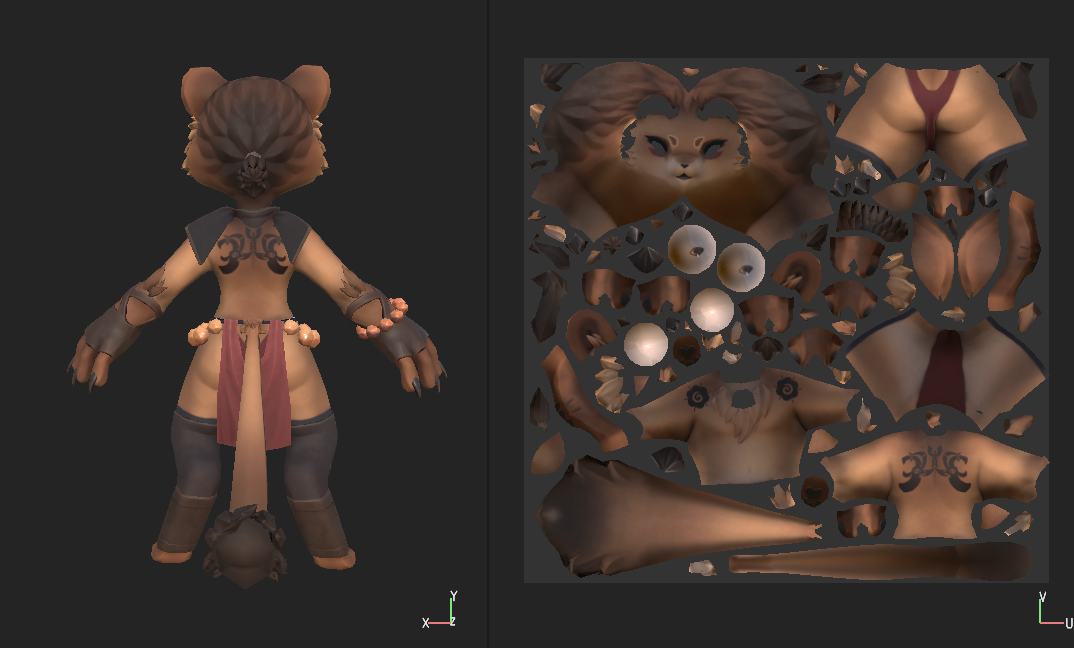
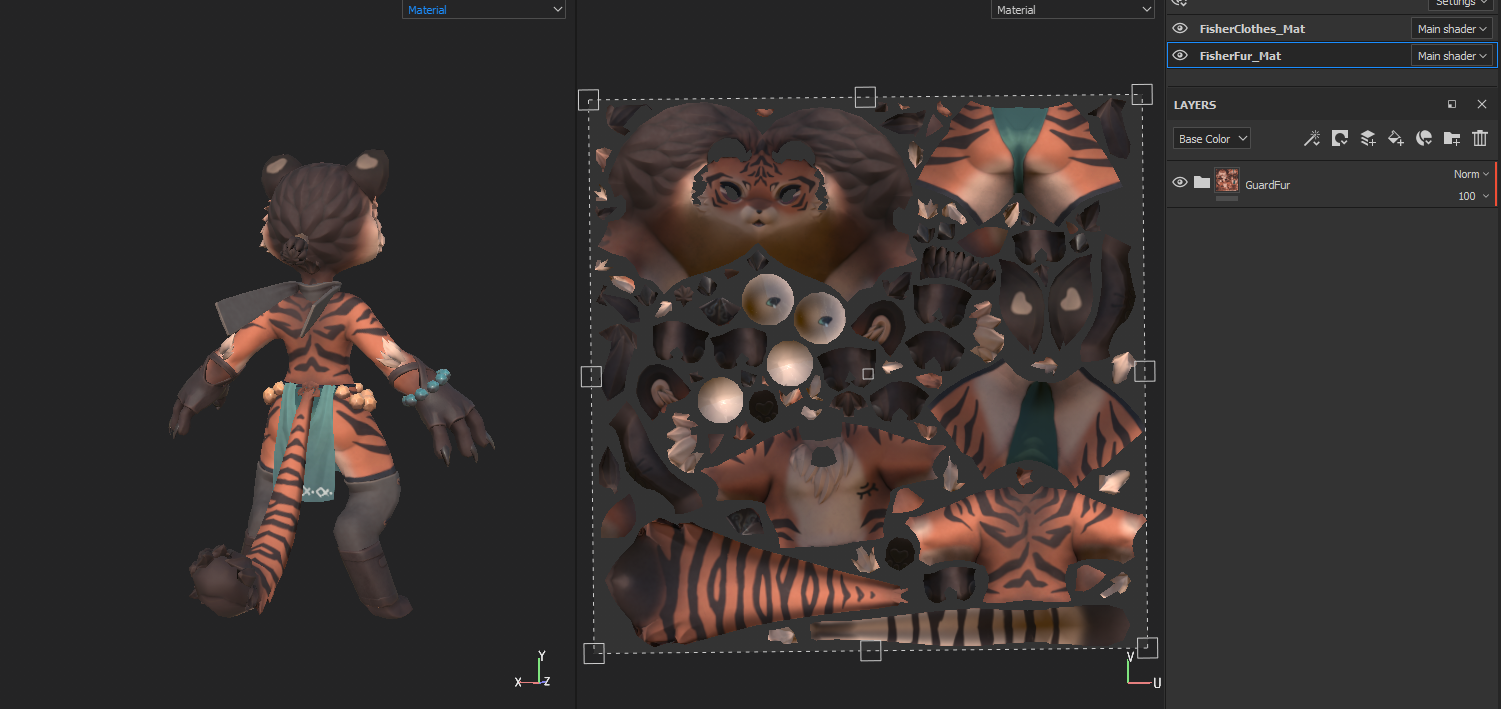
In the end, I decided to make her a maned female lion (ignoring her body structure since they're stylised cats and she doesn't really need to have a different body shape). I was aware that her fur colour might become washed out against the sand in particular, so I made sure to make her back toasty brown to stand out against it.

Reference proving that female lions can have dark fur patches
Reference proving that female lions can have any degree of mane growth


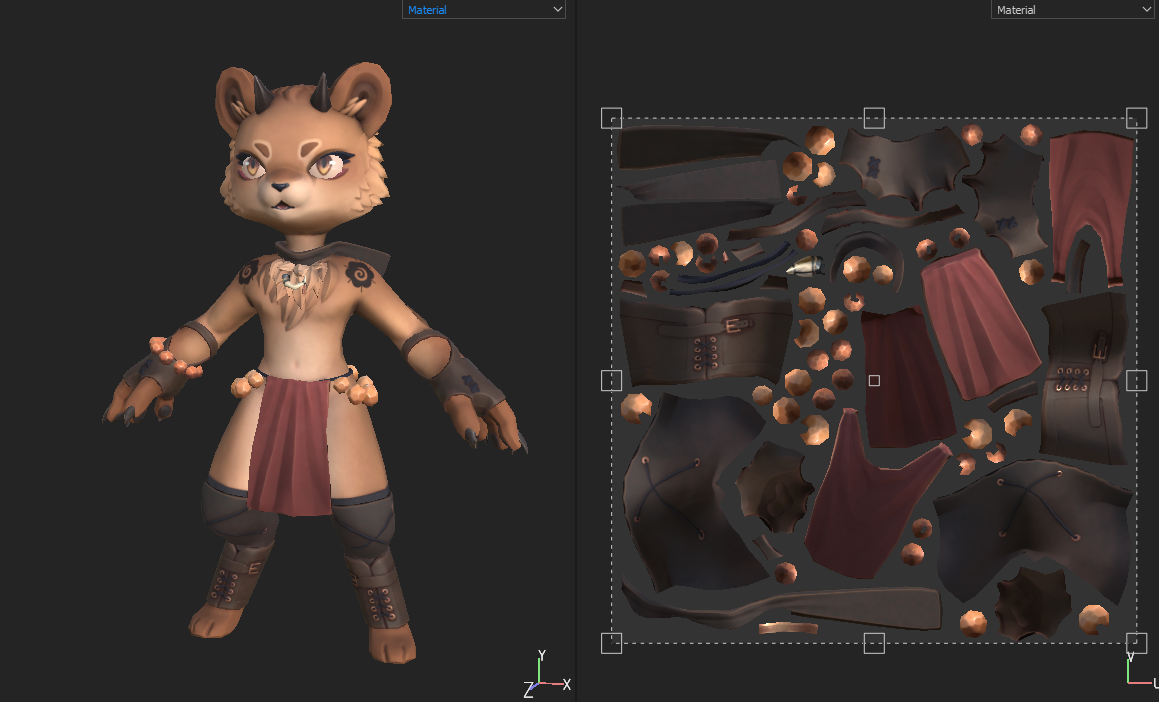
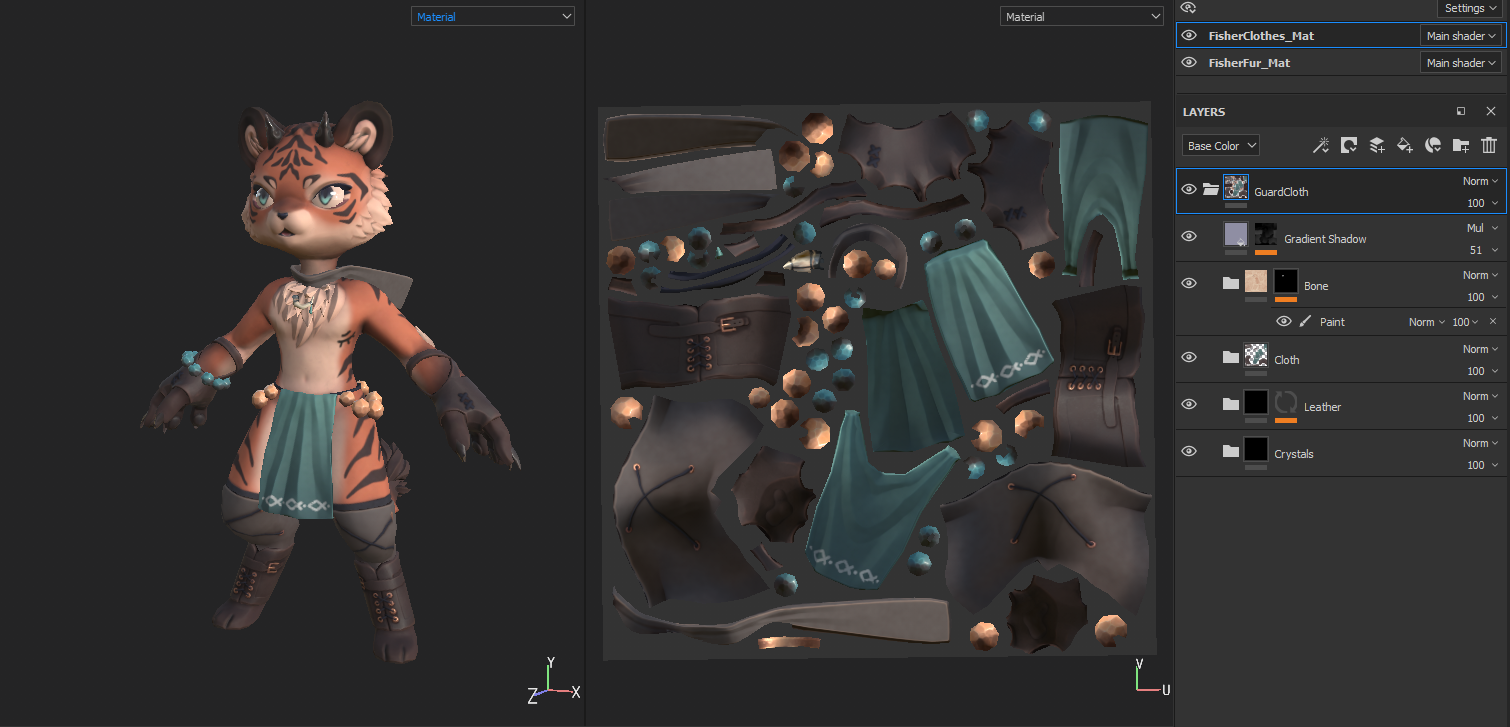
For her clothes, I wanted her to have a fairly natural colour, that contrasted against the other characters' loincloths. For this, I decided to give her a warm colour scheme instead of the cool ones the other characters have.

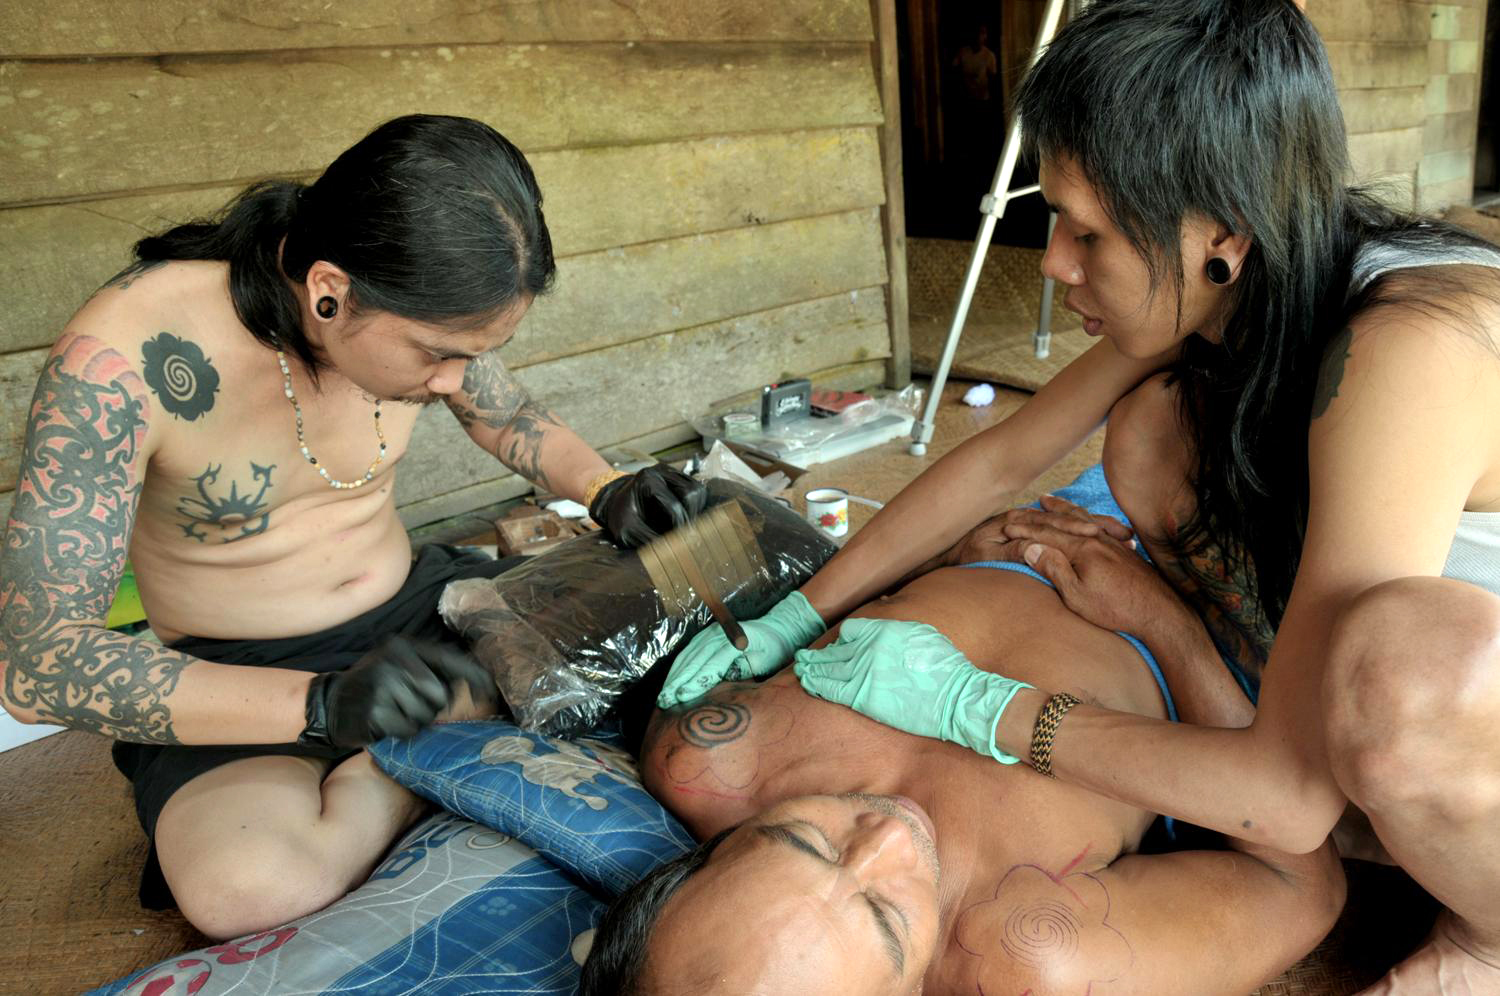
I wanted her to stand out as the player character rather than an NPC, so I gave her markings that the others don't have: tribal tattoos. For this, I referenced the tattoos of borneo in which she has the Bungai Terung, which is 'is the first tattoo an Iban individual would receive.. The tattoo is located on the front of the shoulder (never the chest) to show where ones bag straps lie, to prepare the individual to carry the weight of their own world (passage of a person into adulthood).'


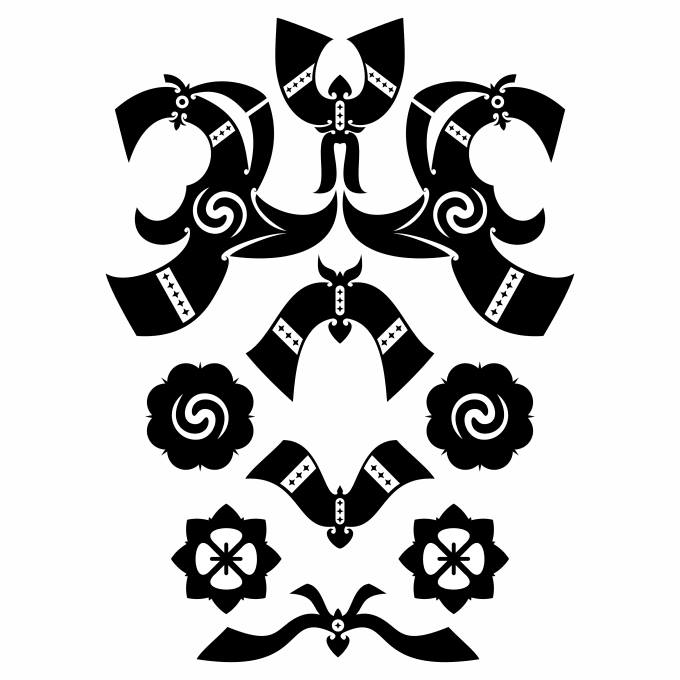
For her backpiece, I heavily referenced the top of this design:
I decided that I needed to reference these designs as they are, rather than create my own, as each tattoo has a meaning and a set way of creating them that I would not be able to replicate without in depth research beforehand.

Bobber moving with the stream of water
Boat bobbing up and down

Sunday, April 19, 2020

FMP: Week 16 Monday

On Monday, I continued with the character animation, this time working on the forrager. His prop was going to be a berry, so I posed his fingers into a holding position. As he will be sitting on the floor, I am unsure what to do with his loincloth: if it's worth adding an extra bone to the rig to move the cloth so it's not clipping through the floor or if I should just leave it as it is.

Animations sped up to show more

Friday, April 17, 2020

FMP: Week 15 Friday

On Friday I did the animation for the tiger character, for which I imported the into the scene so that I could pose him sitting on the bridge properly.

Animation sped up to show more
I removed the fishing rod after posing the fingers so that I could rig it later
For the eyes of both the tiger and the guard, I had to keyframe both the dummy and the eyes into believable positions/rotations based on the rotation of the head, or where his eyes could be looking from the current position without any head rotation.

Thursday, April 16, 2020

FMP: Week 15 Thursday

On Thursday, I attended our scheduled Teams drop-in session with Kat and Craig, where I asked for crit, tips and recommendations on what I'd done so far. They mentioned that to achieve a nice blend between my wood plank ends and the rest of it, I could detach them and extrude the ends, adding my damage trims/alphas in the new topology which would overlap over the wood to break the seams. They agreed that I should consider reducing the push modifier I applied to the treehouse as it made it look a bit too pudgy in my opinion, and reassured me that replacing the character animations wouldn't be too dificult- as I wouldn't be able to use the default ones since my characters have additional bones (horselinks in the legs). We also discussed the fishing rod that I wanted in the scene as a prop, as I had previously wanted to apply a cat bone with physics to the string of the rod and have the bobber float on the water surface dynamically. I was aware of my time constraints and ended up asking if it would be ok to simply remove the string (like seen in games like animal crossing) and have the bobber and rod seperate. From there, I asked if it would be ok to simply have the bobber be animated to move up and down in the scene, since there weren't going to be any animations that actually needed it to be reactive at all.

I asked about my ripple rings, and if the material would look less jagged if I added topology (which they answered positively) and Craig also mentioned that I should add some extra topology between the grass and the sand area in the plinth so that I could make the transition a little bit less gradual.

After the session, I went on to working on the animations for each of my characters, starting with the guard character.

I attached his spear to a prop bone with the intention of removing it later, simply so that I could see where his fingers would grip around it.

Animation sped up to show more
I added 3 different periods of movement with breaks inbetween
I realise that I could have split up the animations into chunks and added them to a state machine in an animation blueprint, which could play each chunk based on the situation (ie. the spear slam on player approach) but I was unsure how much time I would have to implement it, so I left it as it is.

Wednesday, April 15, 2020

FMP: Week 15 Wednesday

On Wednesday, I imported the base colour into 3ds max and began rigging the model. I had my previous model's rig open to use as reference as I set the wights accordingly. This is also when I duplicated the model and created the expression morphers I wanted for this character's idle animation.

Weights and morphers
For the morphers, I made a a half blinking and a blinking model, so that the eyelids wouldn't clip through the round eyeballs as much, then I created closed mouth and smiling morphers, as well as an "eye smile" one for good measure.

Once again I had to deal with the issue of texture stretching in areas around the eyes, where I had to prioritise between how much I could move the eyes and with which verts, the stretching of texture around them (like the eyelashes stretching downwards instead of  all of it being moved down) and how much I could distort the fur markings around the eyes to compensate for that.

Tuesday, April 14, 2020

FMP: Week 15 Tuesday

On Tuesday, I imported my baked textures into substance painter with the lowpoly mesh, baked the position map and applied the smart material from the previous character. I had to reapply all of the masks because the UVs had changed, which meant that all I had really imported over was the textures and PBR values of each material that I needed to paint on. Once again, I imported an alpha I made in photoshop to signify his job, which I printed onto his loincloth.

I loosely followed the markings on my original concept while also adding extra markings to make the fur more interesting. This was done by looking at reference of tiger markings so that I could find a balance between my concept and real life. I wanted to keep the markings fairly symmetrical with some asymmetry, since humans prefer symmetry in things but are their eyes are drawn to areas that have asymmetry.

Front View and Cloth UVS
Back View and Fur UVs


Monday, April 13, 2020

FMP: Week 15 Monday

On Monday I moved onto baking in marmoset, which took a while to do since I kept finding areas that were printing onto eachother in the bake that couldn't be solved by editing the cage size.

Front view and structure of grouped items
Back view