Friday, January 31, 2020

FMP: Week 4 Friday

On Friday, I had my presentation reflecting on everything I had done so far. I received my feedback and instantly started working on my character model again after updating my blog posts.

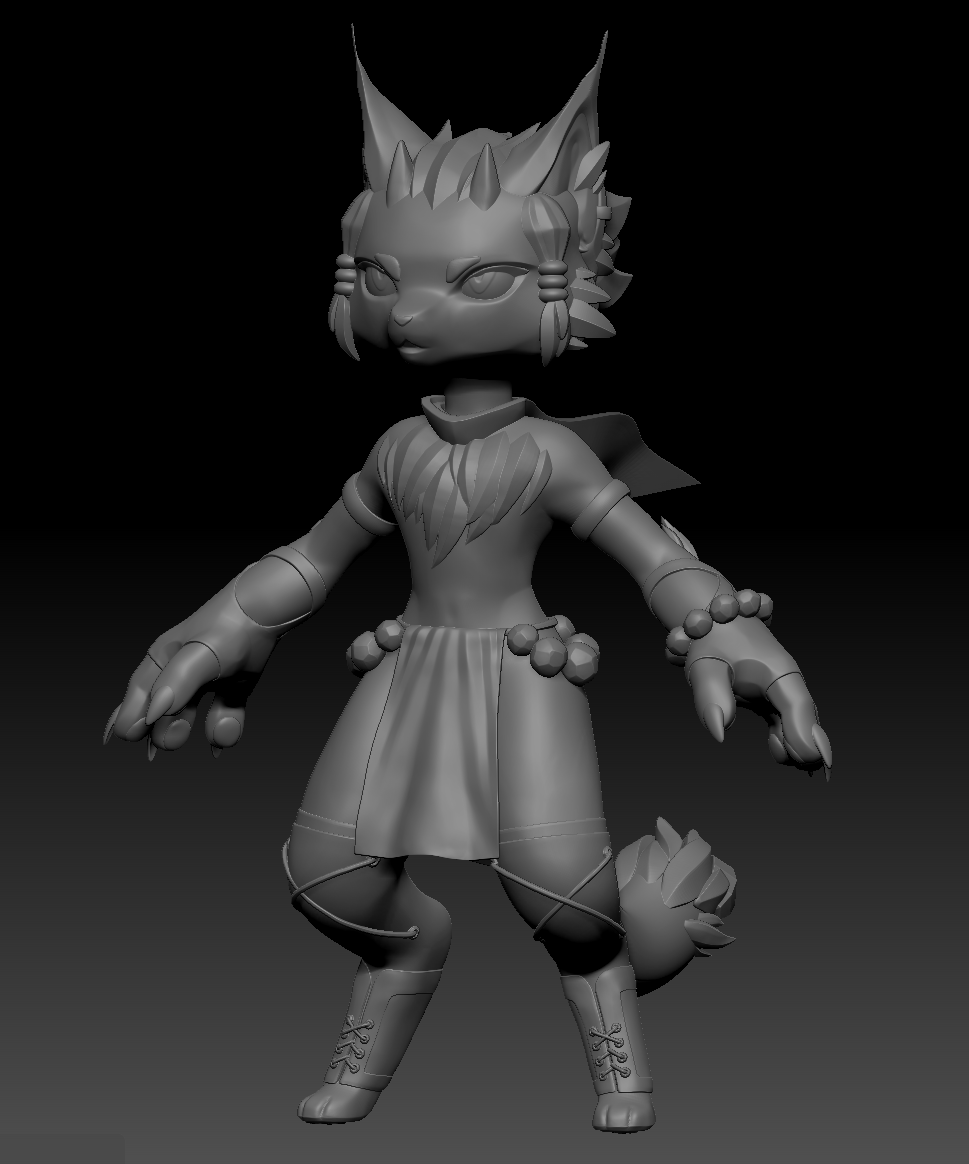
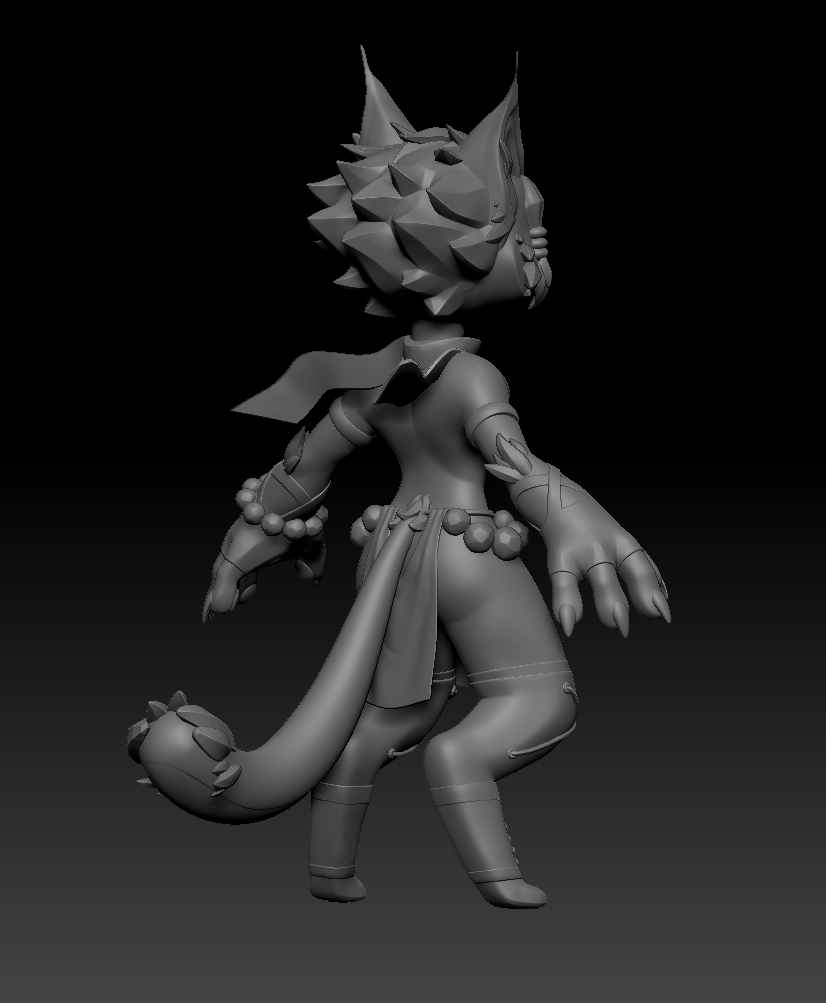
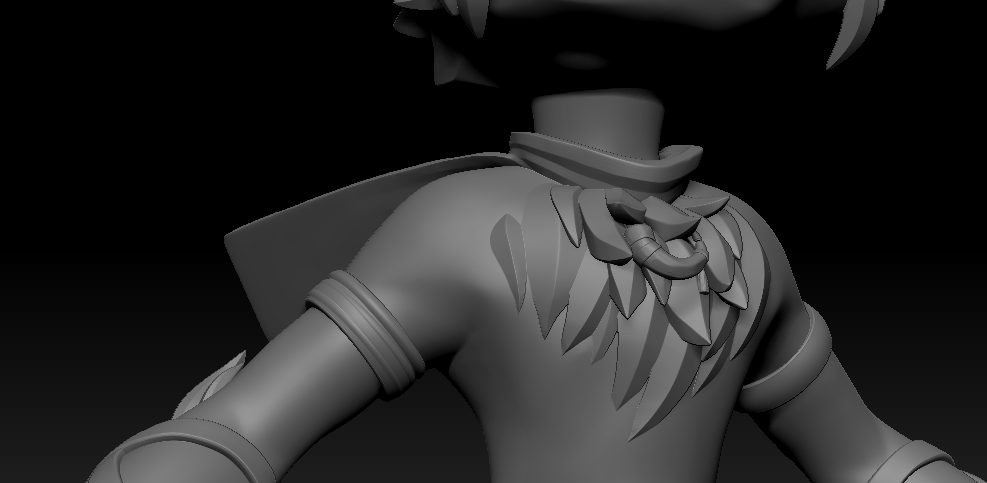
One piece of feedback that I had received was to change one of the armbands to beads, to offset some of the symmetry in the model. I decided that I could create the height of such small beads in substance painter later, and just deformed the original armband into thinner strips around the arm.


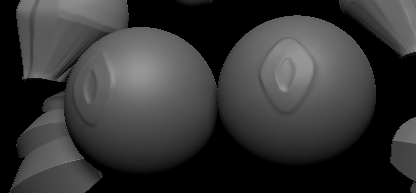
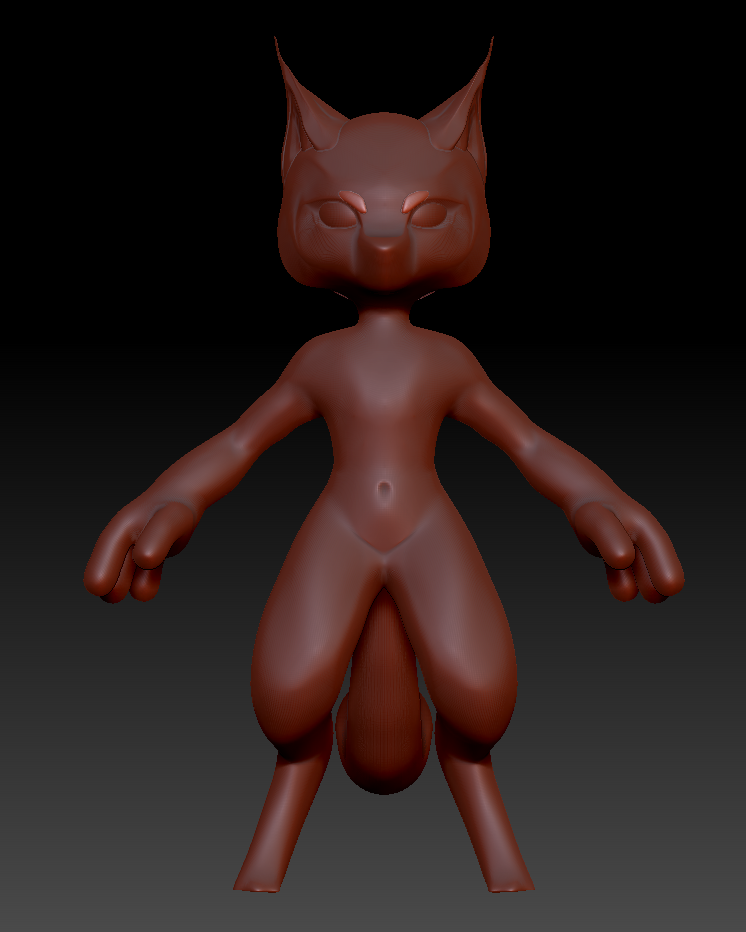
I also realised that I had sculpted only the area of eye that could be seen under the eyebrow, so I resculpted them so that the eye could be moved around in different directions later.


Thursday, January 30, 2020

FMP: Week 4 Thursday

On Thursday, I imported the lowpoly tree for the treehouse into zbrush and used the dynamic subdivisions off and then on smoothing to reduce the lowpoly look and smooth it out while still maintaining the core silhouette. I then used the polish modifier on the sidebar in geometry to sharpen the edges to create a crisper look, which would fit better with the style I want to aim towards:


I then went into substance designer with the intention of creating a tileable tree bark texture that I could import into substance painter later to add more normal information using these two (link, link) video tutorials as reference:

construction of the wood grain with a thin layer of crust
Construction of the branch stump
output maps

Lowpoly tree mesh with tileable

Tileable texture

Wednesday, January 29, 2020

FMP: Week 4 Wednesday

On Wednesday, I went back to the character sculpt to finish the clothing. I decided to use the cloth modifier in 3ds max to simulate more realistic folds:

I went into the object properties and added the belt and legs as collision objects,
then added dynamic and static friction.


I decided to use the preset for rubber, as I wanted large folds
so that it would fit more with the stylisation of the rest of the model

I imported the cloth into zbrush and smoothed out some of the folds to replace them
with my own using the damstandard and move tools.

Tuesday, January 28, 2020

FMP: Week 4 Tuesday

On Tuesday I constructed the trim sheet in marmoset:

I baked each individual side with a bevel, as well as the ends of the planks
Then I baked the rope separately onto a tube using a rectangular unwrap
Afterwards, I pasted the rope unwrap into the trimsheet and edited it so that it would tile properly

Monday, January 27, 2020

FMP: Week 4 Monday

For week 4, I planned to work on the baked information of the environment, so on monday I started working on some wooden planks ready for a trim sheet:

plank sculpts rotated slightly to show the ends
I didn't want to deform the shape of them too much, as they would be baked onto a plane to serve in a  trim sheet. I first imported a lowpoly chamfered plank from 3ds max and imported it into zbrush, then used a combination of unsmoothed and smoothed subdivisions to increase the topology without losing too much form. I then used hpolish, trim dynamic and the orb slash brush to create the grain. Finally, I used the nudge tool to add some variation to the surface so that they wouldn't be as stiff looking.

Friday, January 24, 2020

FMP: Week 3 Friday

On Friday, I took another break from modelling and went into substance designer to create a tileable sand texture following this tutorial with some tweaks, with the intention of separating the rock from the sand texture later and then vertex painting it in UE4 so that I can control the rocky locations:

Finished sand tileable

rock shape construction

rock normal map detail construction

rock cracks construction

sand waves construction

outputs
For now, with many of my tileable textues, I have been focusing mainly on the base colour and normal map detail, and intend to go back and tweak the roughness or add more detail later when the environment is coming together more so that I can add a similar amount of detail and stylisation to each texture.

Thursday, January 23, 2020

FMP: Week 3 Thursday

On Thursday, I modelled some more small assets to populate the scene such as a shell and starfish, as well as the guard character's prop: a blowpipe spear. I also modelled a highpoly rope by using 4 cylinders and a twist modifier to be baked onto a cylinder.

highpoly rope using 4 cylinders and a twist modifier

seashell using a cylinder with a taper and pathdeform modifier along a helix spline, starfish using a cylinder with shrunken verts.

top of the blowpipe spear

extruded cylinder attached to a plane cut to form the shape with a shell modifier.

The spearhead is positioned to allow the use of the blowpipe hole

Wednesday, January 22, 2020

FMP: Week 3 Wednesday

On Wednesday, I modelled the tree and the basket assets.
For the tree, I extruded a cylinder along a spline, then further extruded other faces (that I had inset and deformed into a more circular shape) along other splines for the branches. I decided to do it in 3ds max this time instead of zbrush, despite wanting to bake it, as it would make retopology easier later down the line if I already had the thin branches from the lowpoly that I could use the conform brush on.

I used the conform move tool brush in some areas of the tree to move branches into even positions that shoot out of the roof windows correctly.

basket modelled from a cylinders using soft selection move tools and the shell modifier


Tuesday, January 21, 2020

FMP: Week 3 Tuesday


On Thurday, I modelled the windows and doors for the house, as well as going over the other wooden assets to chamfer and resize them to fit with the style. I left some of the work to after they had been textured however, so that I would be able to tell where things should have damage and dents.


Monday, January 20, 2020

FMP: Week 3 Monday

On Week 3 I went back to my environment blockout and started working on the lowpoly forms of each of the assets. For Monday's work, I focused on making the treehouse:

Front view

Back view

I box modelled the houses, extruding planks and chamfering edges. I then resized areas to add a more whimsical, chunky effect that would work well in with the overall stylisation of the environment.

Friday, January 17, 2020

FMP: Week 2 Friday

On Friday I moved onto the clothes of the character,

I masked areas off, polygrouped them, zremeshed to smooth out the edges of the mask and then extruded them to form the skin tight items like the gloves, belt, socks, and leg cuffs.
For the earring and upper arm cuffs I extruded from a cylinder, then inflated them a little bit to create a round surface.
The laces were made by using a curve tool and then using move elastic to shape them more accurately into the eyelets formed from the IMM tool.
The scarf was extracted from the neck, then extracted again and deformed to fall against the chest and back more.

The jewel beads were made by creating a mesh brush from a sphere that I had added a more man-made hammered effect to using the orb flatten edge protect brush, which was then inserted along a spline.


Thursday, January 16, 2020

FMP Week 2: Thursday

On Thursday, I added fur tufts and sculpted the hair. I followed Manuel De Jorge's fur tutorial here, where I learnt about the polish function in zbrush.


I modelled the hair tufts on the head following advice from Taridium on Manuel's discord server, in which I used accucurve on the move tool to pinch the tufts as I pulled them out. I then refined them using pinch, smooth, hpolish and the polish modifier.

Wednesday, January 15, 2020

FMP: Week 2 Wednesday

On Wednesday,
I refined the muscle groups further, then added horns, claws, paws and a mouth. I masked off areas like the nose and extracted them.

I Appended pyramids for the horns, then deformed them using the elastic move and the move tools, sharpening them with pinch and hpolish. For the ponytails on either side of the head, I appended a sphere and gradiented a mask so that I could pull it out, then masked off the center and shrank the middle. I then appended another sphere, squishing it and duplicating it to make the three beads. Finally, I duplicated it and mirrored it to the other side, turning on symmetry for further edits.

I did the same for the claws in which I extended and flattened a sphere, then used the move tool to create a curved surface and finally placing them on the fingertips and mirroring them.


Tuesday, January 14, 2020

FMP: Week 2 Tuesday

On Tuesday I started blocking out the form more on the head and body:


I blocked out the main muscle forms, while omitting others based on the stylisation of the chibi (as too much muscle definition/detail would look unsettling). I used dam standard, pinch, smooth and the move tool to create creases and sharp edges, and used clay tubes to build up the form in other areas.